How I create a page on my site
September 7, 2026 (updated)
Here I’ll document how I create pages on my site for those that are interested. My goal is to be able to make a page as effortlessly as possible so I’ll be encouraged to post often.
My site is hosted on Cloudflare using the free plan. I pay only for the domain name which is around $12 a year. I followed the documented instructions for how to add Cloudflare pages to GitHub. With this integration, my site files are stored in a GitHub repository and each time I push a change to GitHub, the Cloudflare site is automatically updated.
I’m using the Astro web framework for the site. I got familiar with the Astro documentation and followed the tutorial. Initially, I also researched using available site templates, however, I opted to build the site from scratch so that I would know how everything worked.
The framework generates static web pages from .astro files and Markdown .md files. It also introduces the use of .mdx files for Markdown files that contain React framework components. The Astro web framework is elegant in every way and I’m only using a very small portion of its features at the moment, but I know I can dig into more capabilities as I find need to.
The process for creating a page on my site starts with selecting a set of pictures from my phone. In my case, I’m using an iPhone, which creates .heic files. These .heic files need to be converted to something displayable on any browser. The .webp file format is preferable as it is compact and displays on all modern web browsers.
I plug my phone into my macbook with a USB C connector and import my pictures. Then in the photos app, I export the images as HEIC files with original size to a folder within my site project’s “public” folder.
Next I run a script that was generated by Copilot Chat in the Edge browser. (Source code for this script is at the bottom of this page.)
./convert-to-webp.sh public/fallen-leaf-lake --deleteThis script will convert the .heic files to .webp and compress them with a maximum width of 2048 pixels.
I tried multiple other another methods to convert the .heic files to .webp on my Windows PC, but found that it was necessary to do this on a mac computer because the PC did not support any free runtime that would preserve the “Display P3” image palette of colors used in a .heic file.
I then create a link to the new page on the index.astro page which is the home page of the site.
<li>
  <a href="/travel/fallen-leaf-lake">Fallen Leaf Lake</a>
  <div class="entry-date">July 29, 2026</div>
</li>
Next I create a text file with the names of the images. I use:
> ls > dir.txtOn the macbook, the command generates a dir.txt file containing this:
IMG_1613.webp
IMG_3872.webp
IMG_3884.webp
IMG_3885.webp
IMG_3888.webp
IMG_3890.webp
IMG_3896.webp
IMG_3900.webp
IMG_3904.webp
In VS Code I can highlight the “.webp” extension on the first file name, then use the “Selection” - “Select All Occurrences” command. I’ll make some edits to result in a file like this which is the markup for the images.

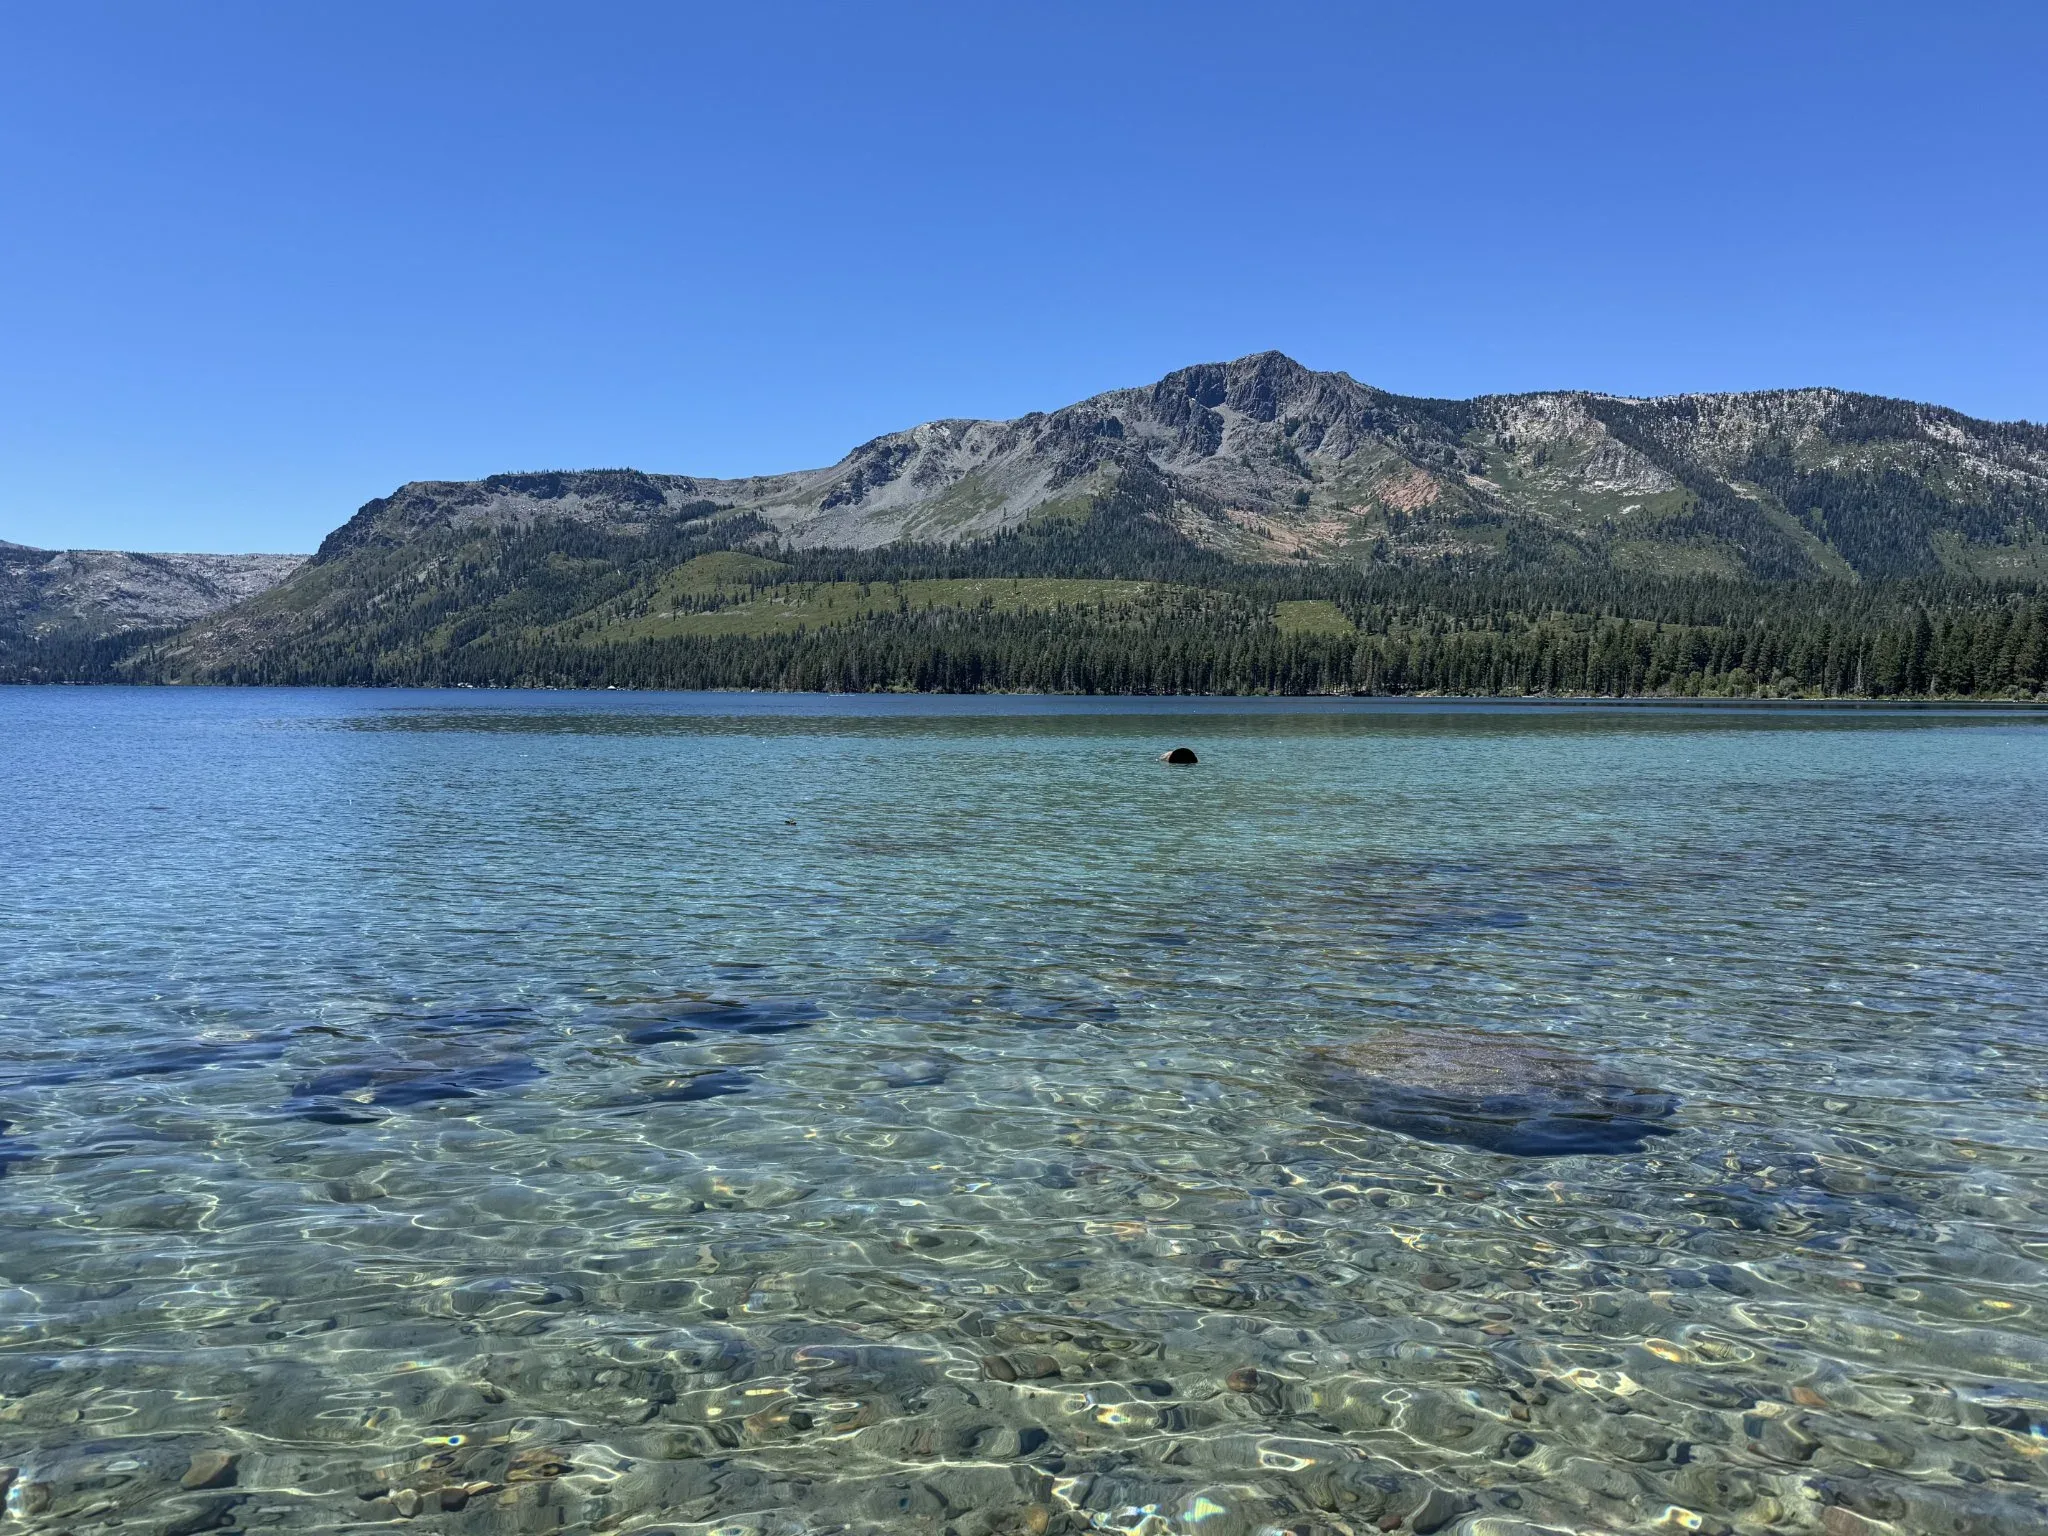





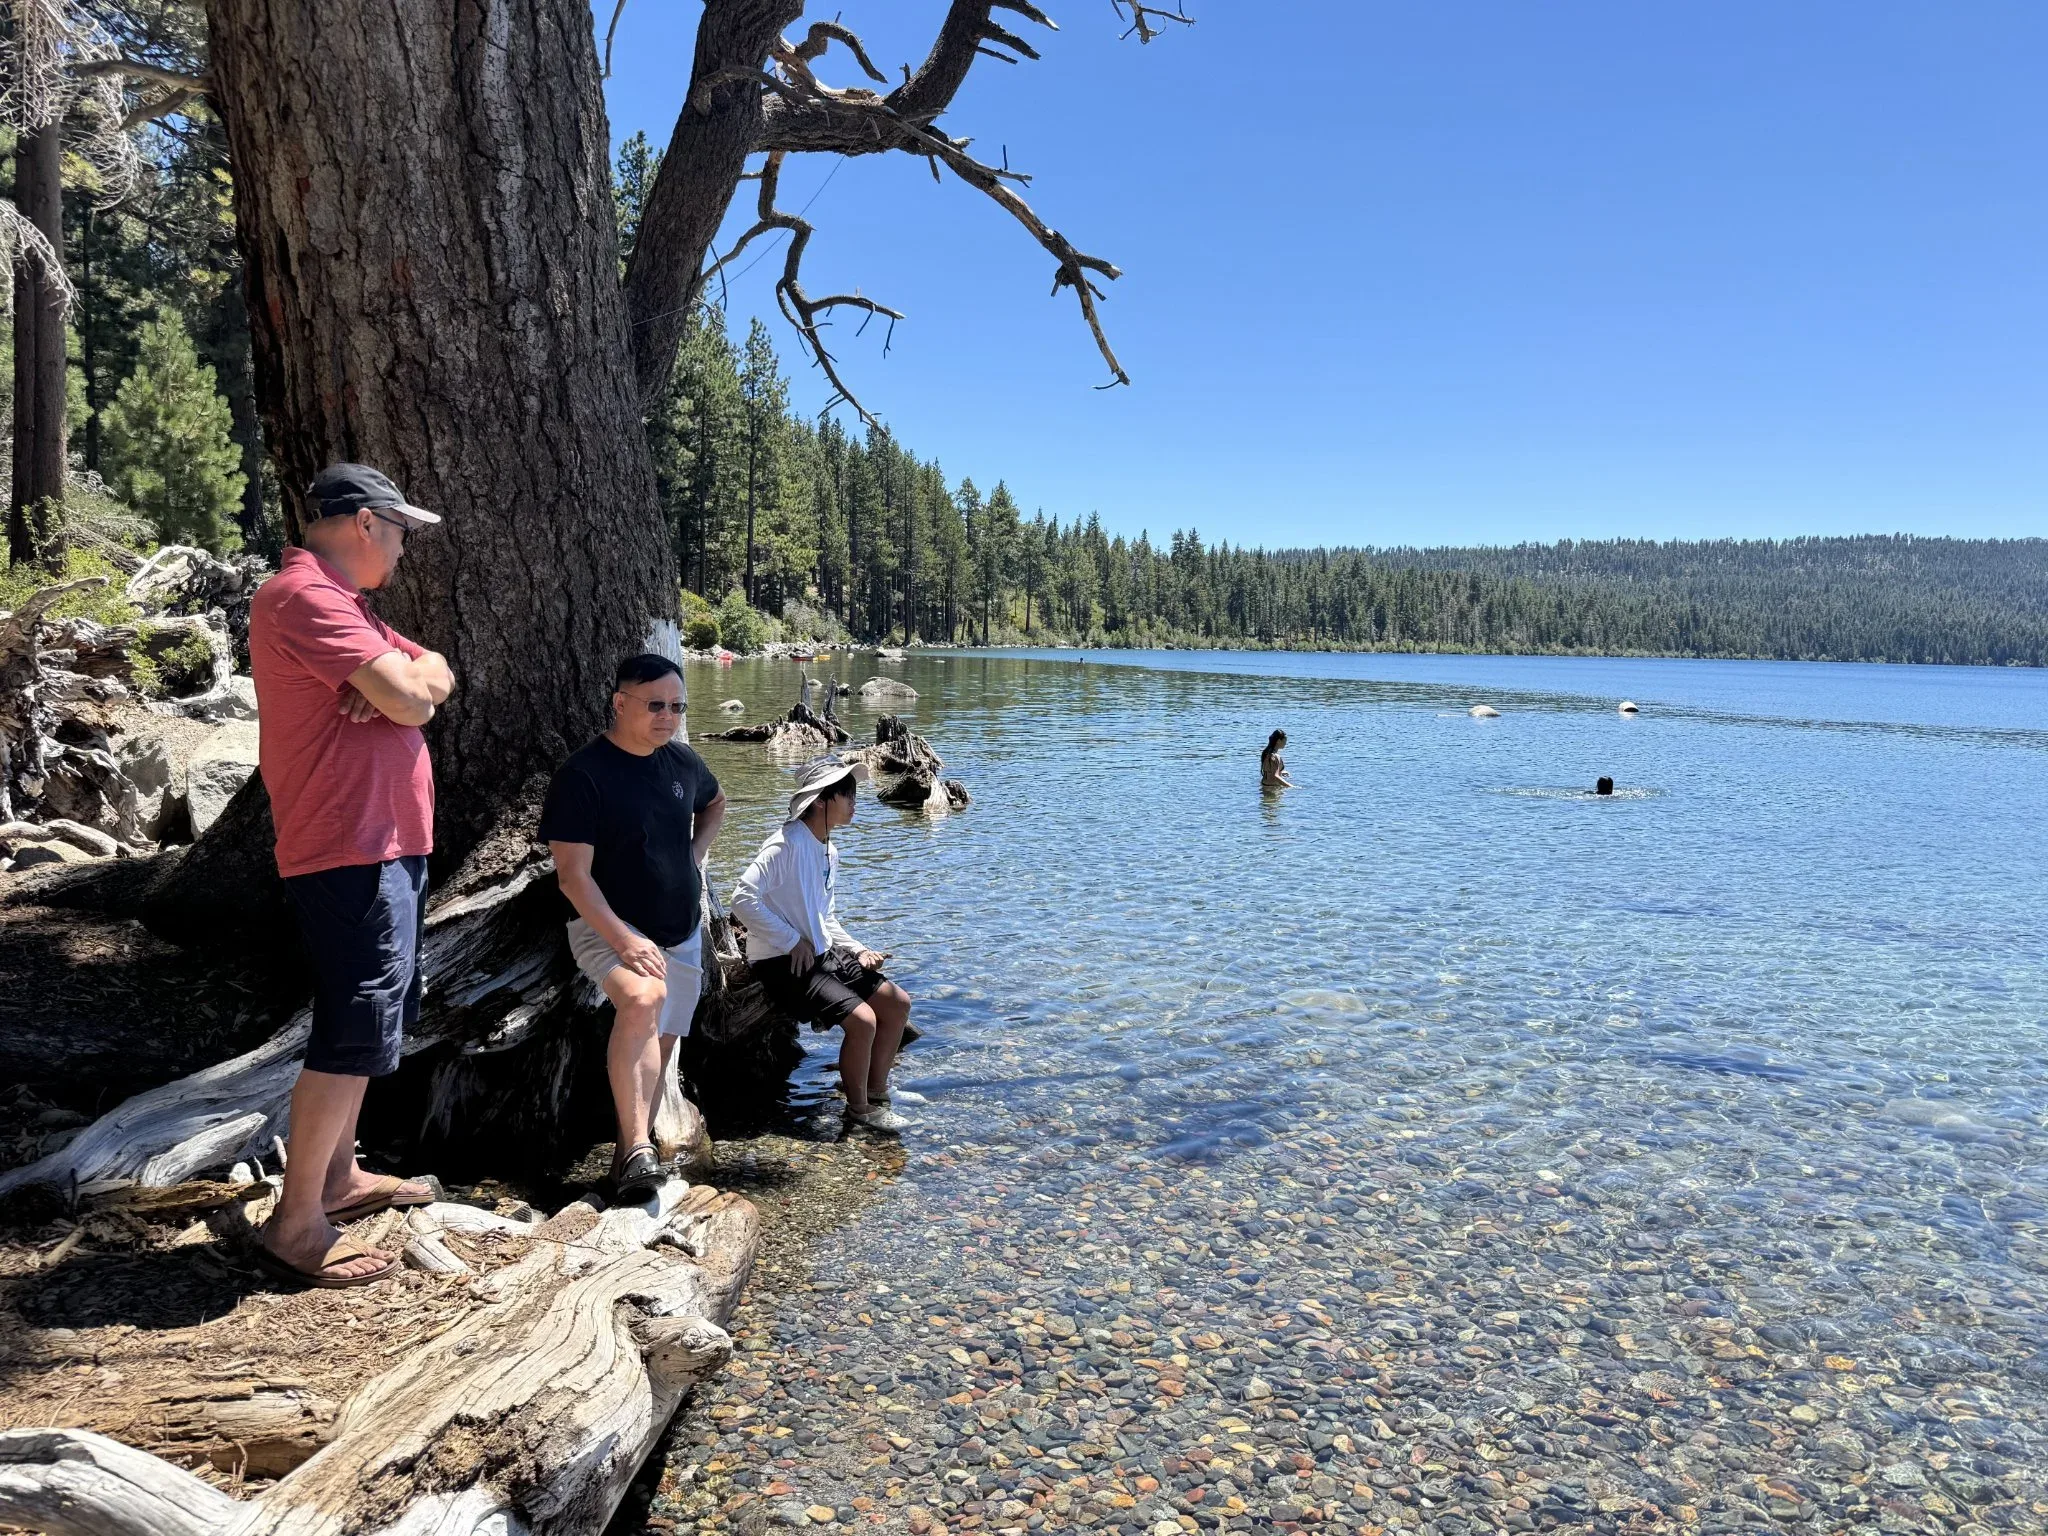
I’ll add a data section at the the top of the page, a heading title and date, one or two links about the location, and some narrative to go along with the pictures.
The resulting Markdown looks like this:
---
layout: ../../layouts/ArticleLayout.astro
title: 'Fallen Leaf Lake'
pubDate: 2026-08-03
description: 'Family gathering at Fallen Leaf Lake in the Lake Tahoe area'
author: 'Don Schuy'
tags: ["travel"]
---
# Fallen Leaf Lake
*July 29, 2026*
[Wikipedia](https://en.wikipedia.org/wiki/Fallen_Leaf_Lake) page.
[Recreation.gov](https://www.recreation.gov/camping/campgrounds/232769) campground page.
This afternoon we visited Fallen Leaf Lake with family for a swim, lunch and picture taking.

The water was warm for wading and swimming. I captures photos and portraits of the ladies.




My wife's cousin brought full Hmong ornamental dress for a photo shoot in this great setting.

We had a relaxed time after our previous days of hiking.


The resulting page is here.
I’ve found I can do text edits on the site via my iPad using vscode.dev and logging into the site’s GitHub respository. However, the image processing needs to be done on my mac laptop, and since the site is primarily a bunch of photos, I’m pretty limited editing it on the iPad.
My convert-to-webp.sh script has been updated many times as I tried various tools to convert the images. I settled with using Image Magick, which is a free download and has all the options I need to configure the conversion for an optimal result. Basically, an image can be resized and compressed, both operations can reduce the image size. The idea is to find the right balance between page load time and quality of the images. As internet and smart phone networks get faster, I may re-do the image conversions to produce higher quality files that are larger. The current images are around 1 mb in size.
Here is the contents of the convert-to-webp.sh script that was generated by Copilot chat:
#!/bin/bash

set -euo pipefail

# ---- CONFIGURABLE CONSTANTS ----
WEBP_QUALITY=90        # Change this to experiment
WEBP_METHOD=6          # Better compression, same quality
LOSSLESS=false         # Set to true if you want lossless WebP
# --------------------------------

DELETE_HEIC=false

print_usage() {
  echo "Usage: $0 /path/to/image_folder [--delete]"
  echo ""
  echo "Options:"
  echo "  --delete    Remove HEIC/HEIF files after successful conversion"
  exit 1
}

# ---- Parse arguments ----
if [ $# -eq 0 ]; then
  print_usage
fi

IMG_DIR="$1"
shift

while [[ $# -gt 0 ]]; do
  case "$1" in
    --delete)
      DELETE_HEIC=true
      ;;
    *)
      echo "Unknown option: $1"
      print_usage
      ;;
  esac
  shift
done

if [ ! -d "$IMG_DIR" ]; then
  echo "Error: '$IMG_DIR' is not a directory."
  exit 1
fi

cd "$IMG_DIR"

CPU_CORES=$(sysctl -n hw.ncpu)
echo "Using $CPU_CORES cores."
$DELETE_HEIC && echo "HEIC/HEIF originals will be deleted after conversion."

shopt -s nullglob
FILES=( *.jpg *.jpeg *.png *.heic *.HEIC *.heif *.HEIF *.tif *.tiff *.TIF *.TIFF )
shopt -u nullglob

if [ ${#FILES[@]} -eq 0 ]; then
  echo "No images found."
  exit 0
fi

convert_one() {
  f="$1"
  ext="${f##*.}"
  base="${f%.*}"
  out="${base}.webp"

  echo "Converting '$f' → '$out'..."

  magick "$f" \
    -auto-orient \
    -resize 2048x2048\> \
    -define webp:lossless=$LOSSLESS \
    -define webp:method=$WEBP_METHOD \
    -quality $WEBP_QUALITY \
    +profile "!icc,*" \
    "$out"

  ext_lower=$(echo "$ext" | tr '[:upper:]' '[:lower:]')

  if $DELETE_HEIC && [[ "$ext_lower" == "heic" || "$ext_lower" == "heif" ]]; then
      if [[ -f "$out" ]]; then
          echo "Deleting original HEIC/HEIF: $f"
          rm "$f"
      else
          echo "Warning: WebP output missing, not deleting '$f'"
      fi
  fi
}

export -f convert_one
export DELETE_HEIC
export WEBP_QUALITY
export WEBP_METHOD
export LOSSLESS

if command -v parallel >/dev/null 2>&1; then
  printf "%s\n" "${FILES[@]}" | parallel -j "$CPU_CORES" convert_one {}
else
  running_jobs=0
  for f in "${FILES[@]}"; do
    convert_one "$f" &
    ((running_jobs++))
    if (( running_jobs >= CPU_CORES )); then
      wait
      running_jobs=0
    fi
  done
  wait
fi

echo "Done."
I’ll update this page with more details as I improve how I generate the site content.