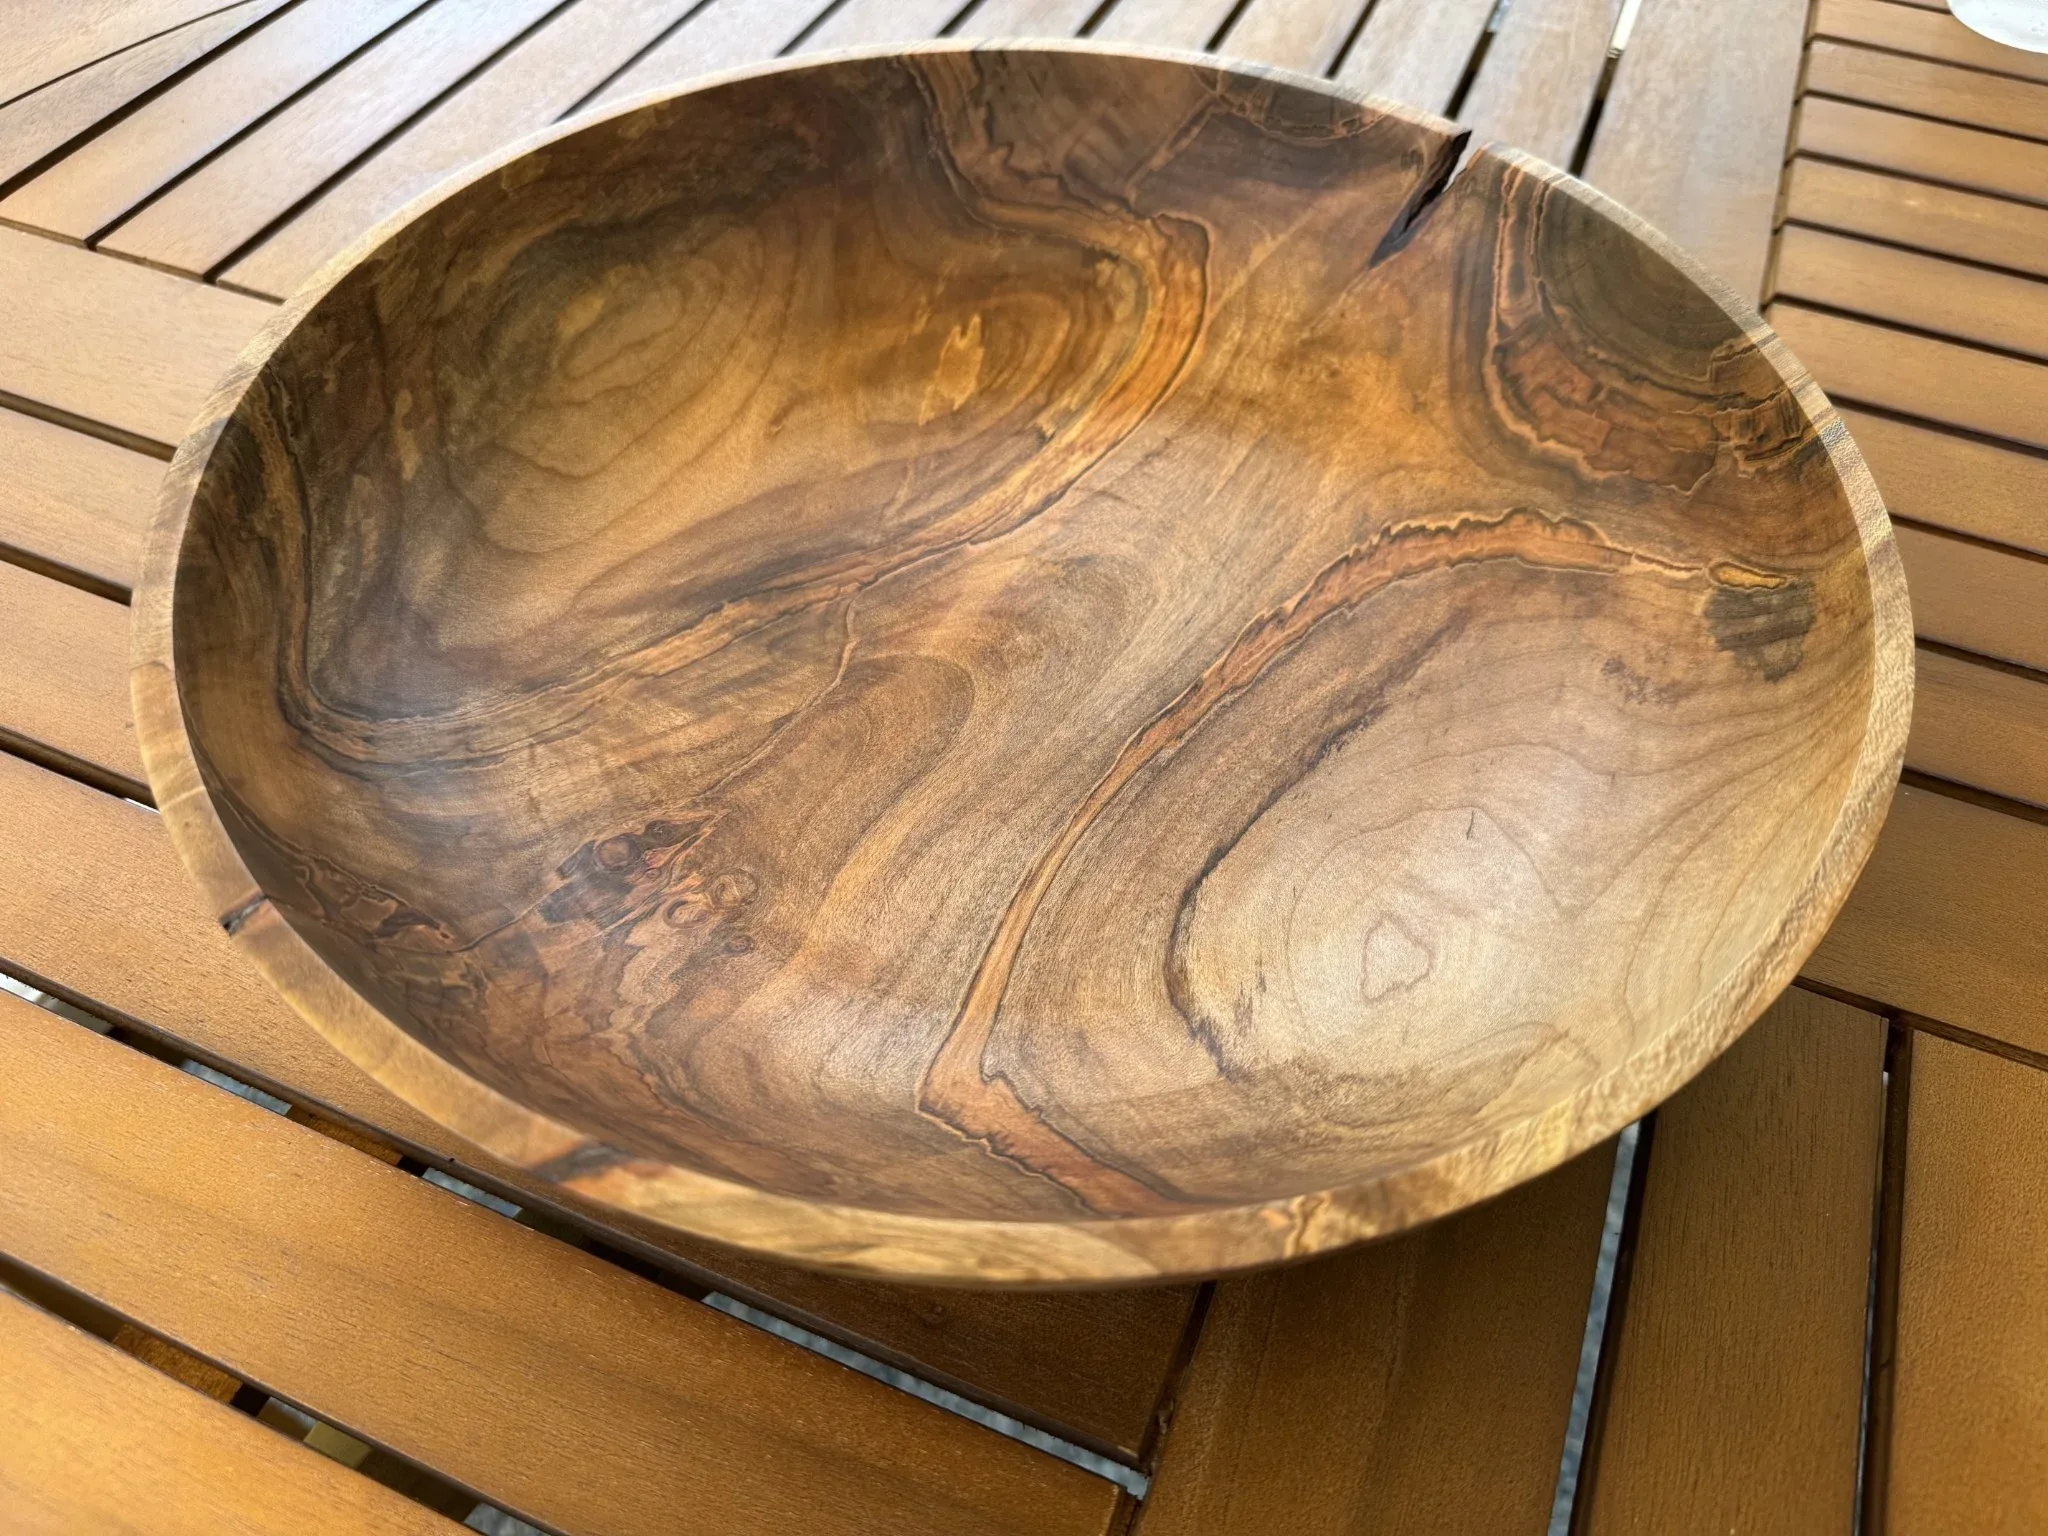
Bowl for Sister-In-Law
July 22, 2026
I had promised one of my wife’s sisters that I would make her a bowl. Since we are visiting soon, I thought I better get to it.
I went out to the wood shed to find a suitable chunk of wood. I didn’t have many options for a large bowl. This one looked like it had interesting grain; vs. another piece I had that would result in a very plain bowl.
I got a large faceplate to screw on the flat side, which would become the top of the bowl.
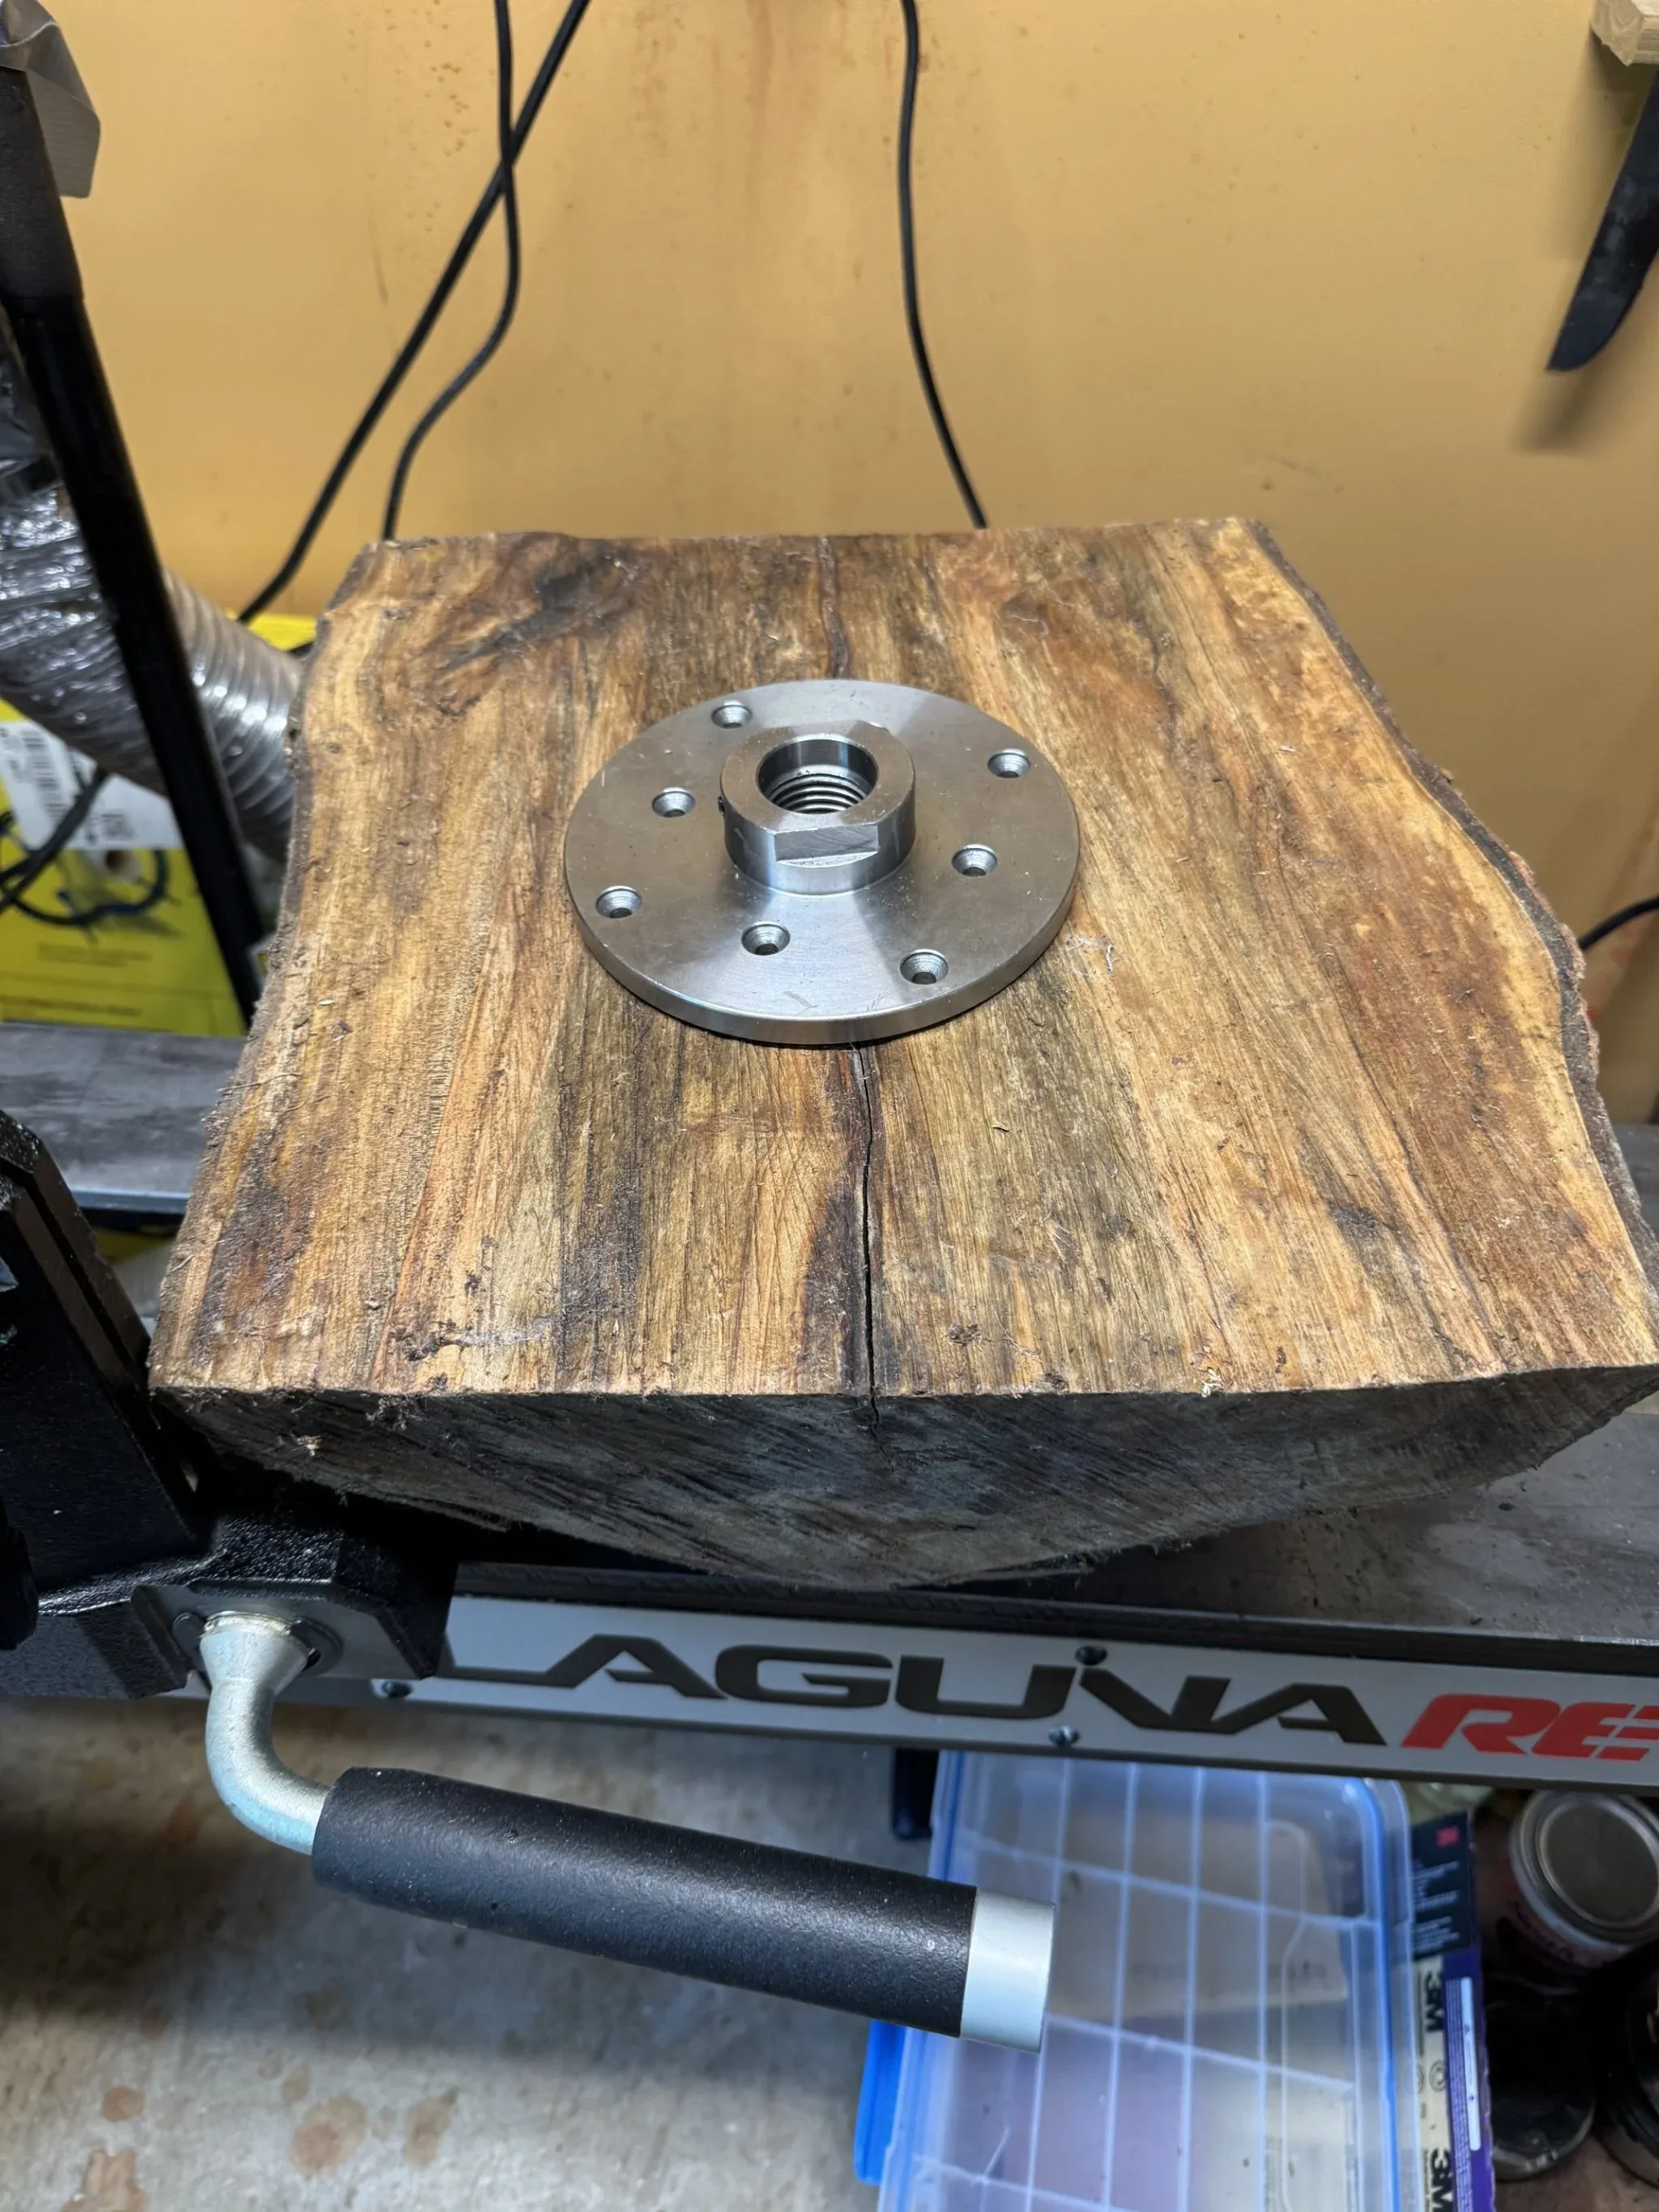
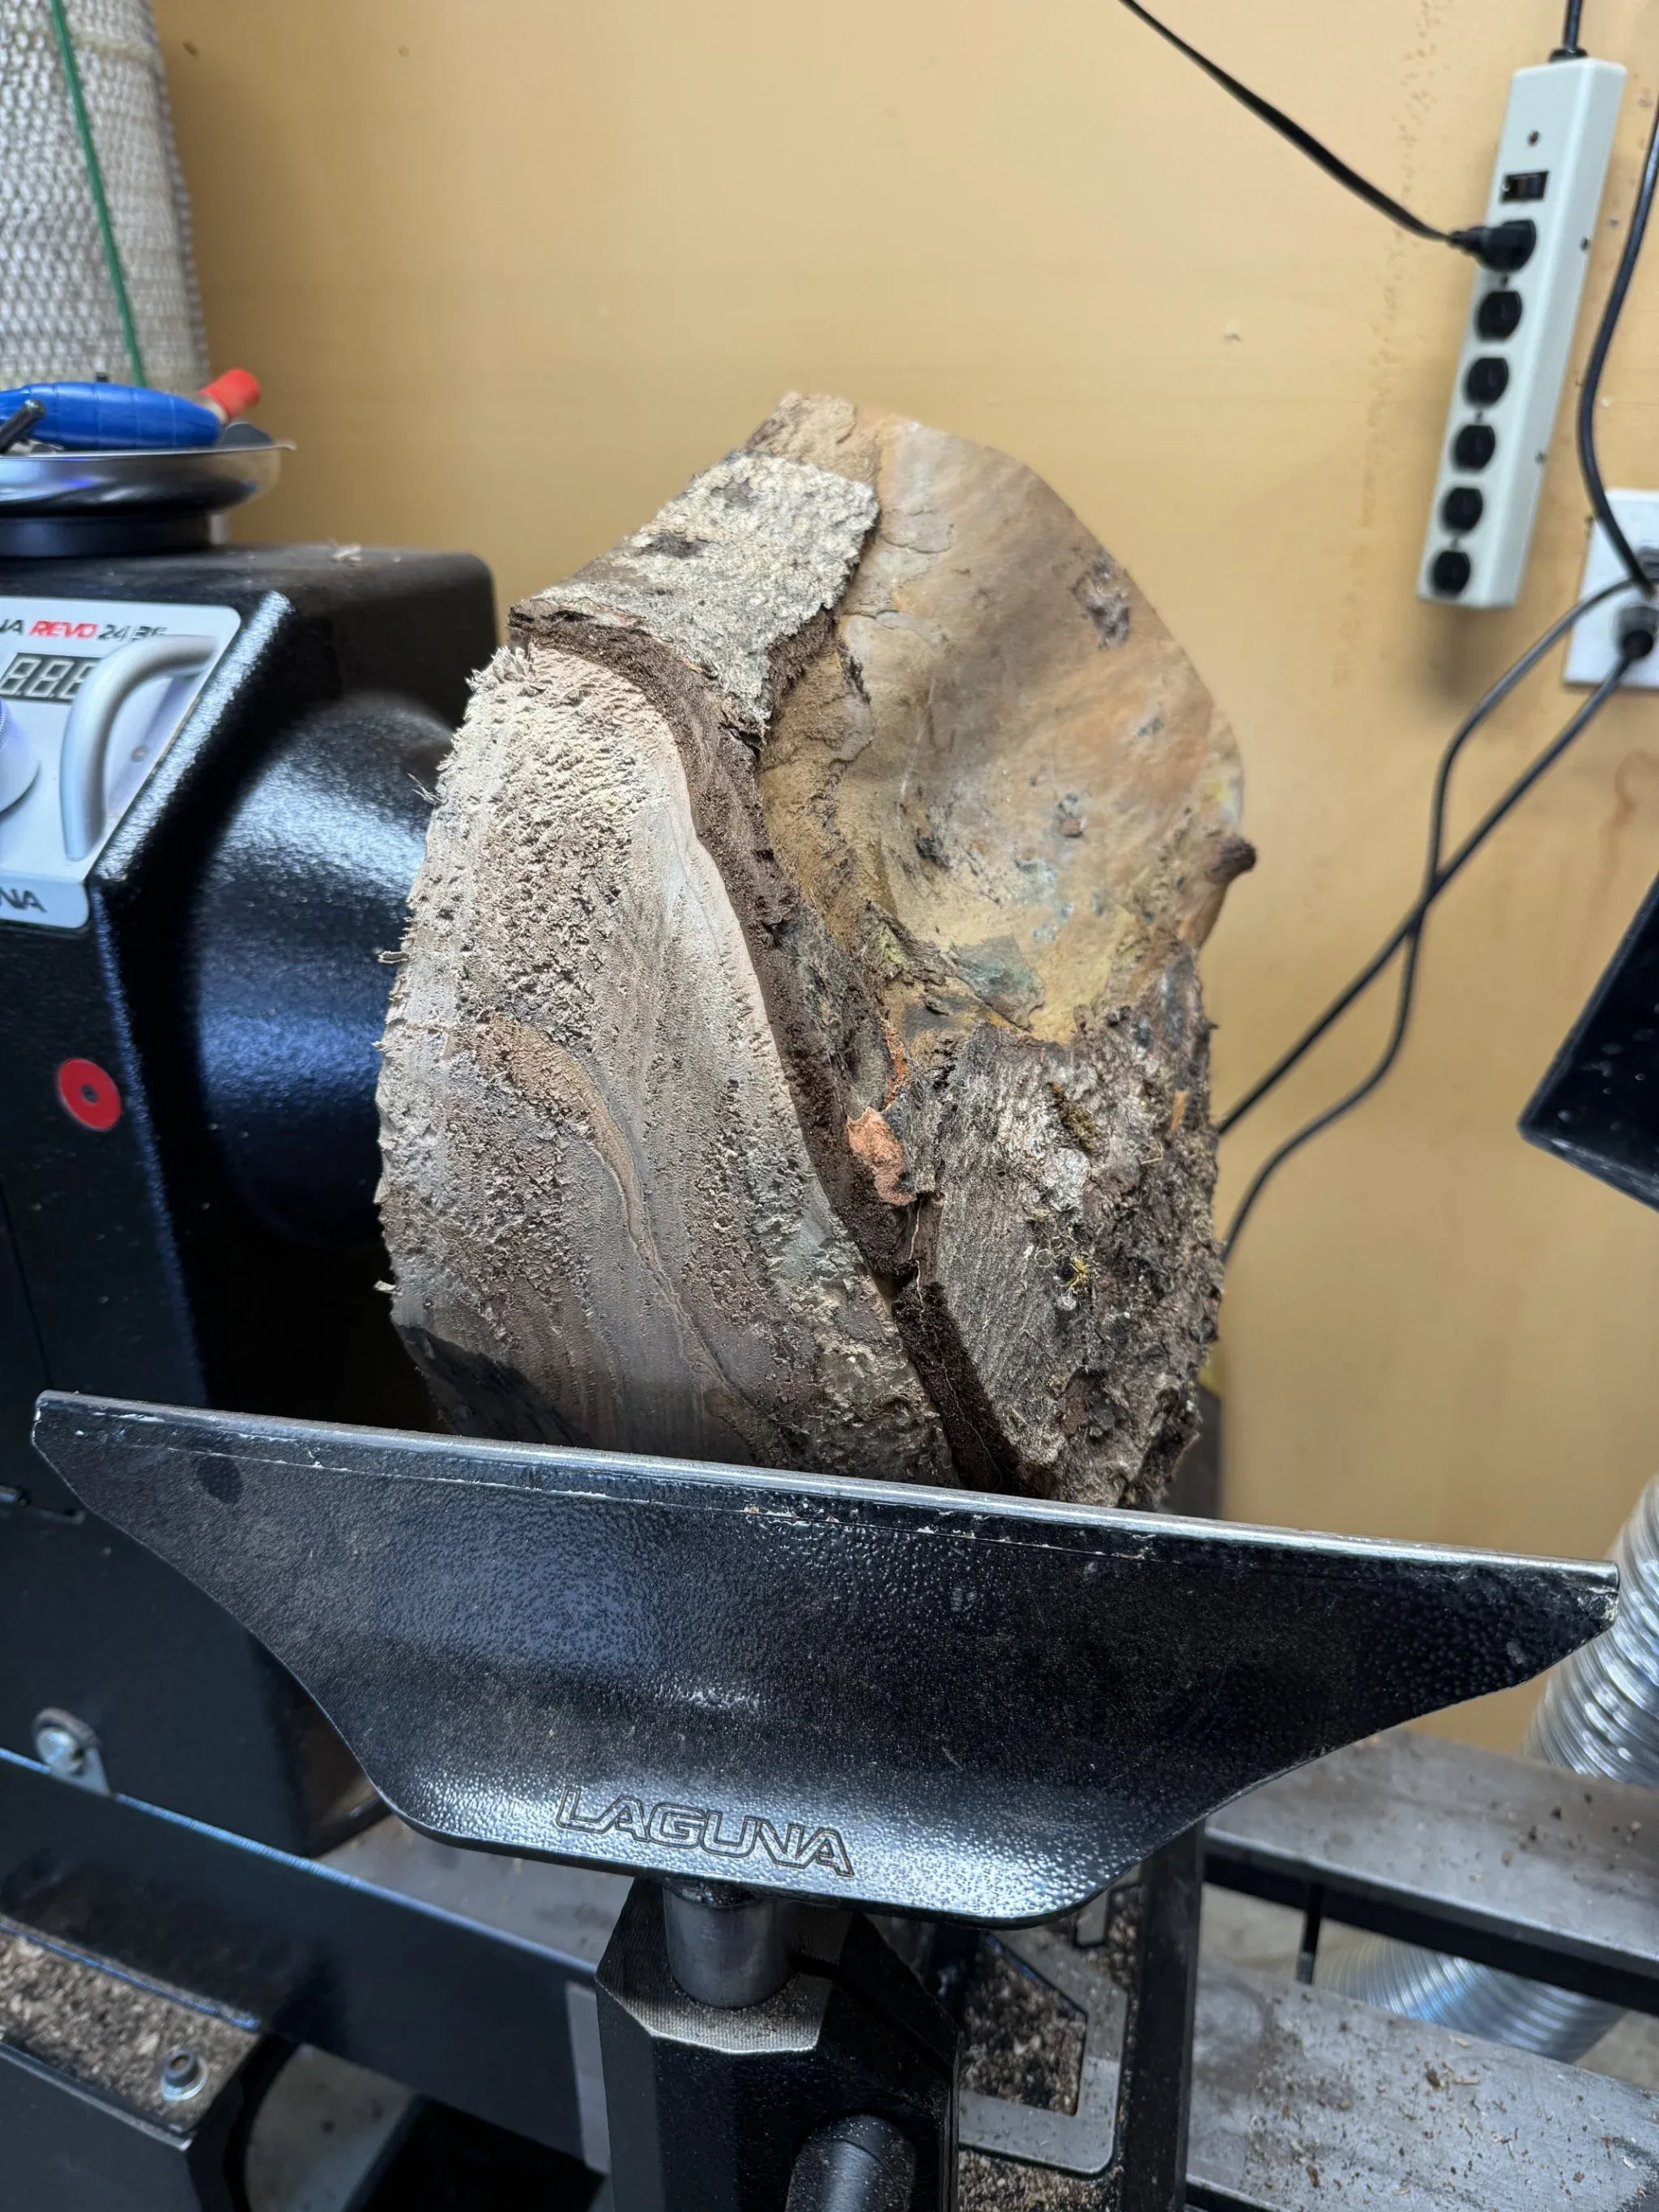
I started taking material away using my heftiest bowl gouge. I had to wear gloves because large chunks were flying and they can hurt. I found a large ugly spider and spider eggs below some of the loose bark; yuck! These cuts are pretty rough, but I’m taking material off fast.
To sharpen my gouge, I use a Oneway Wolverine sharpening system. I color the tip of the gouge with black marker so I can check that I have the correct angle and am sharpening and not reshaping the gouge.
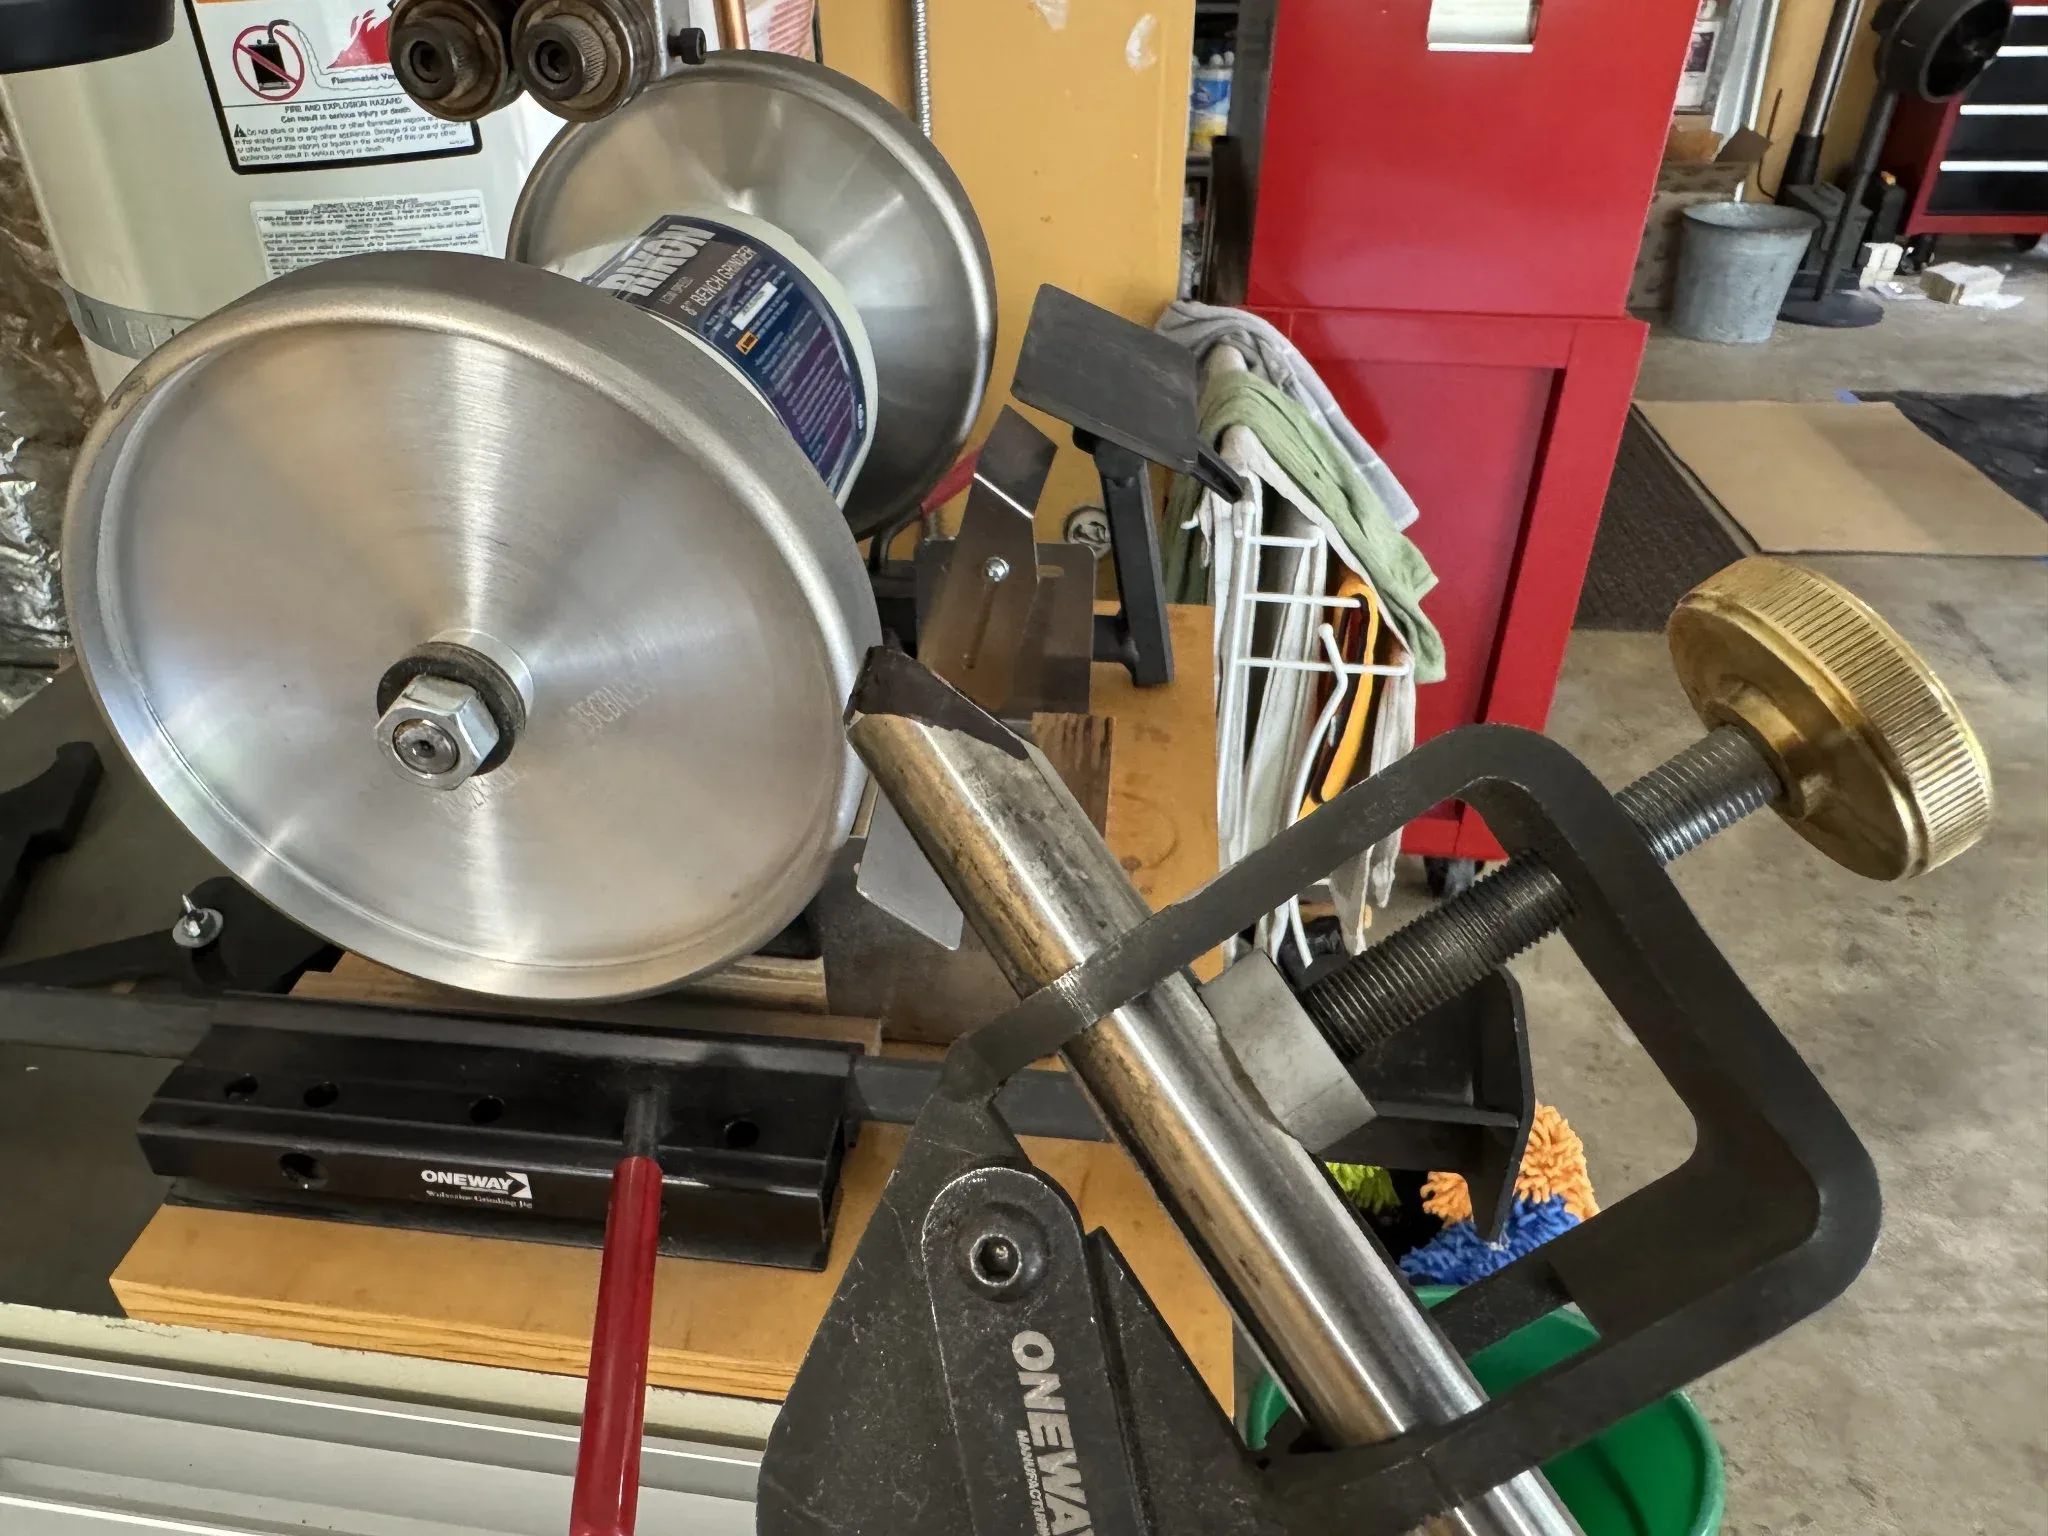
The top of the gouge fits square against the sharpening wheel.
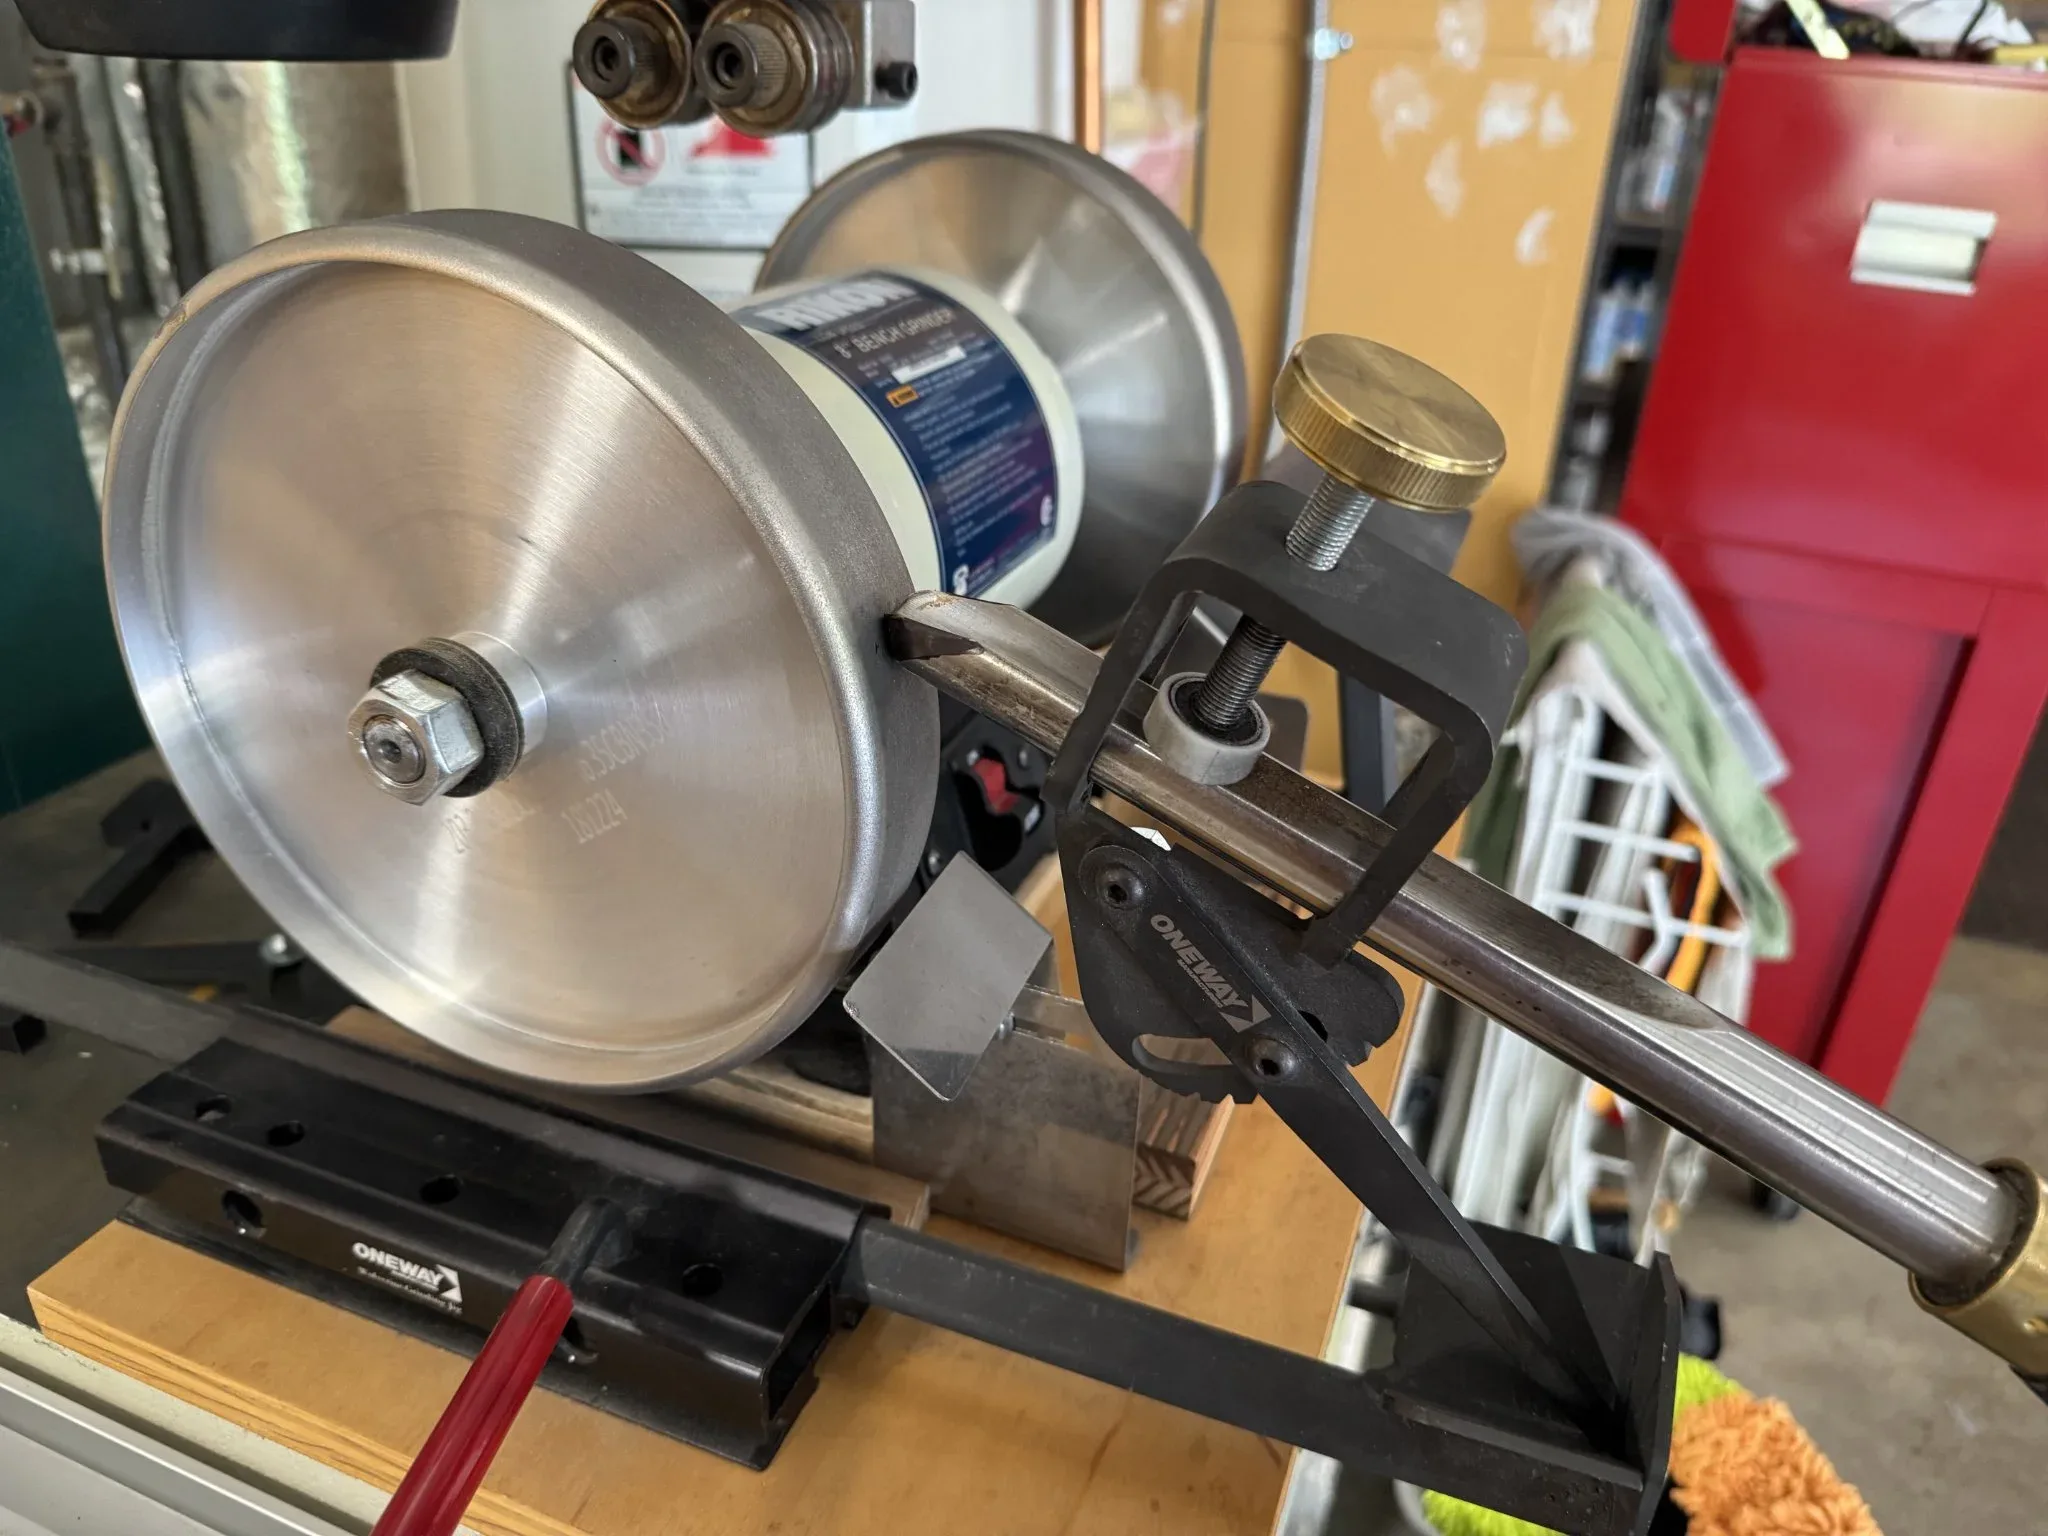
Checking the sharpening, I see that the black marker is removed, indicating the sharpening is correct.
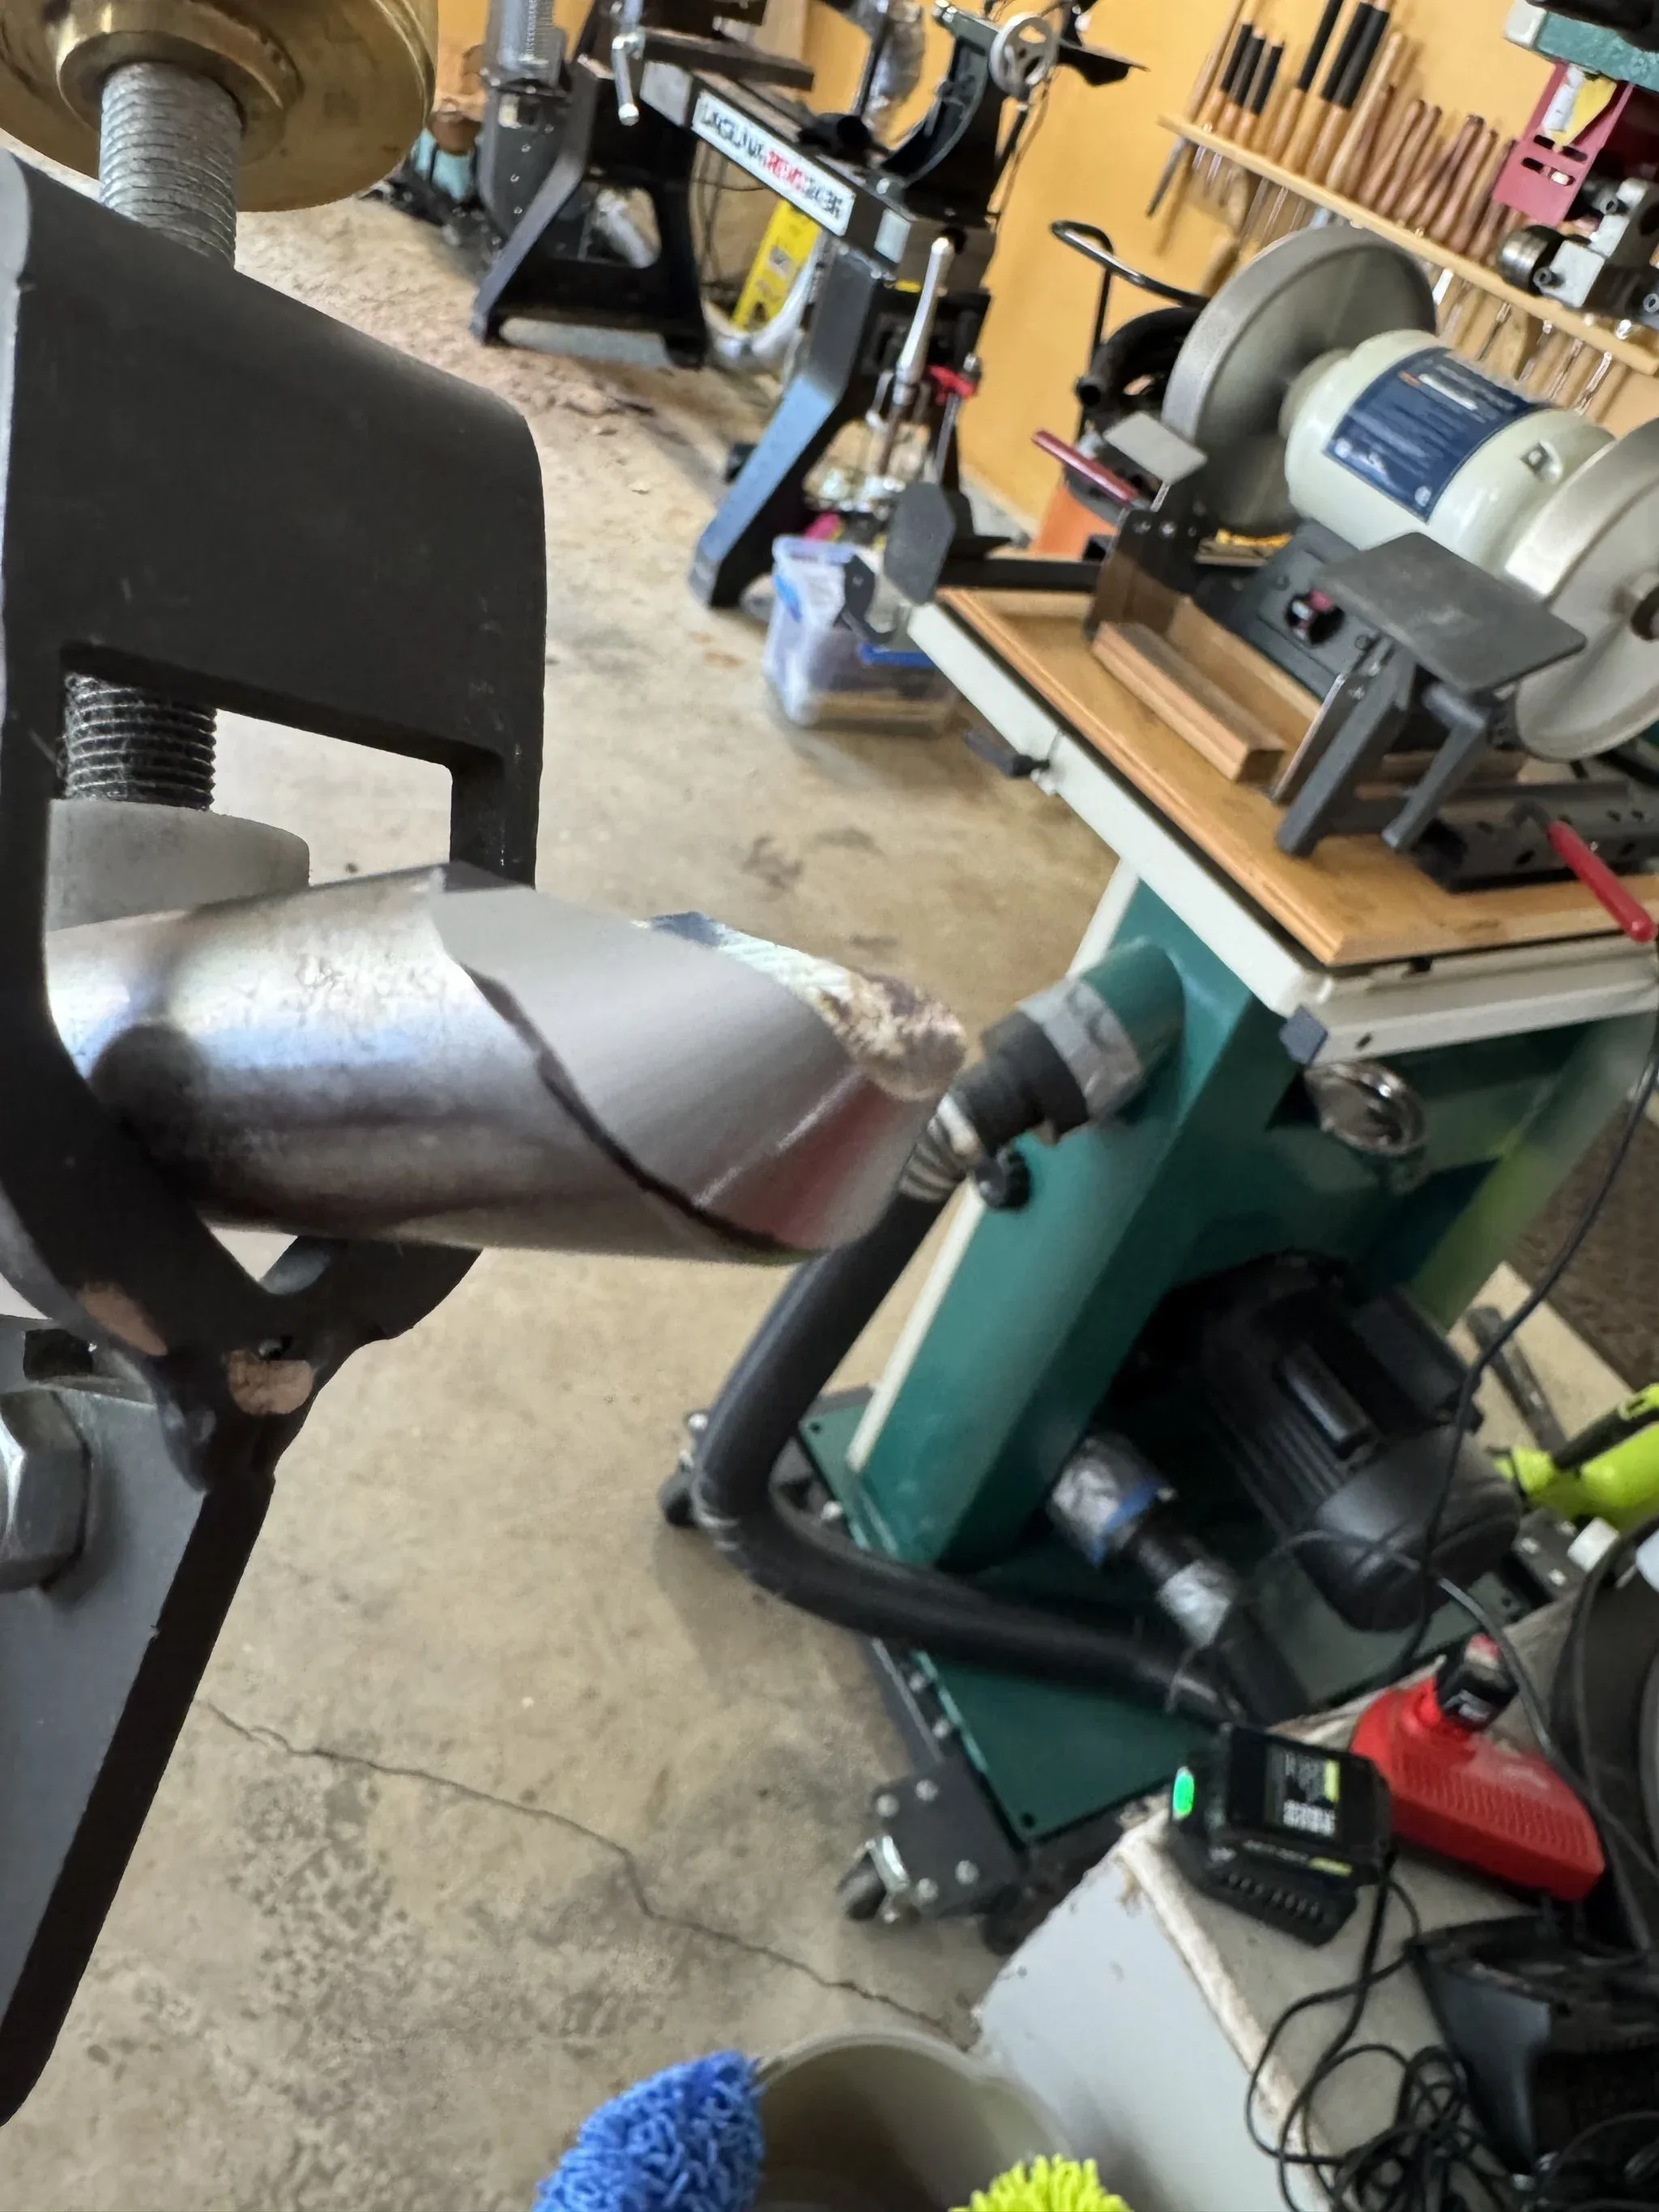
I’ve removed a lot of material now. The garage is a mess with shavings.
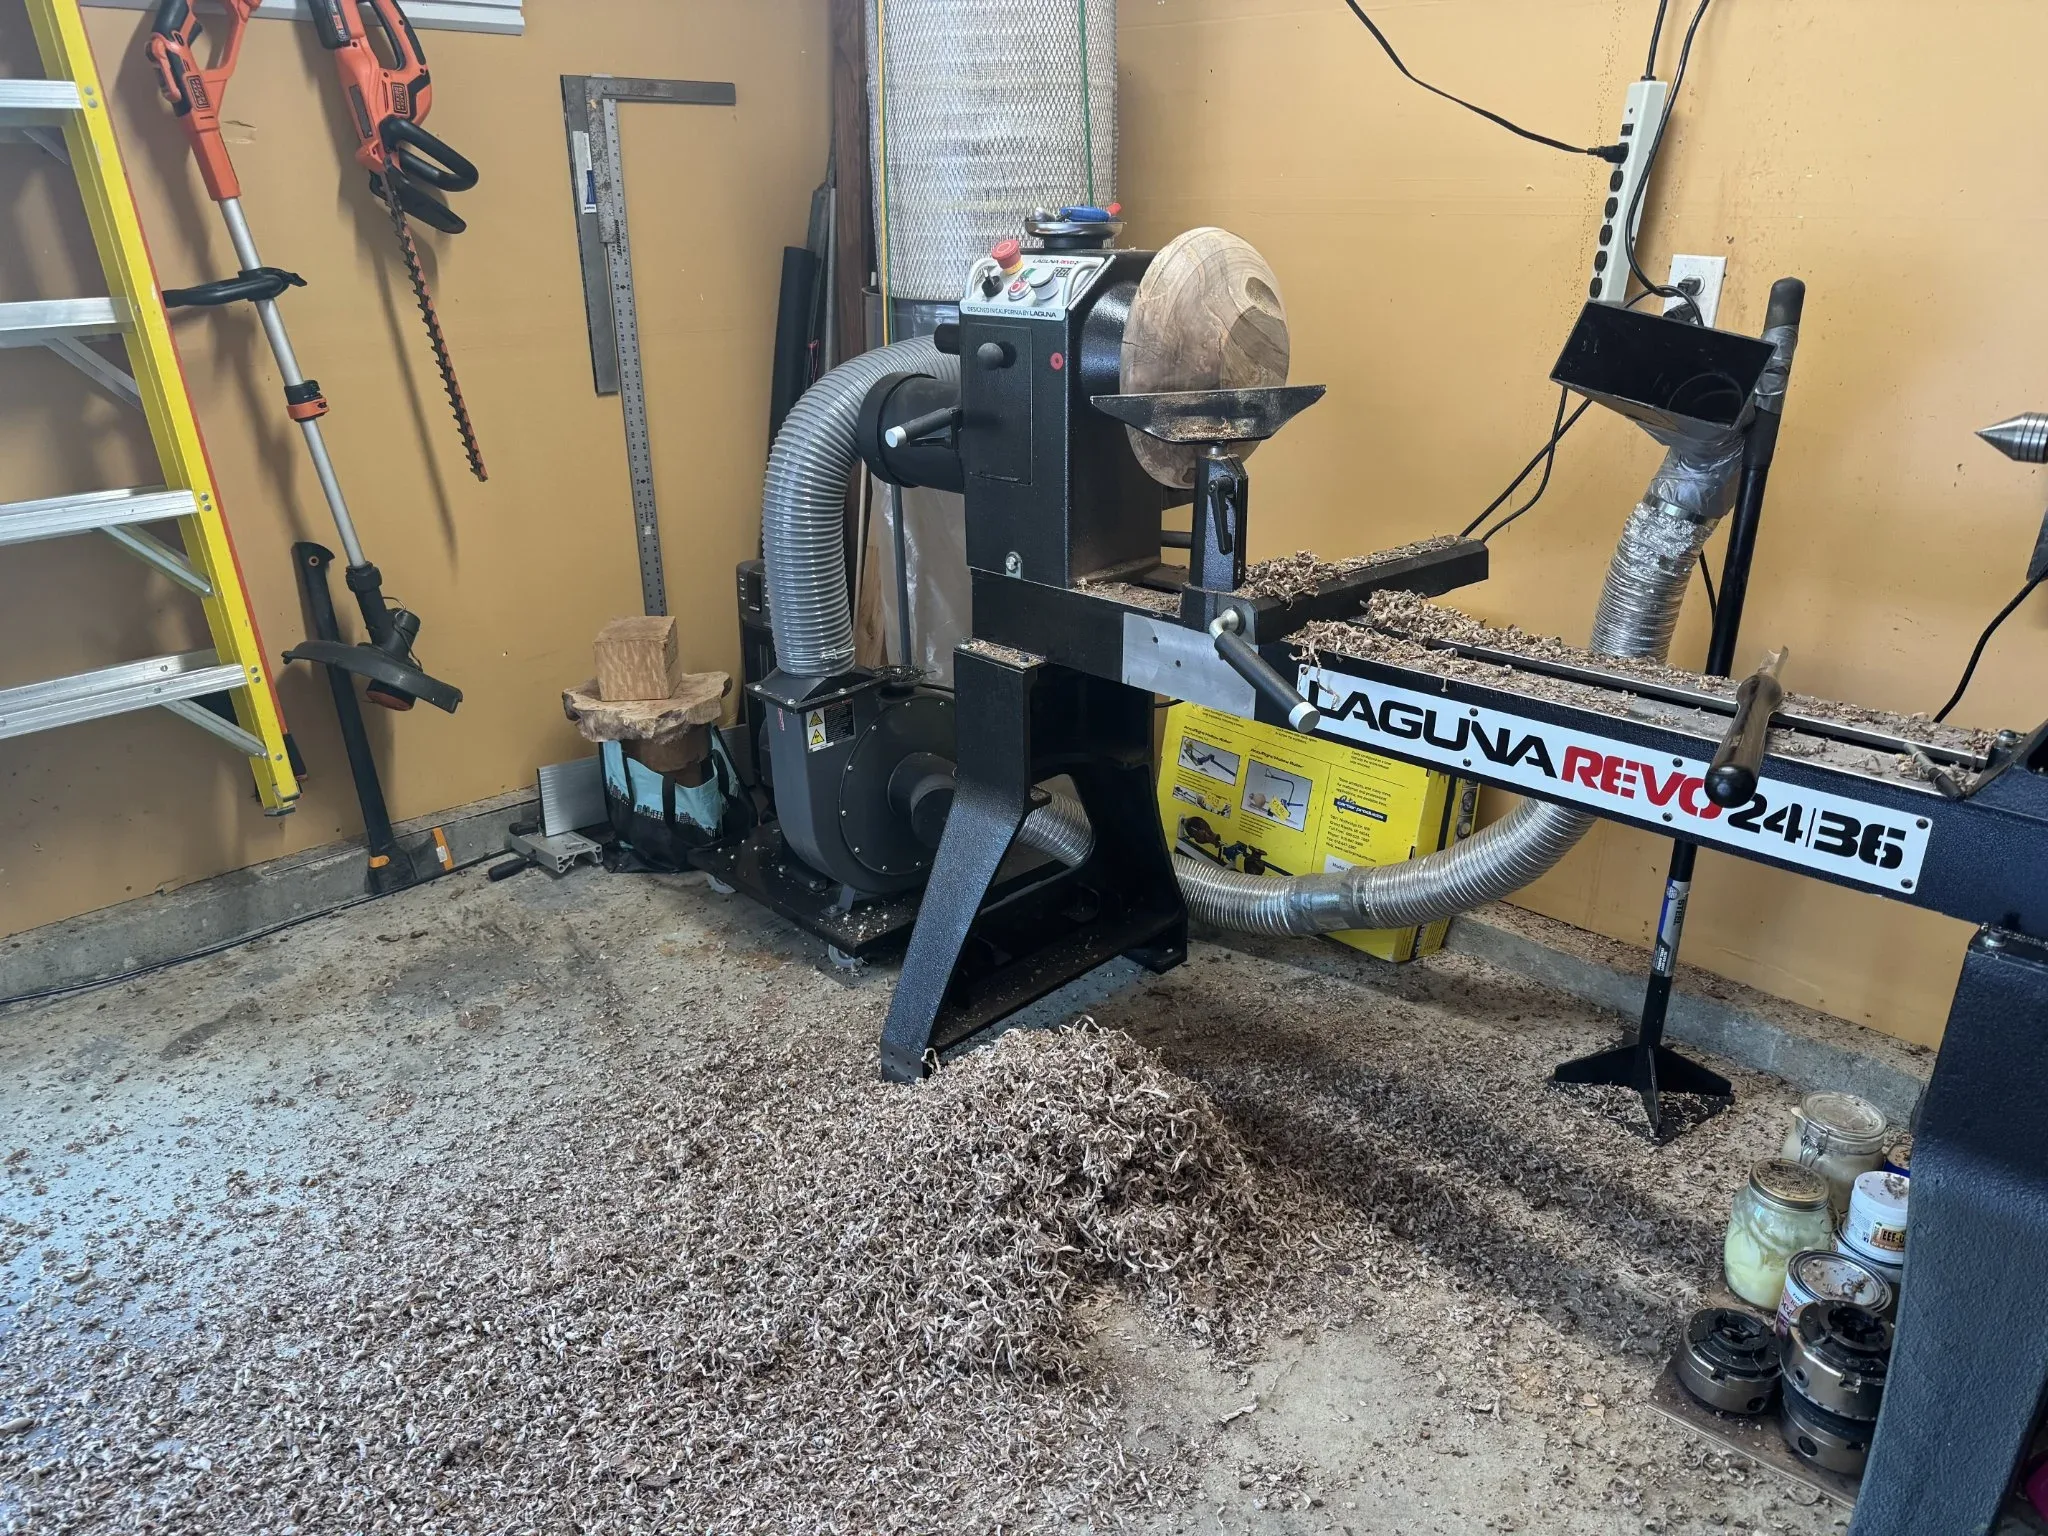
I’m dealing with a couple issues with this chunk of wood.
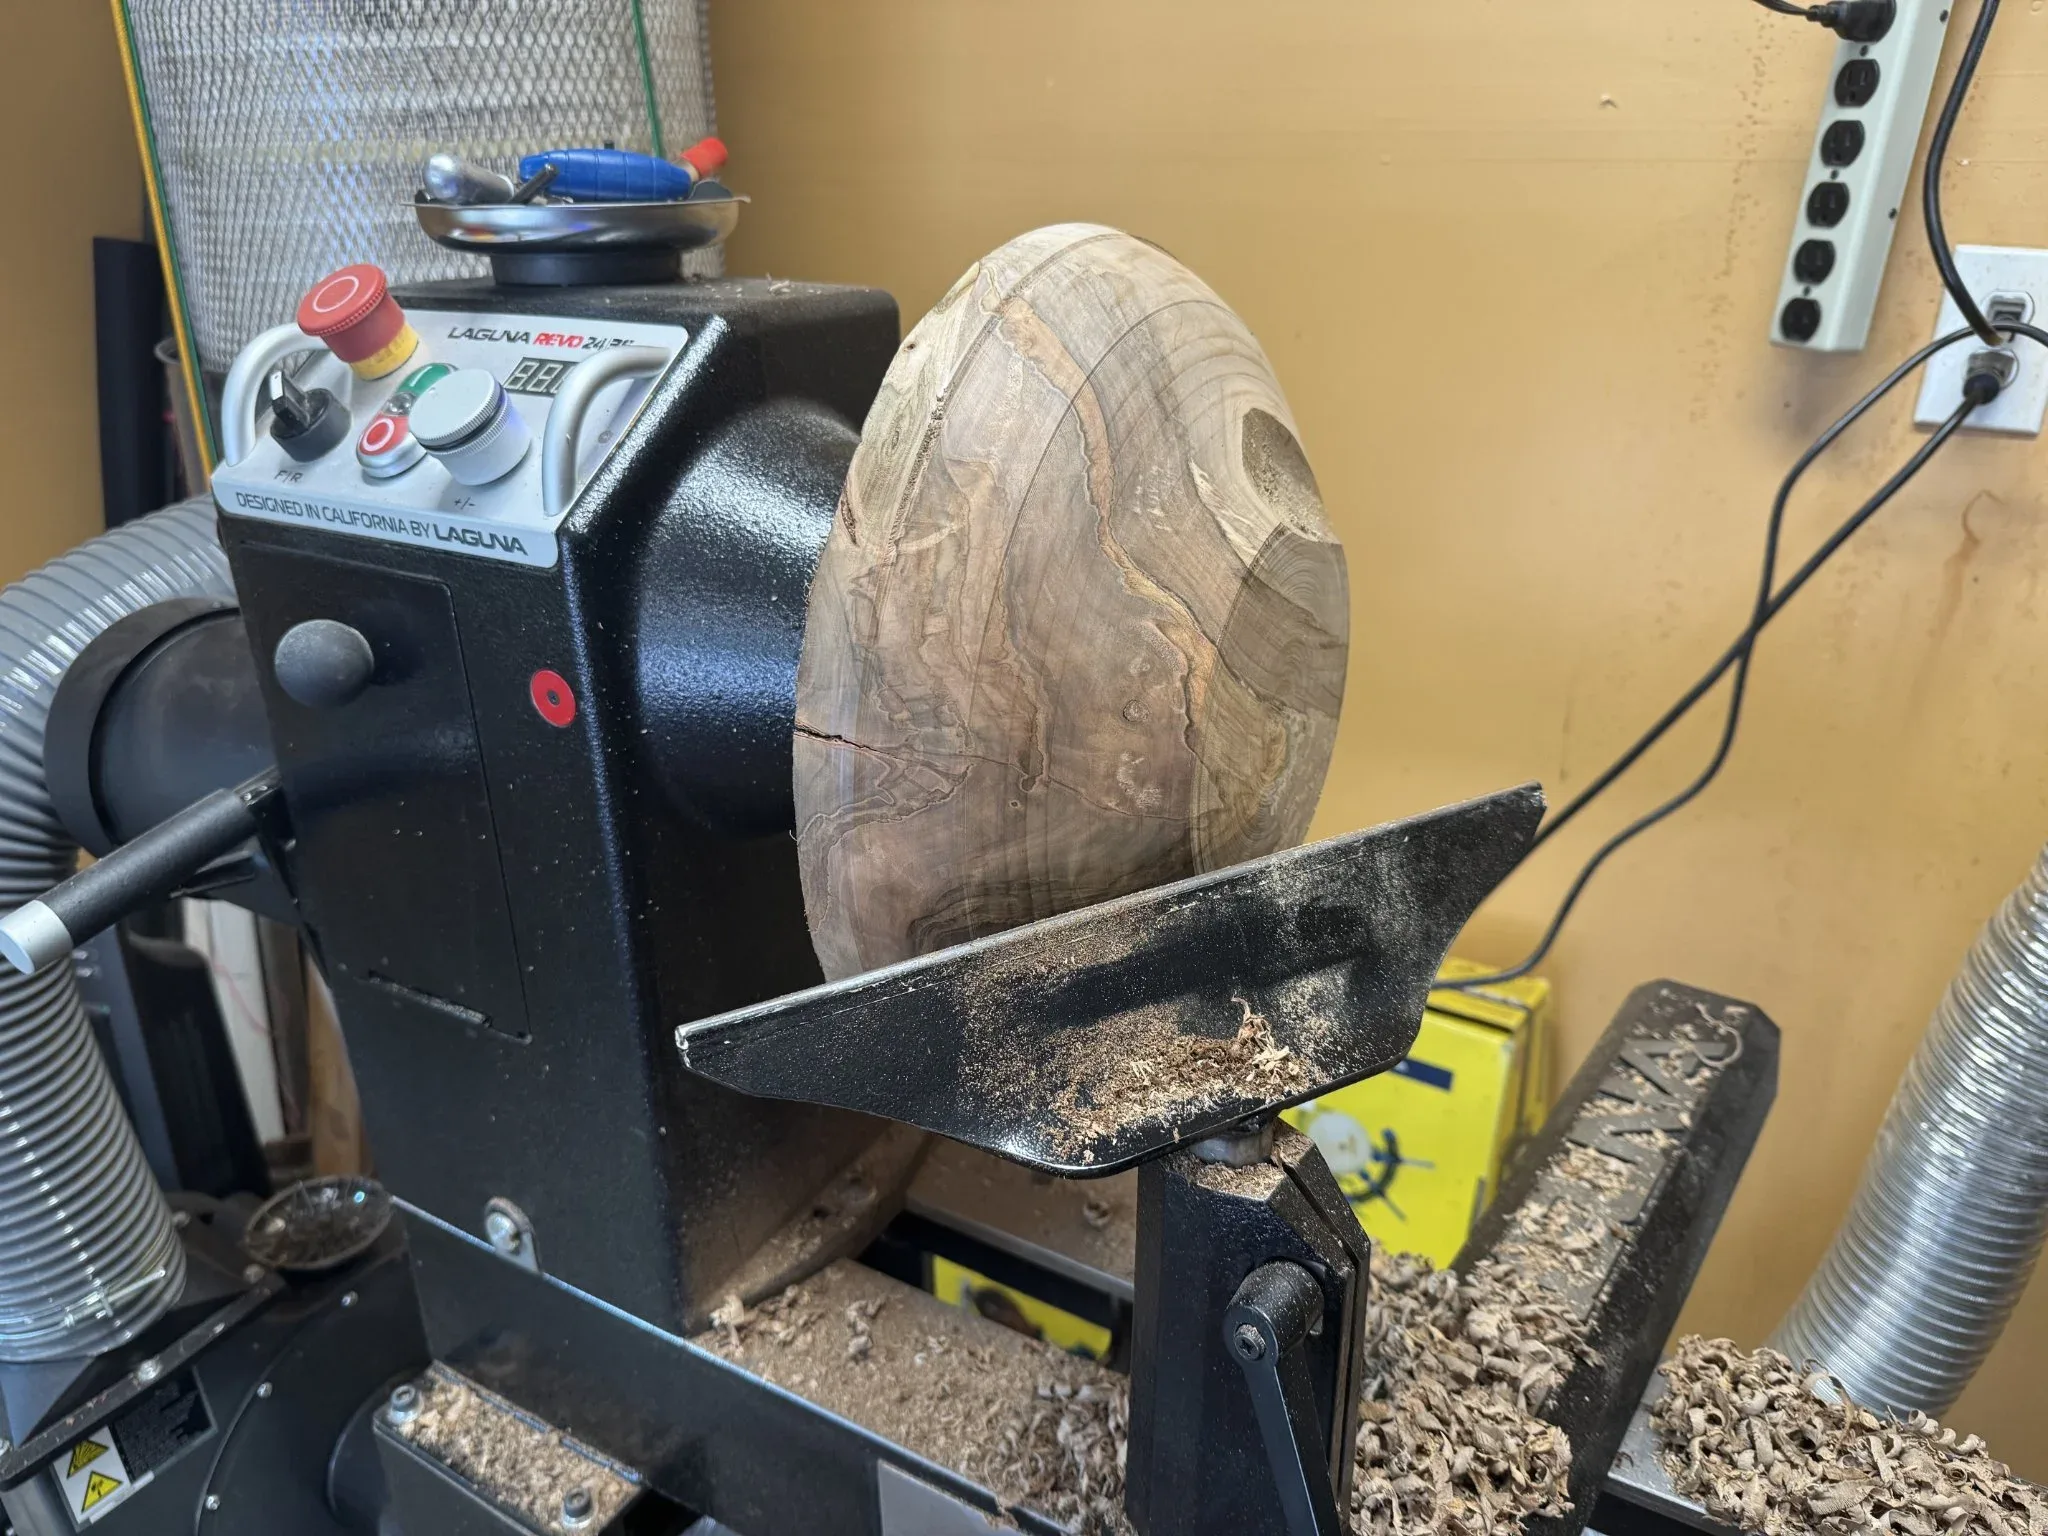
There is a crack across what will be the top of the bowl. I need to be comfortable this isn’t going to break apart while I’m turning or pieces might go flying. I’m wearing a protective face mask as always and stay out of the line of fire just in case.
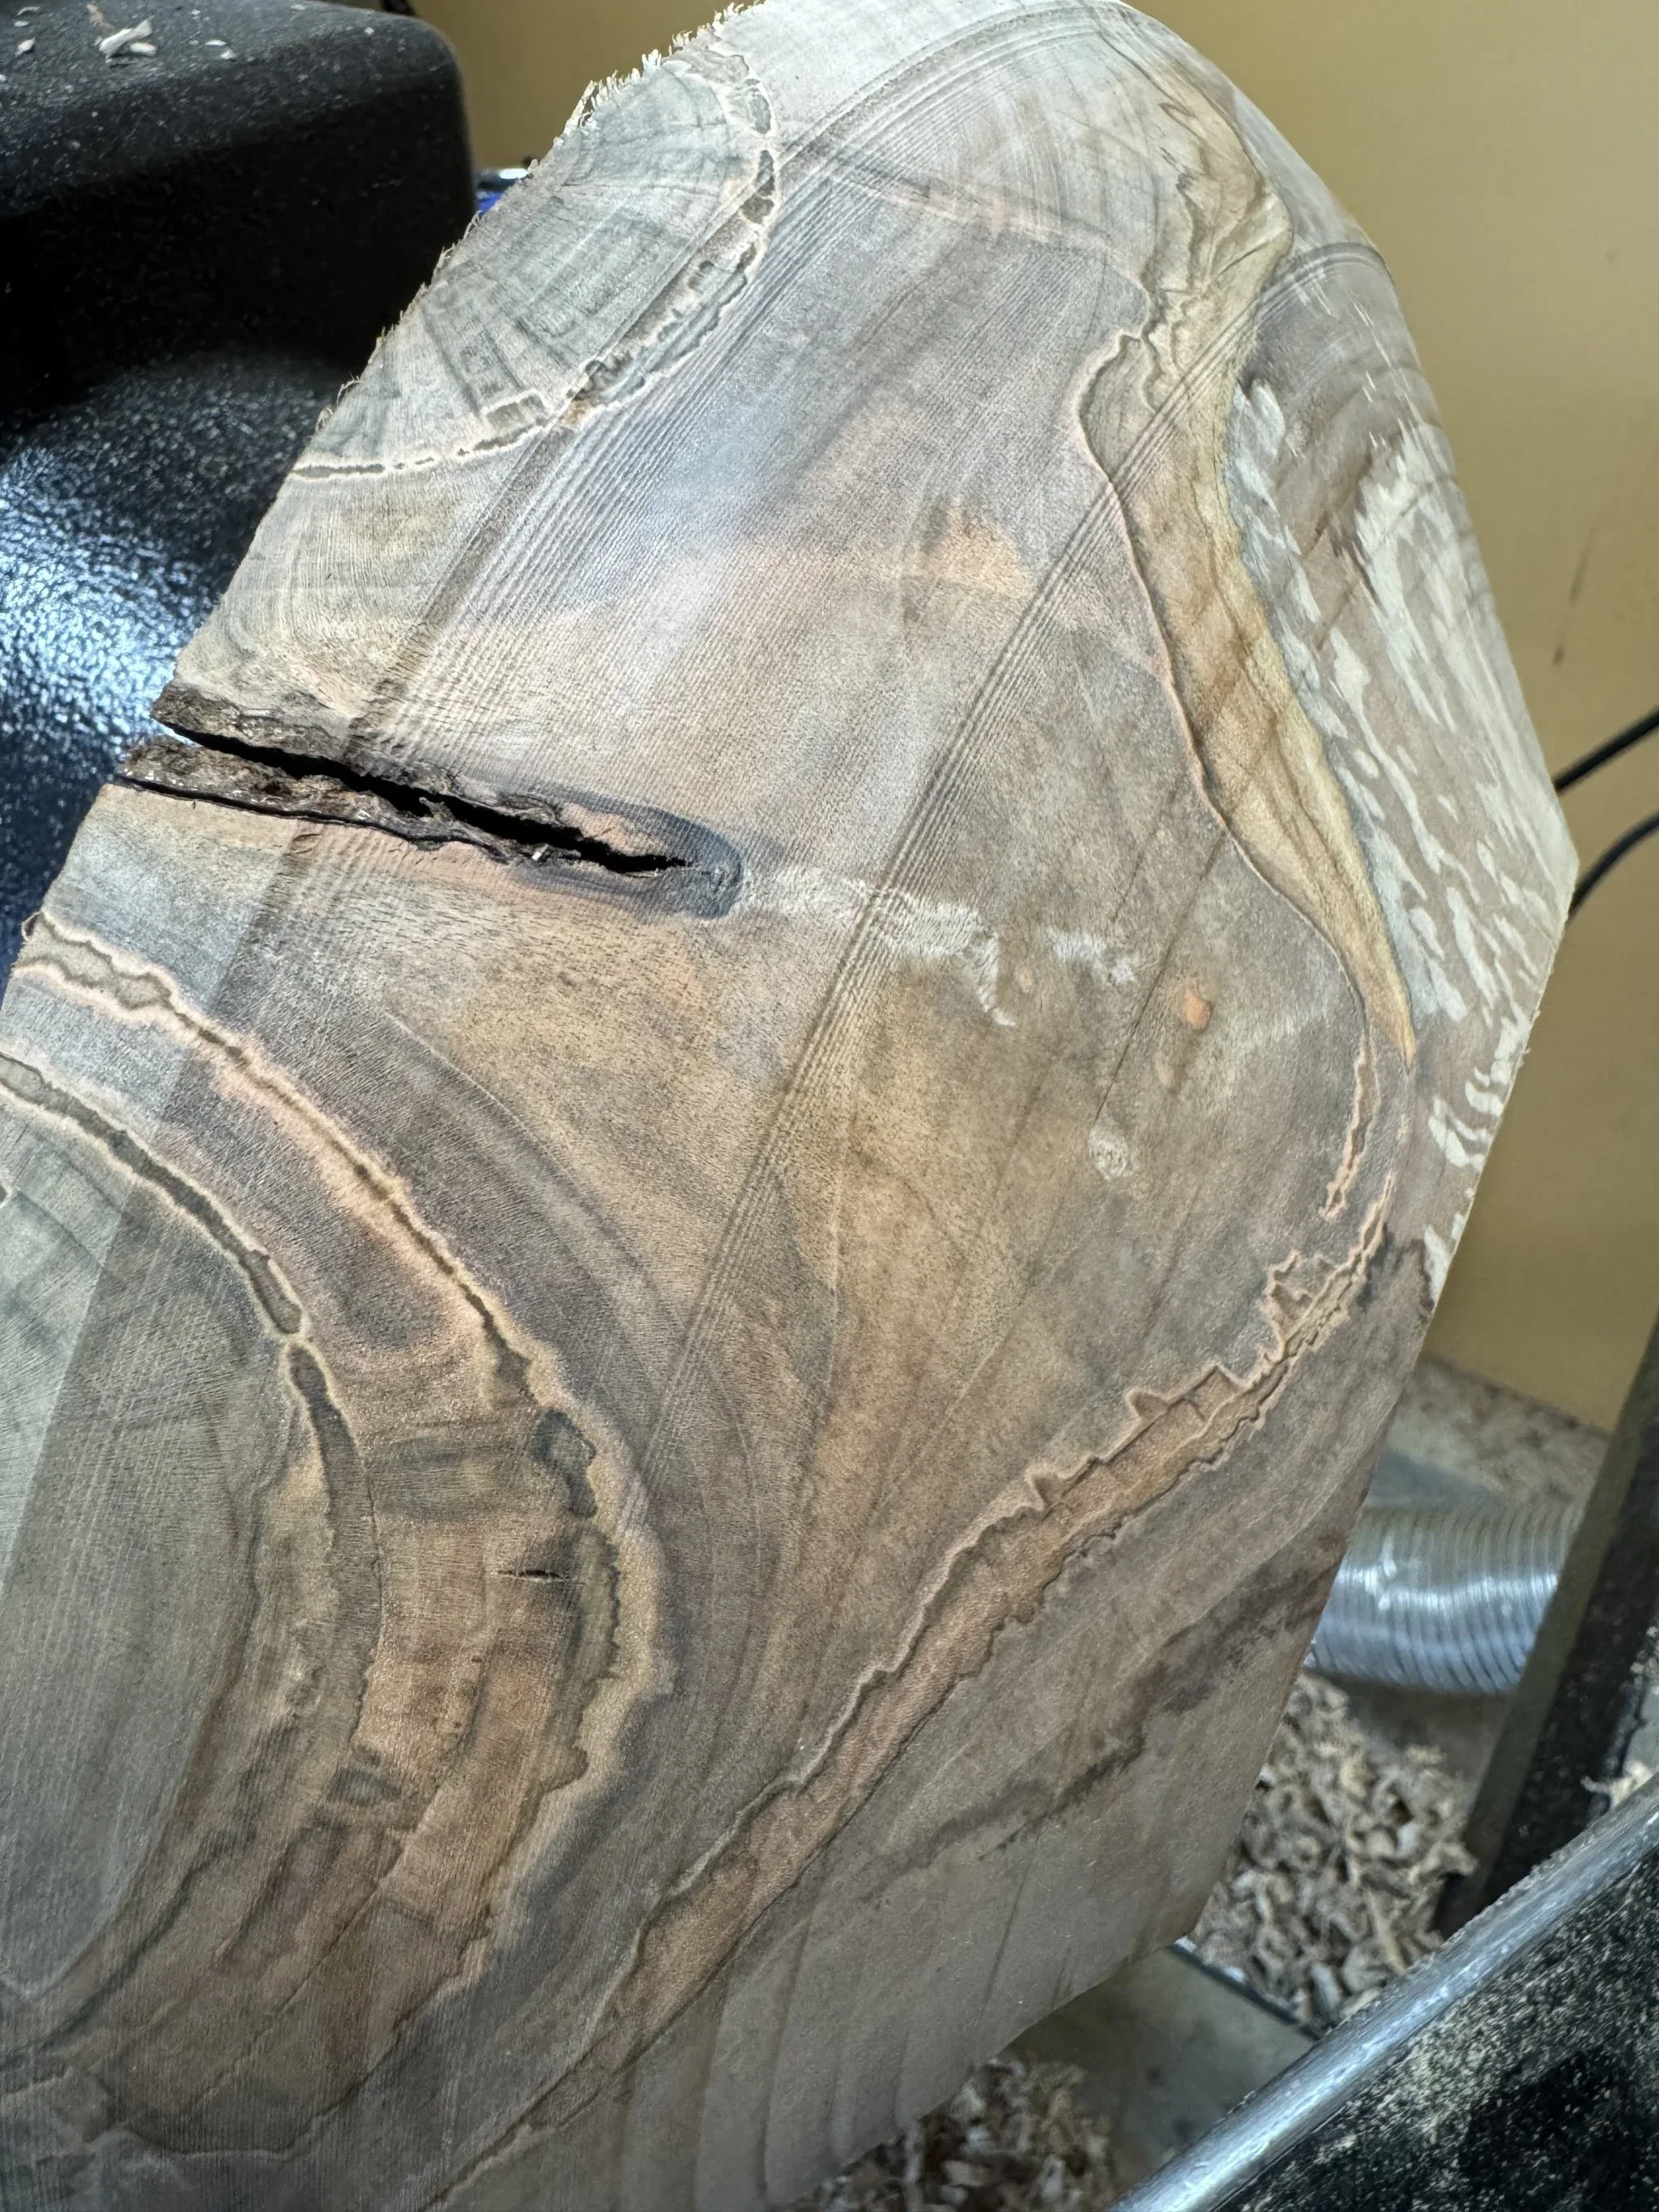
Here is the crack on the other side of the bowl. I decided to pour CA glue into it to see if that might help.
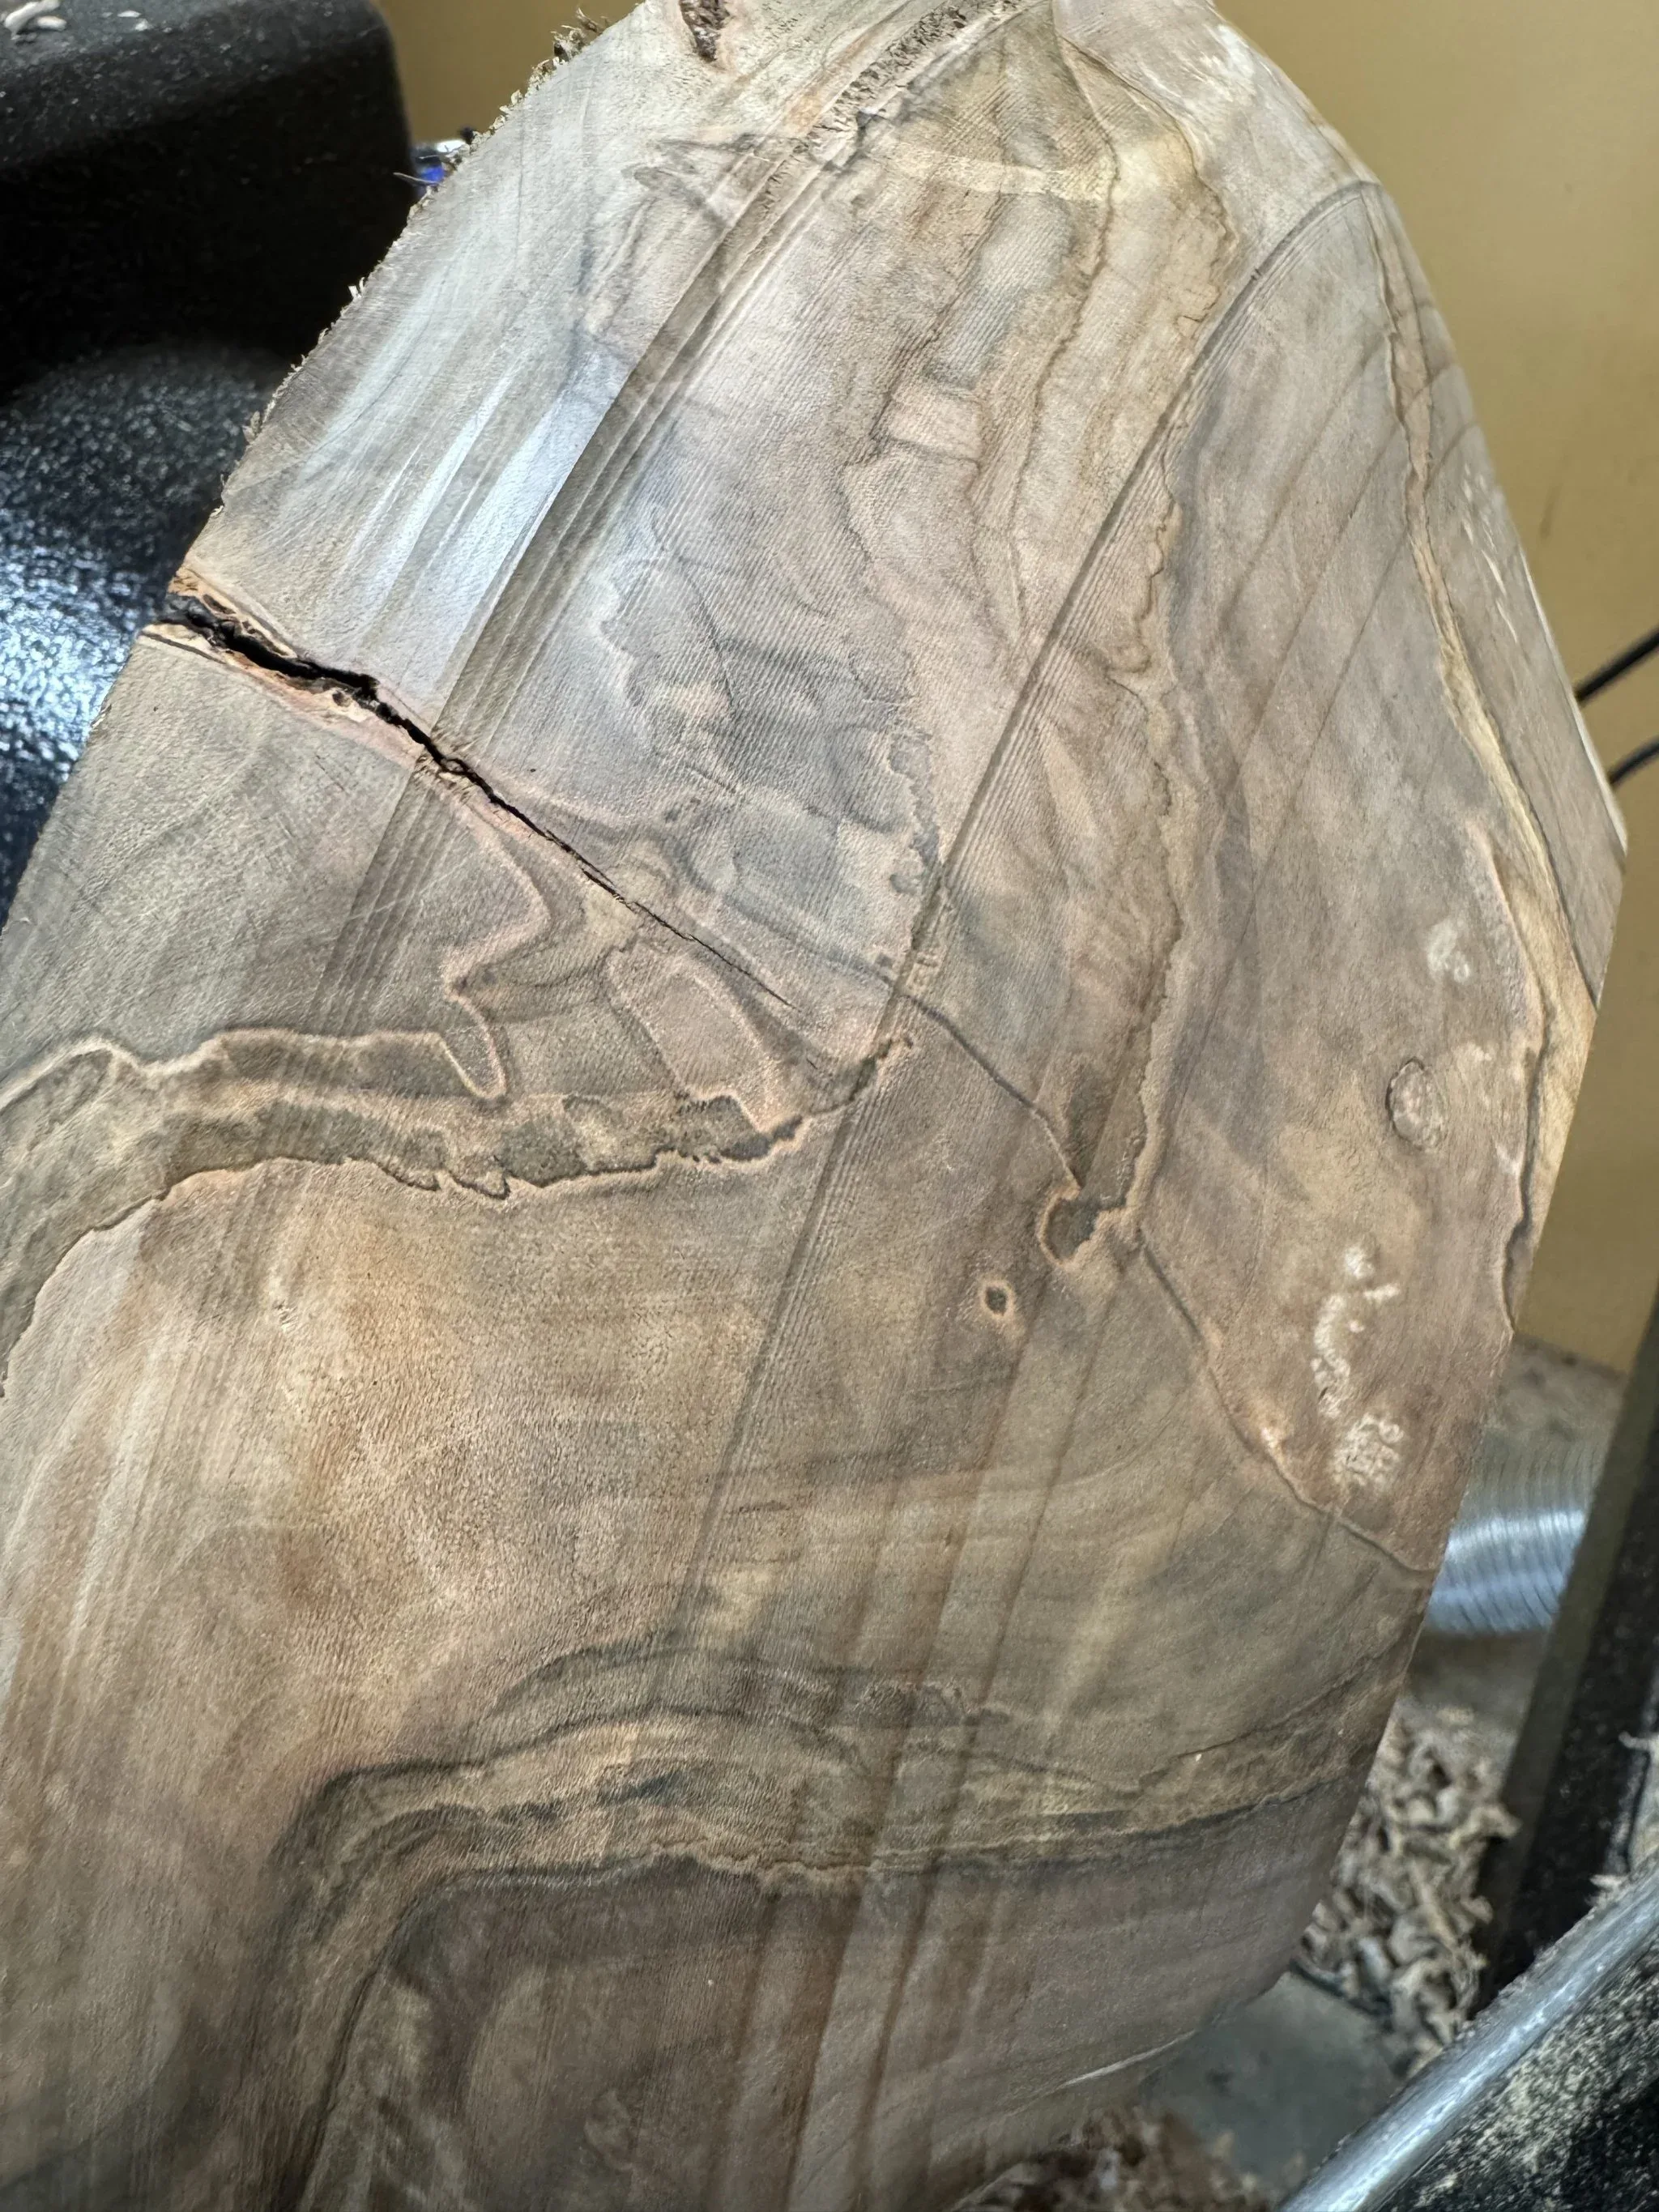
Second problem is the shape of this block of wood will restrict what I can do with it unless I’m comfortable with a hole in the bottom of the bowl. I decide I’m going to have turn this off; resulting in a smaller or more shallow bowl.
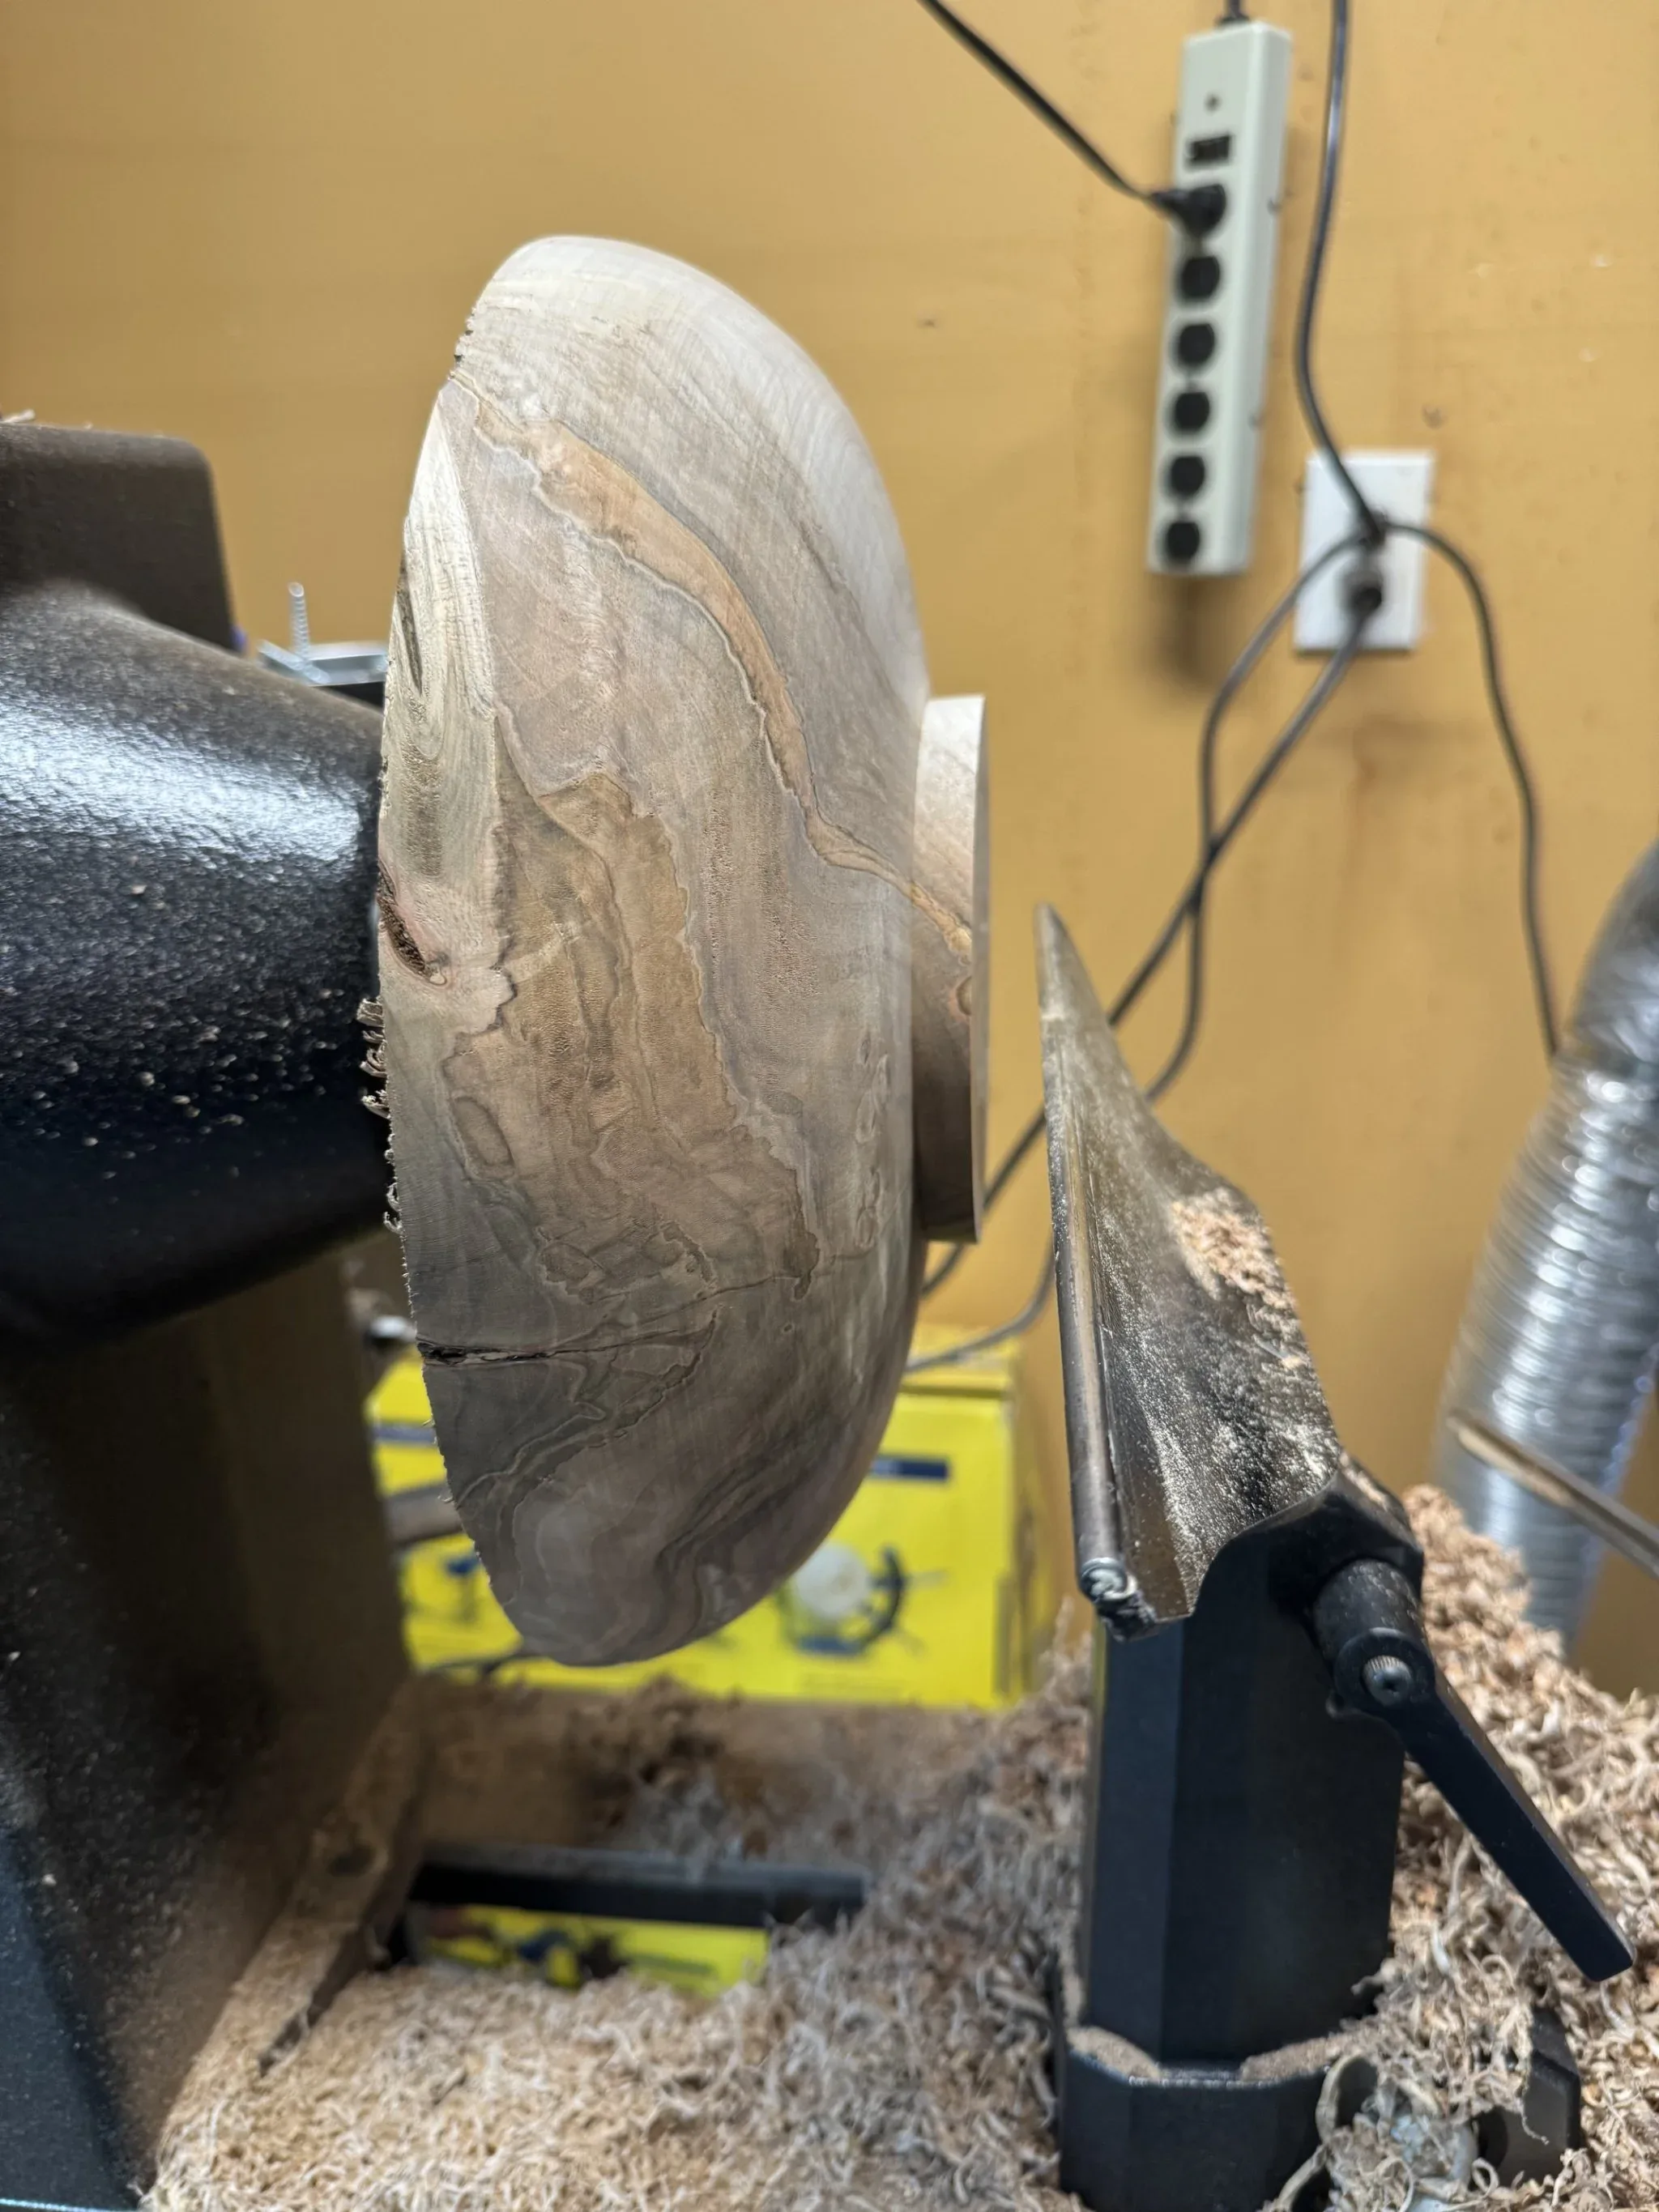
This is the shape I end up with. I’m satisfied with the curvature of the bowl and made a foot for it.
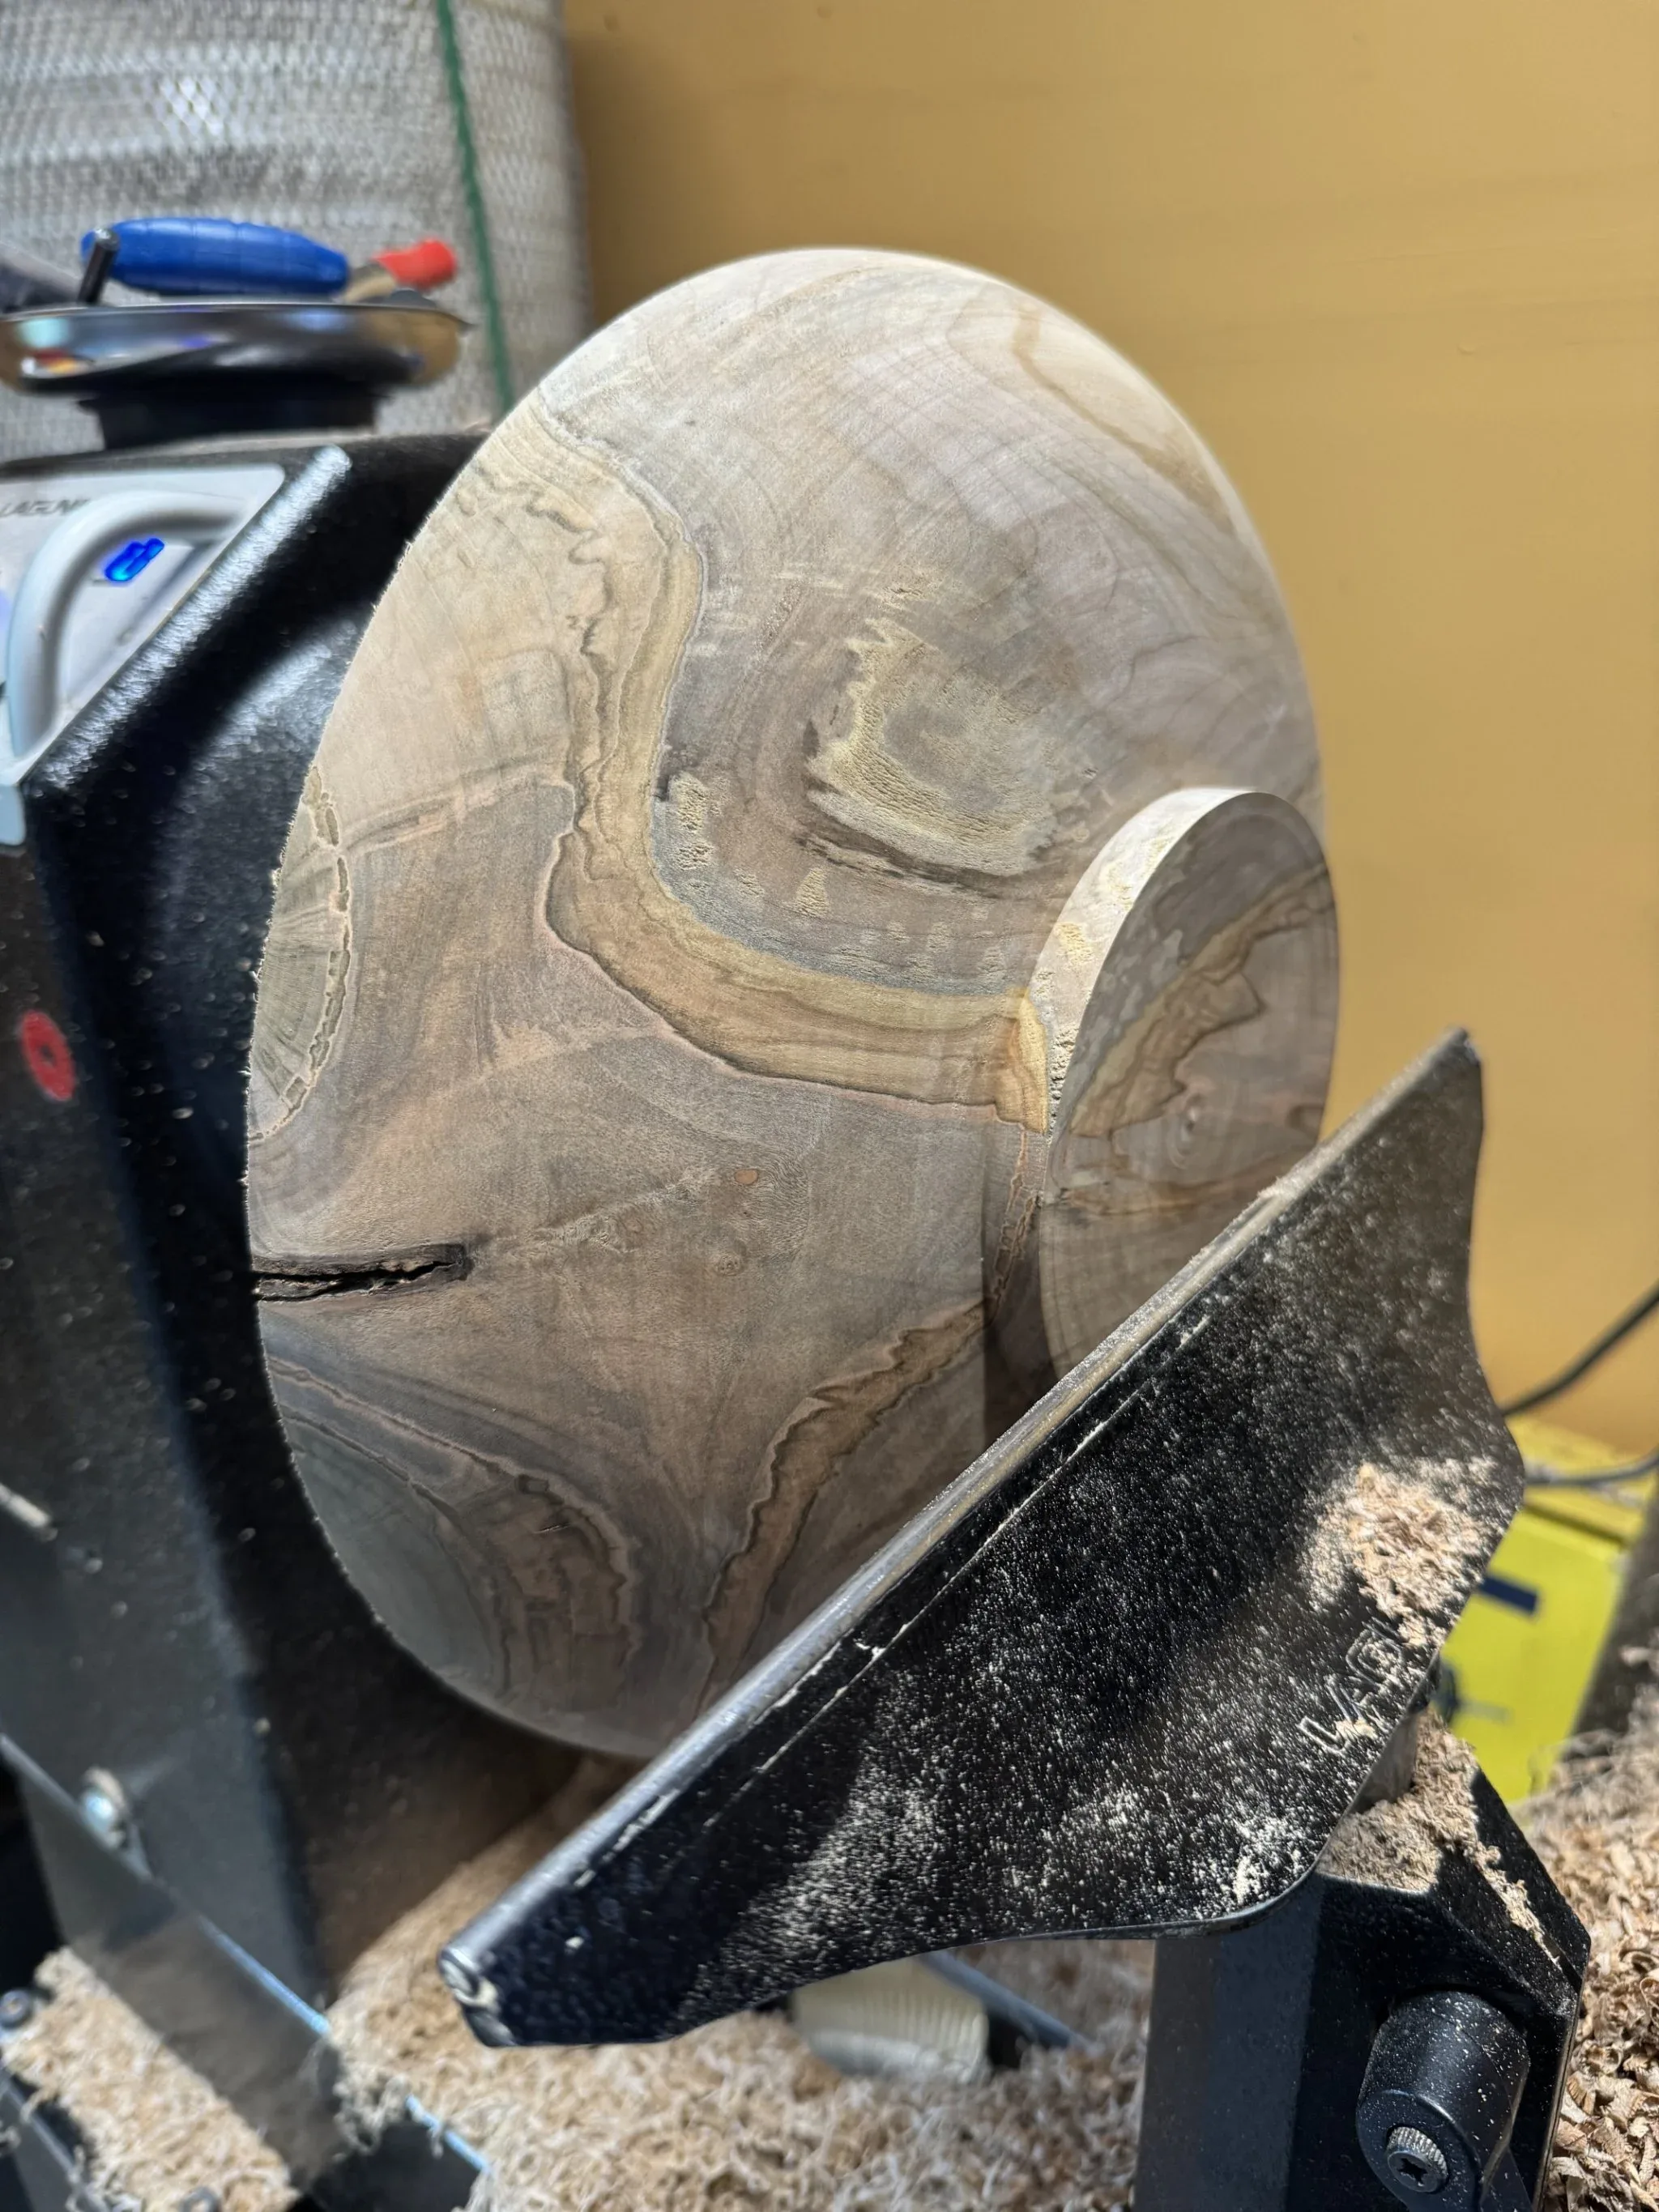
Inside the foot is a recess so I can mount the bowl on a chuck in order to turn the other side. I don’t want to use the foot as the recess because I’m worried it might not hold. I need thicker walls for the recess. Later I should come back and clean this up, but I opted to leave it.
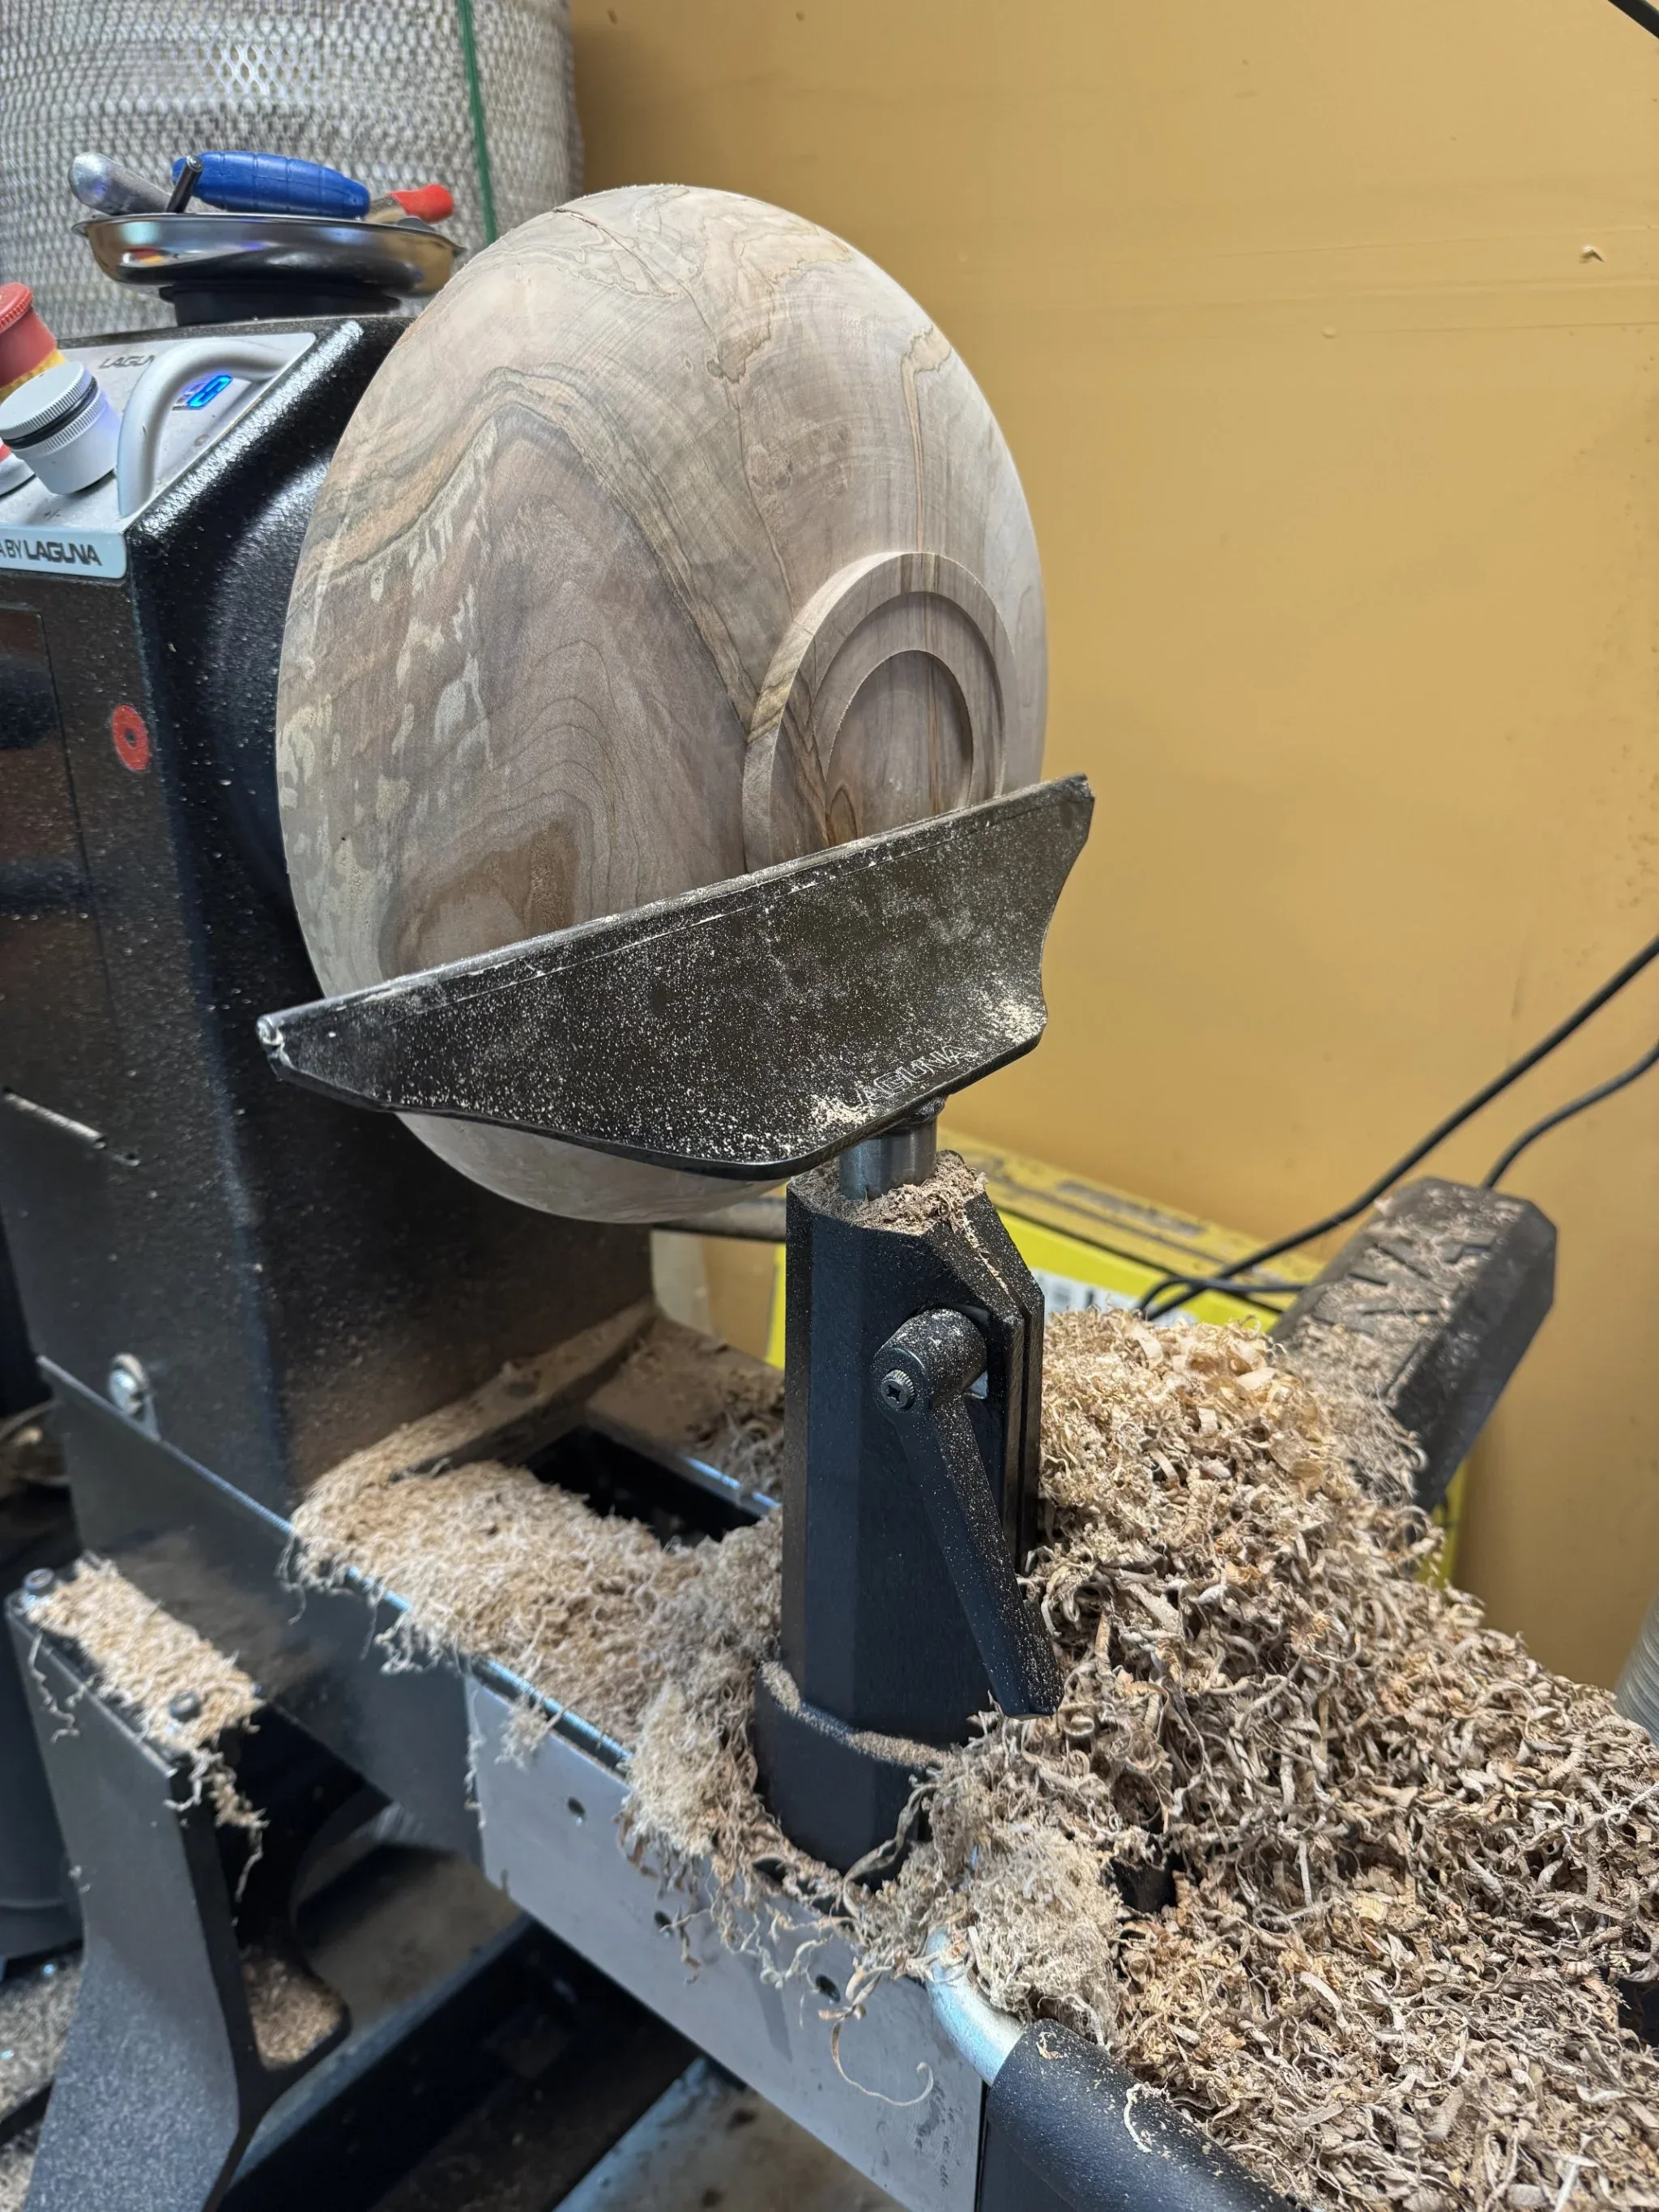
I mount the bowl onto a chuck. The jaws of the chuck push out into the recess for a firm fit.
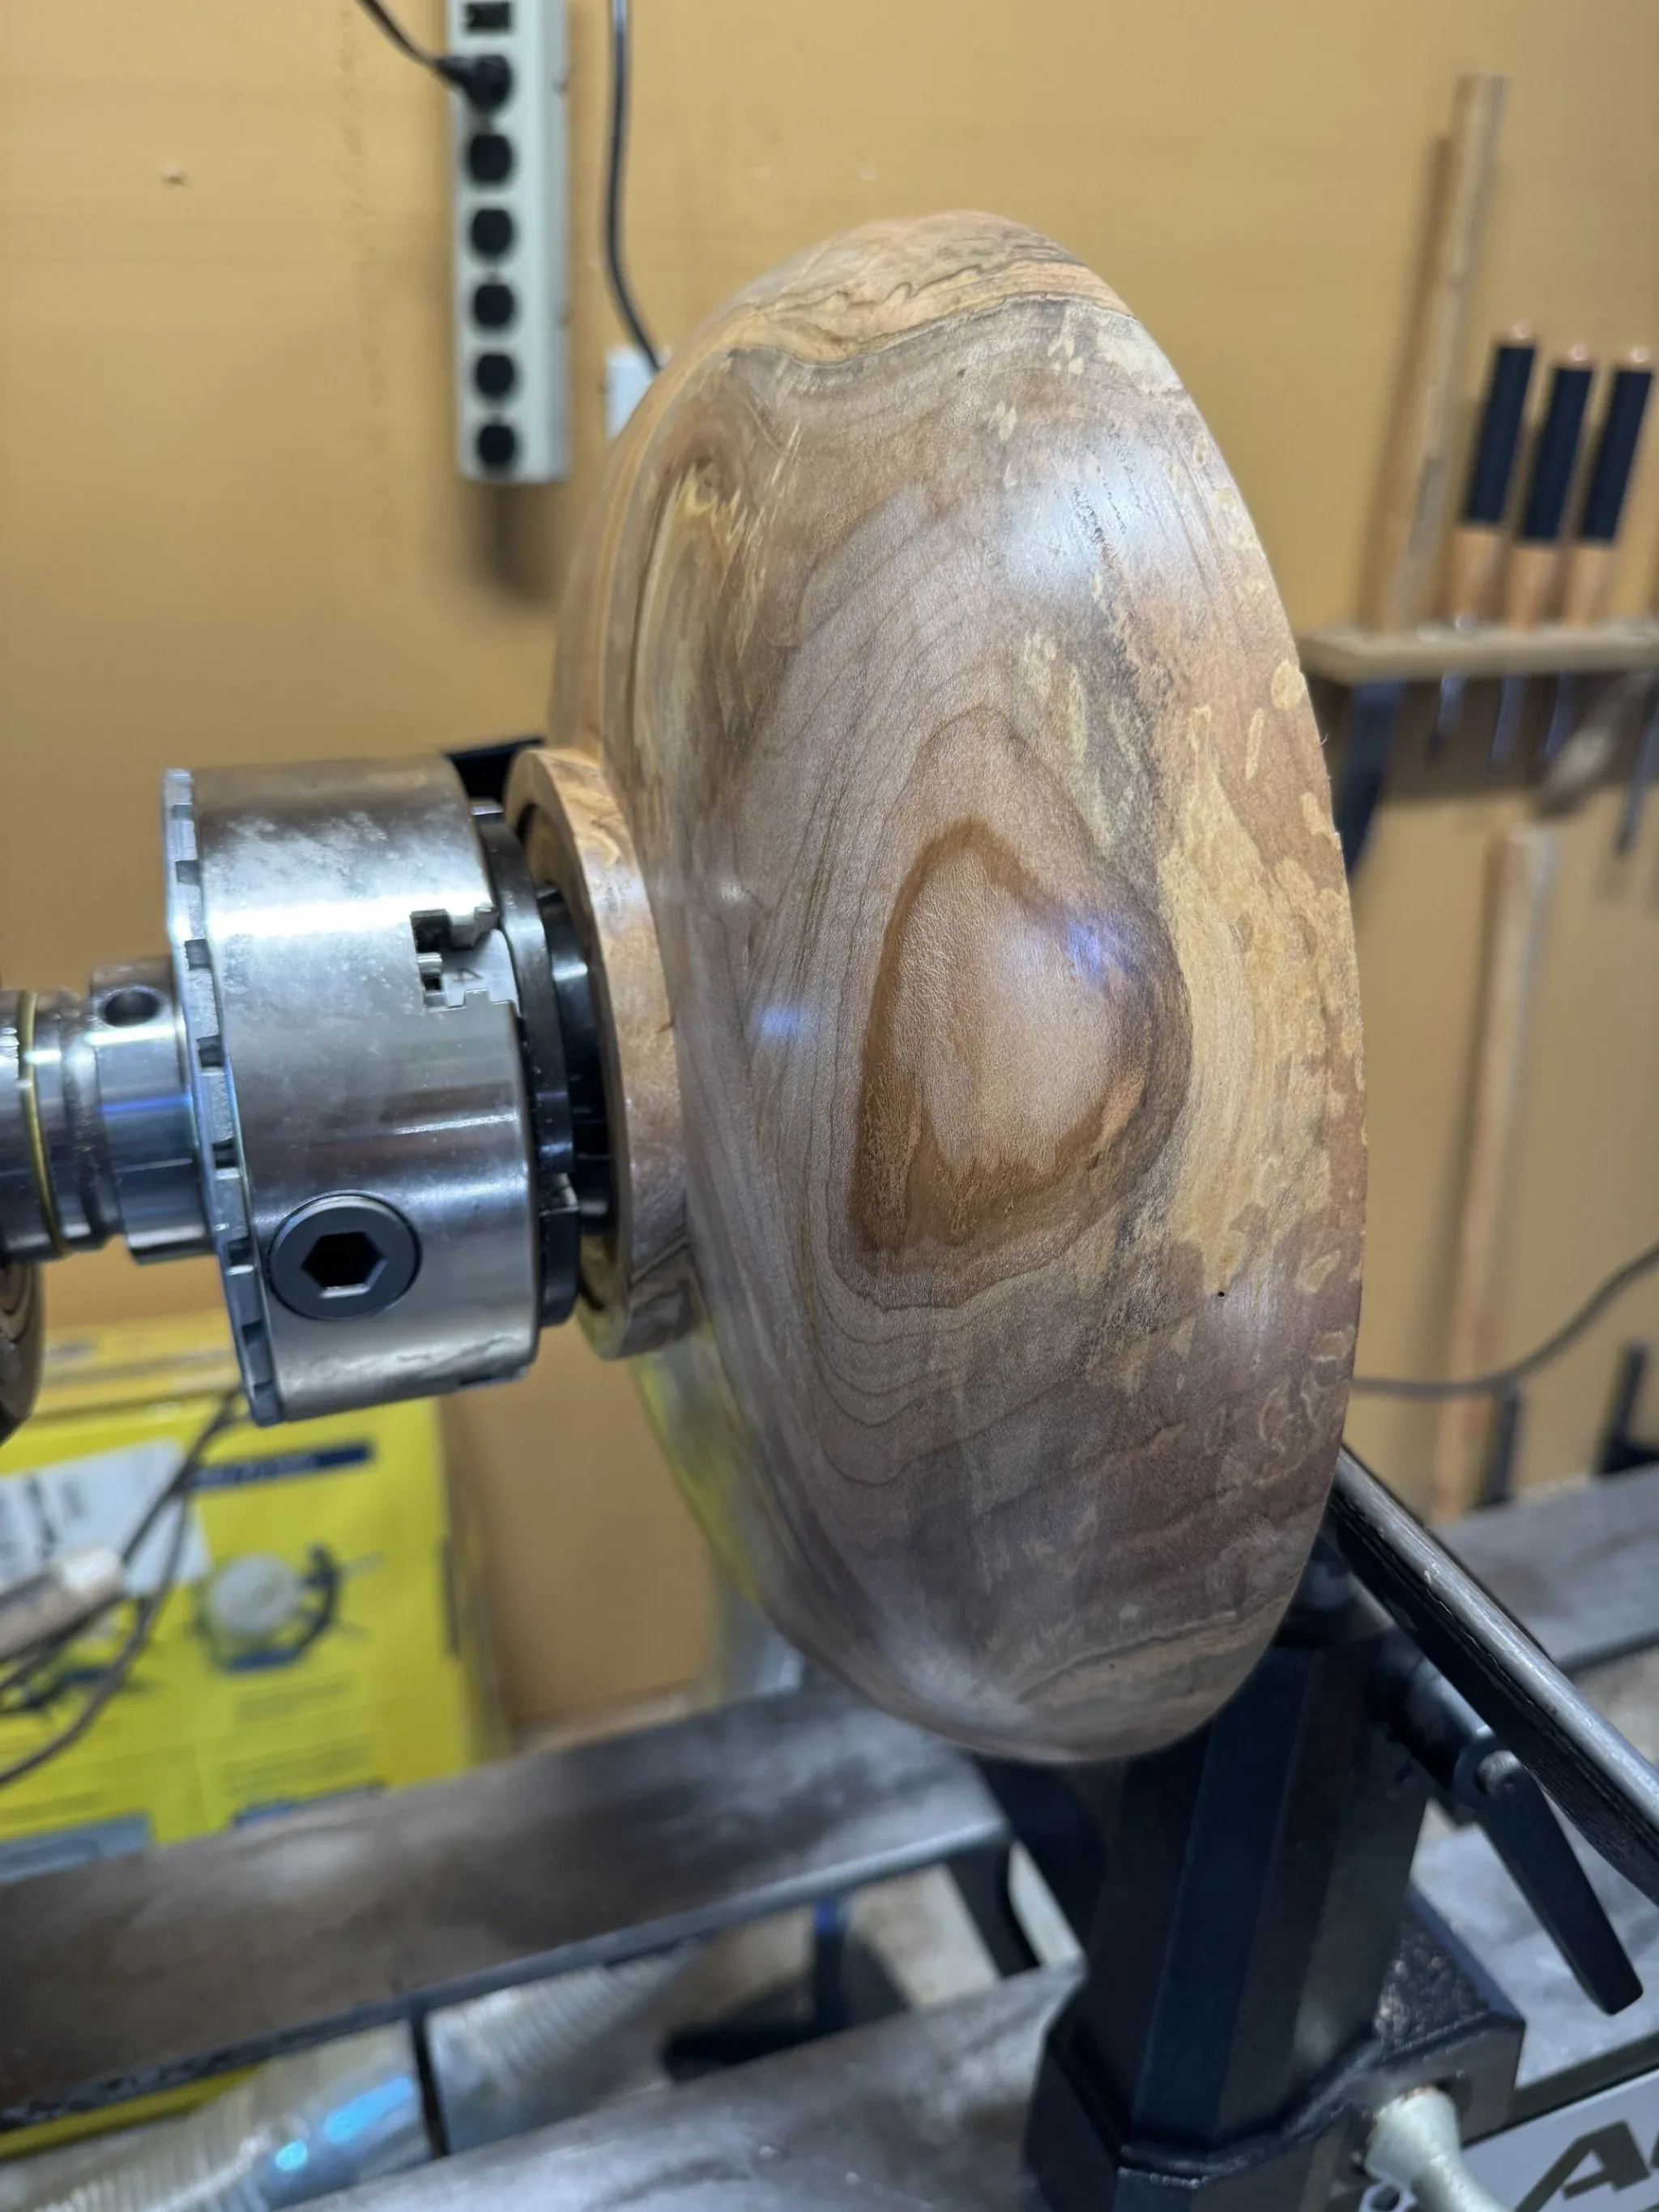
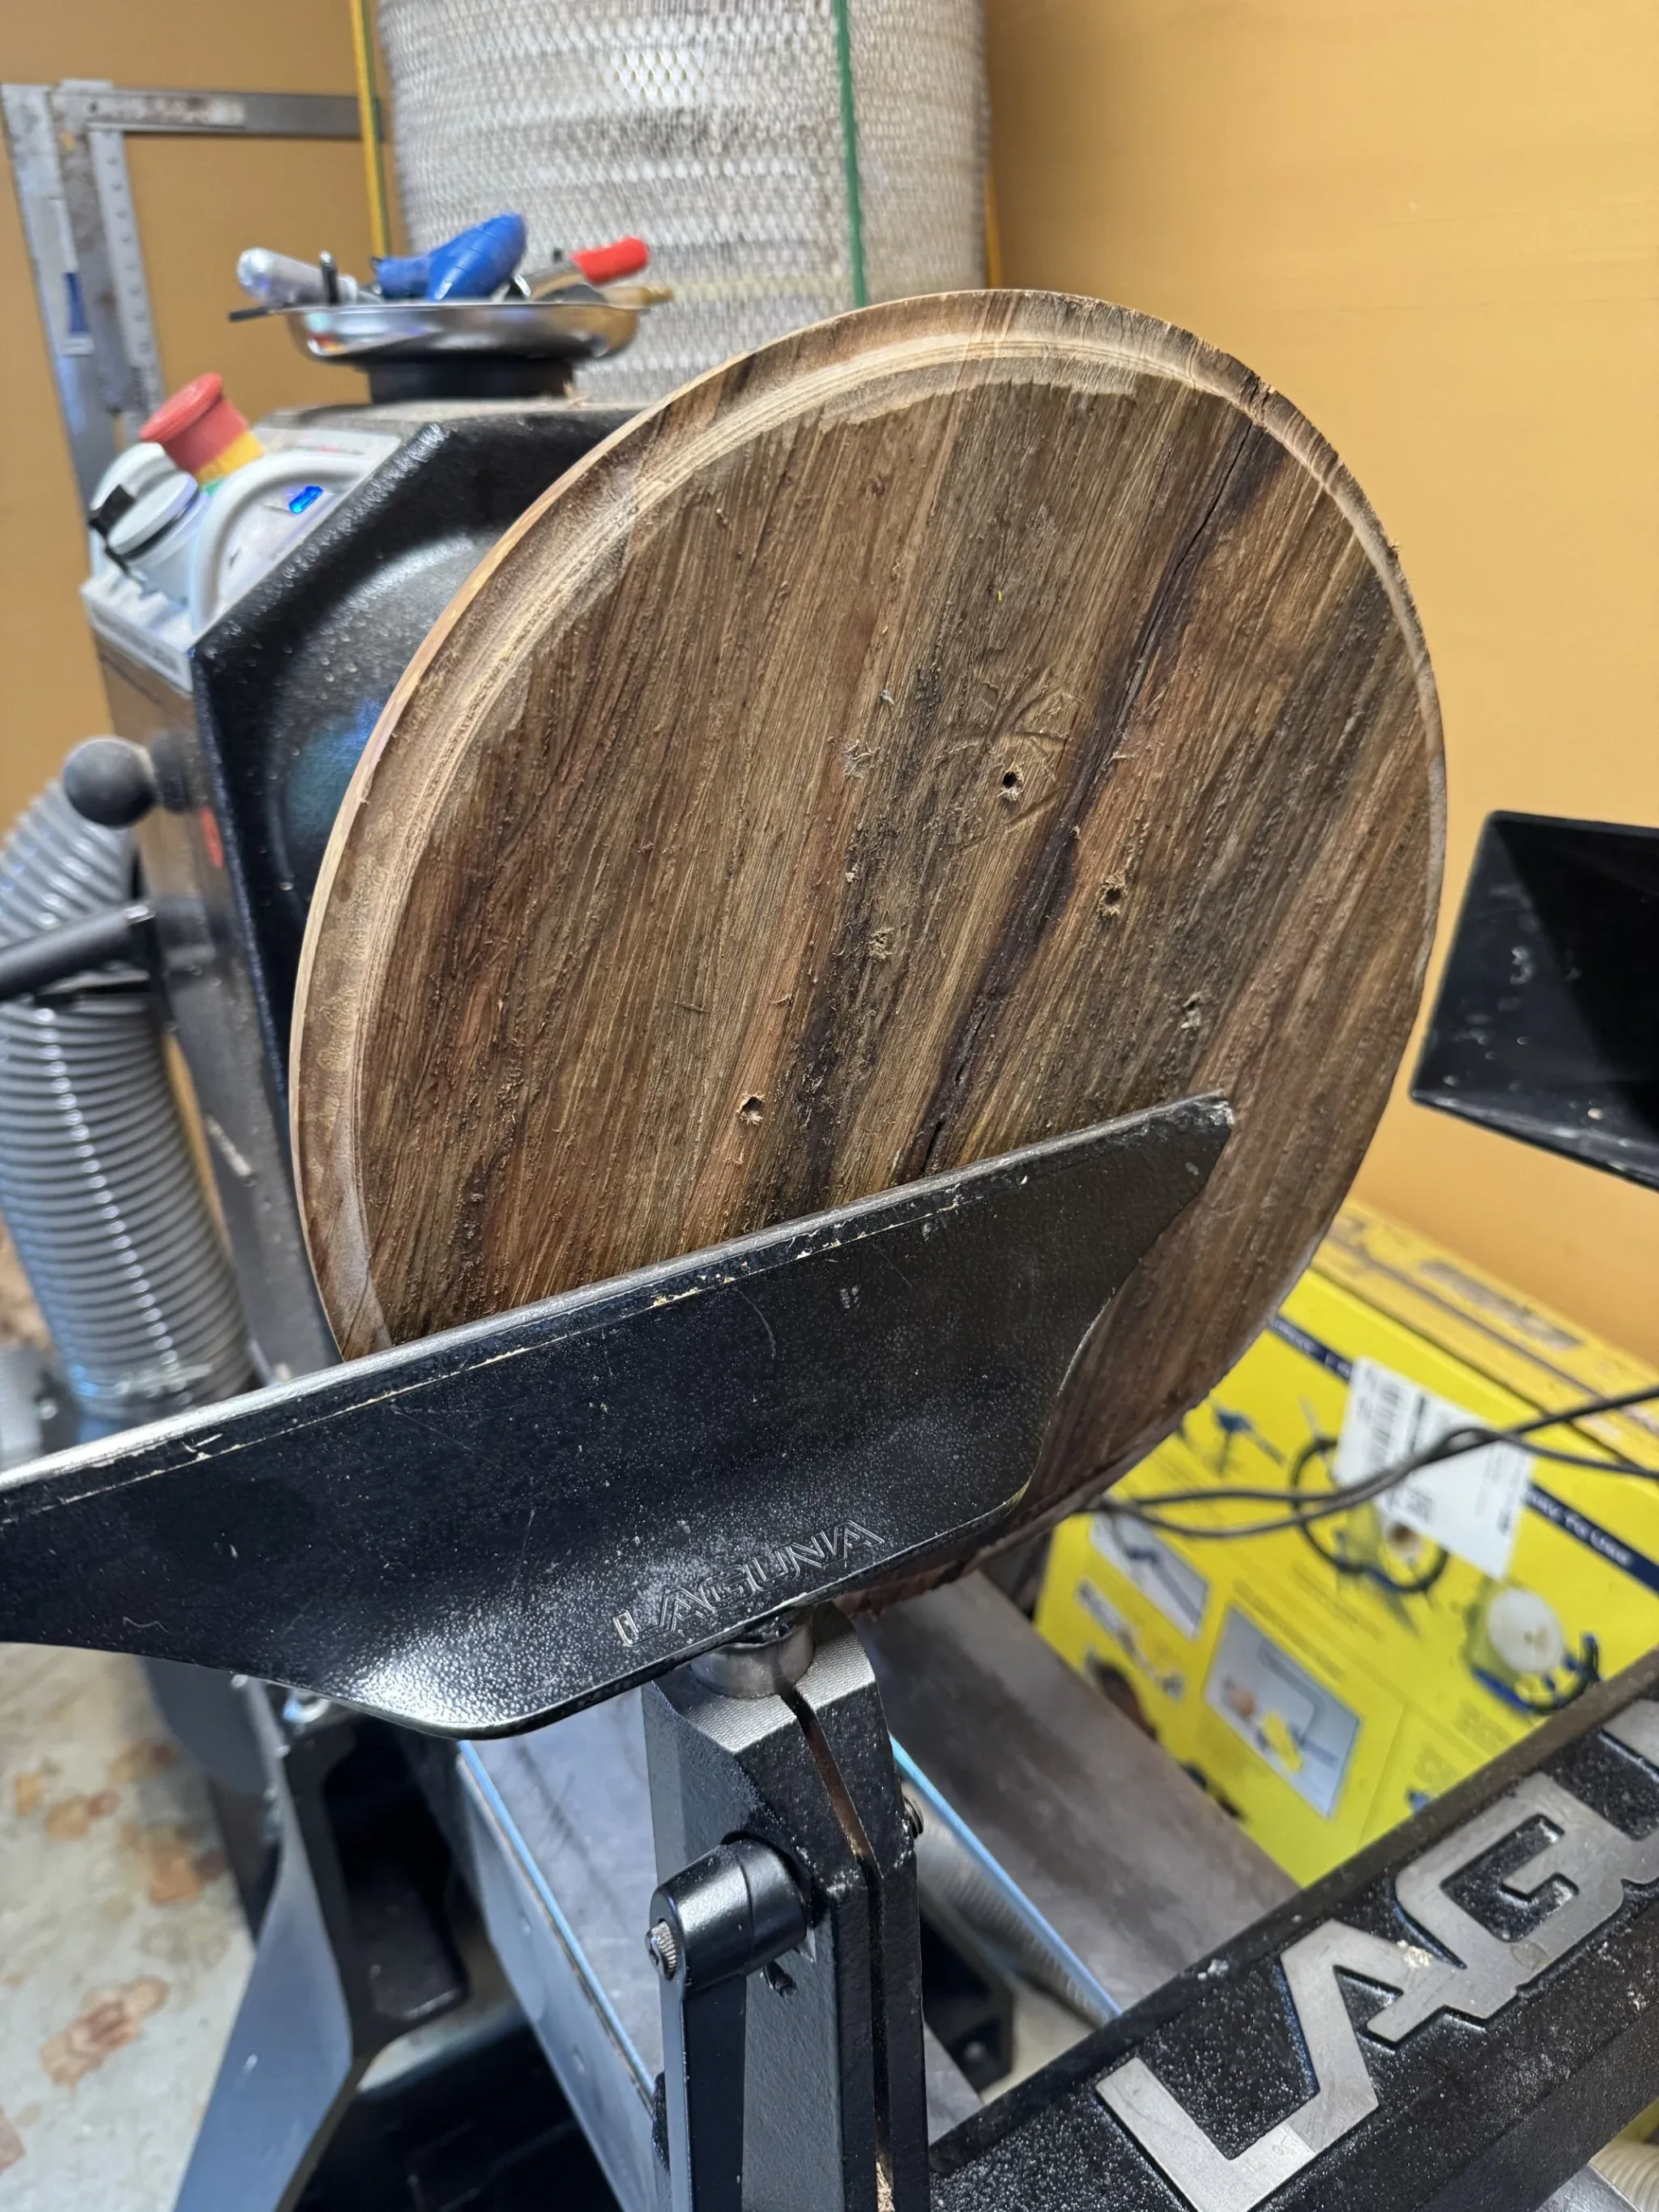
I removed the faceplate. This involved dealing with broken screw heads and using a pair of pliers to remove a couple of the faceplate screws.
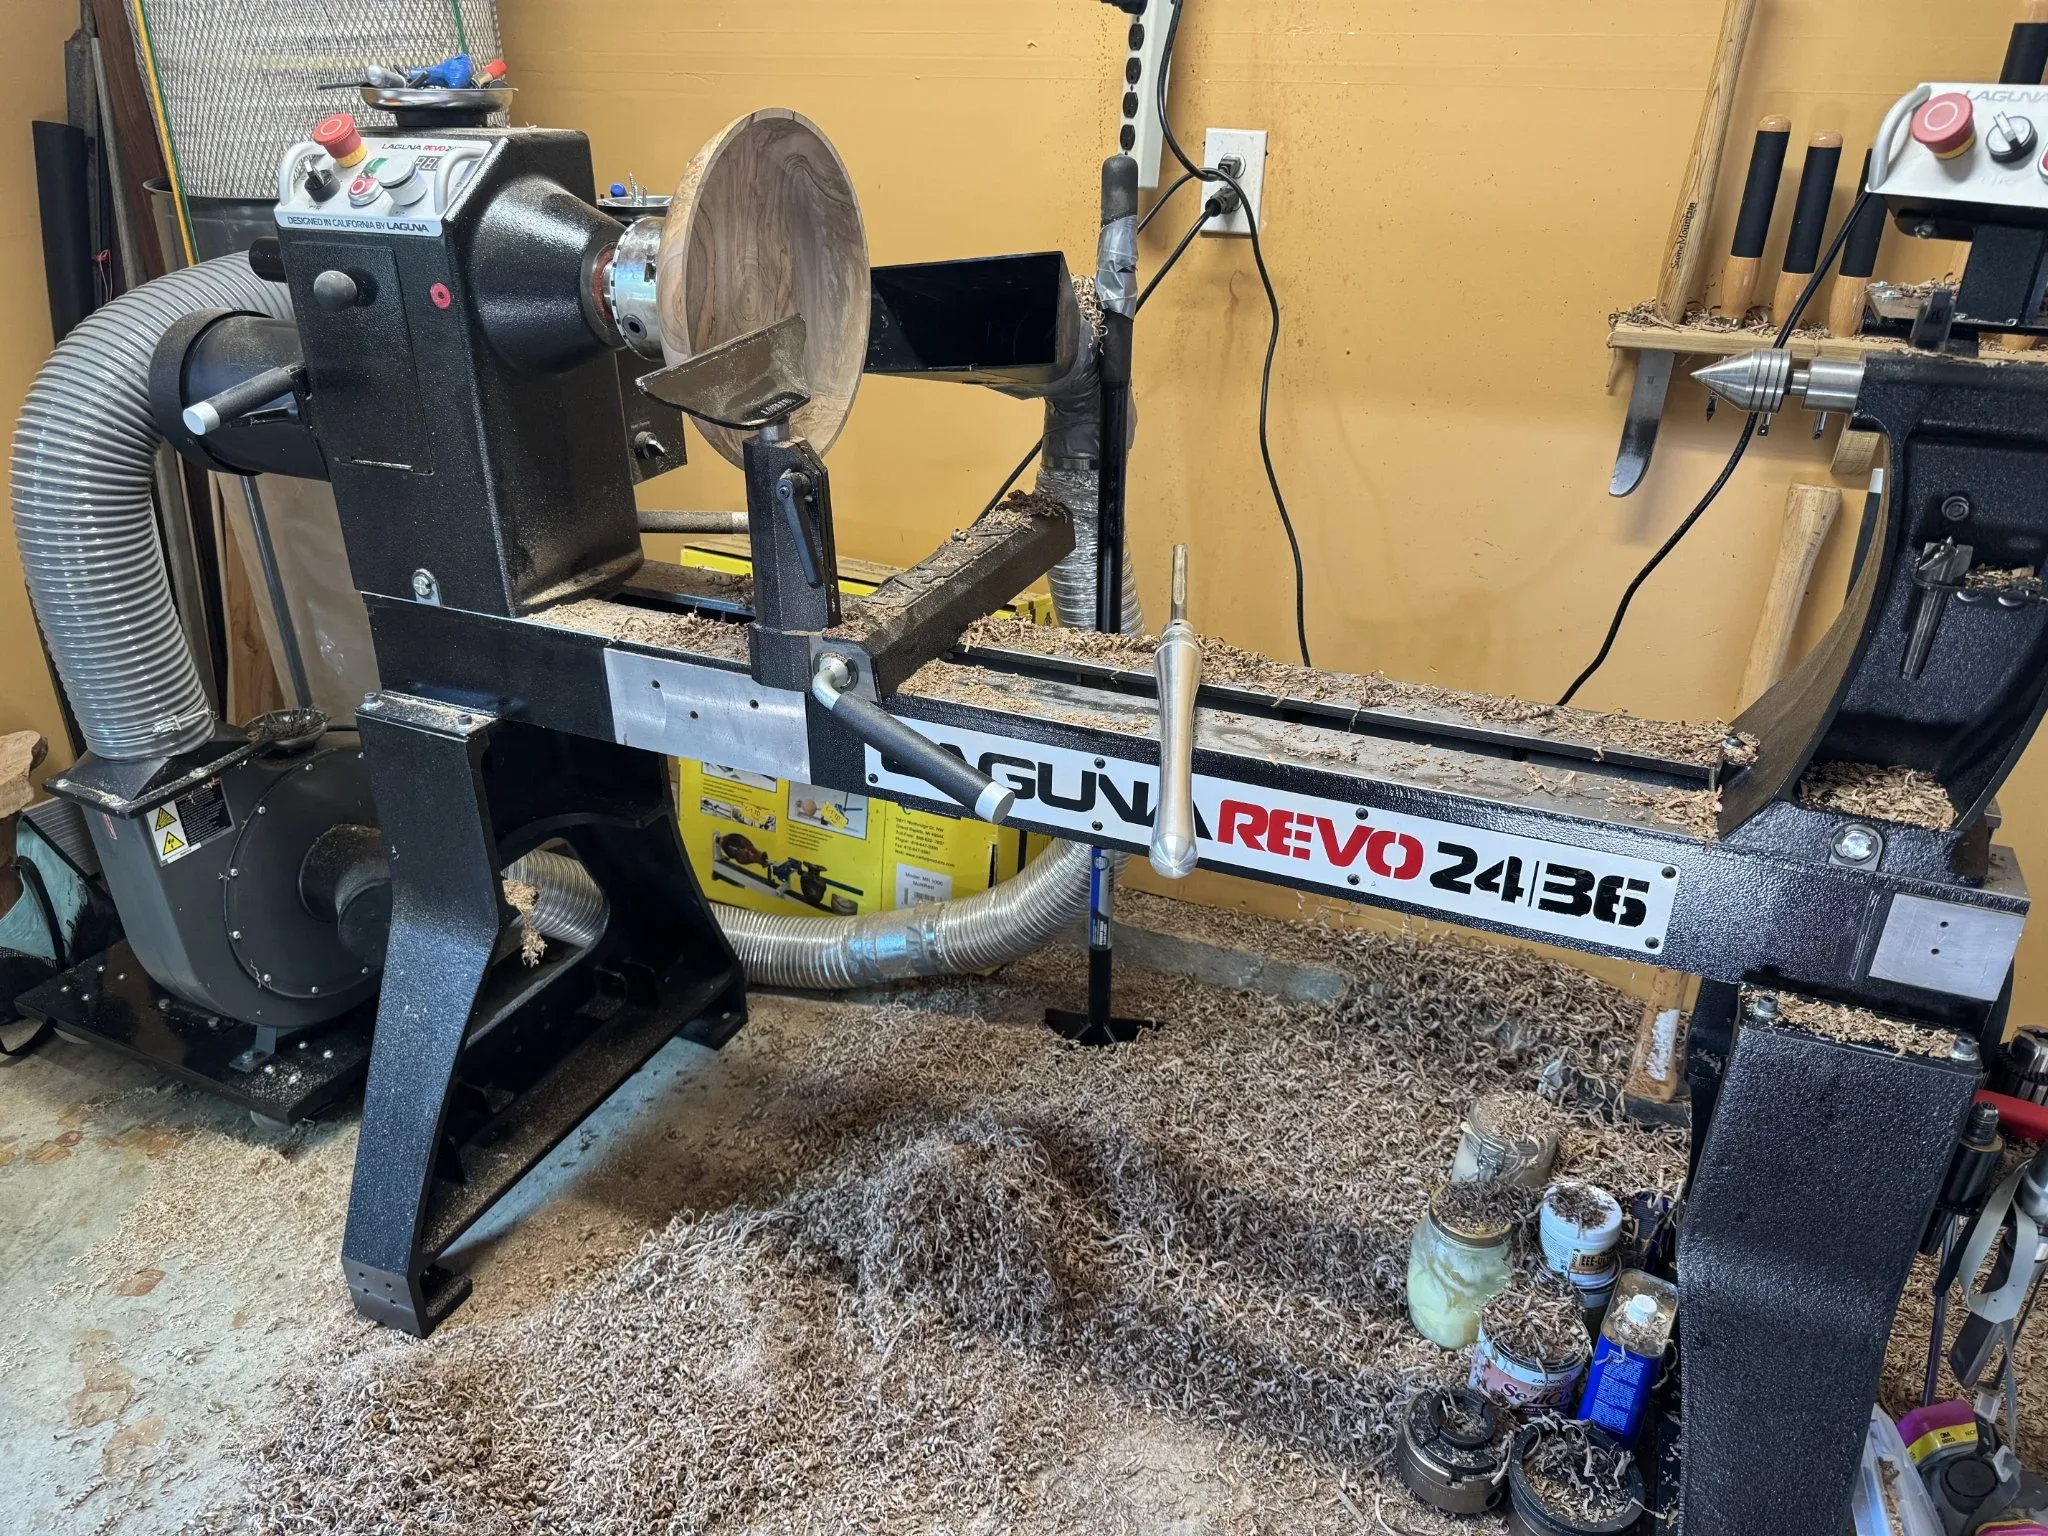
I had swept below the lathe before turning the inside. Look at all of the shavings resulting from turning out the inside of the bowl. I have a ghetto dust intake system where I duct tape an intake to the side of a ground stomper. This allows me to reposition it. Maybe someday I’ll invest in something more professional, but this works. I wear a dust mask underneath my face shield; especially when sanding. The dust collector picks up only a small fraction of the dust and shavings. I don’t want the dust in my lungs.
This is the fun, but challenging part. I need to maintain a consistent wall thickness. I make a mistake here and empty out the middle; which can contribute to the vibration of the outside walls of the bowl. It is best to leave a large mass in the middle for stability and remove it after the outer sides are done.
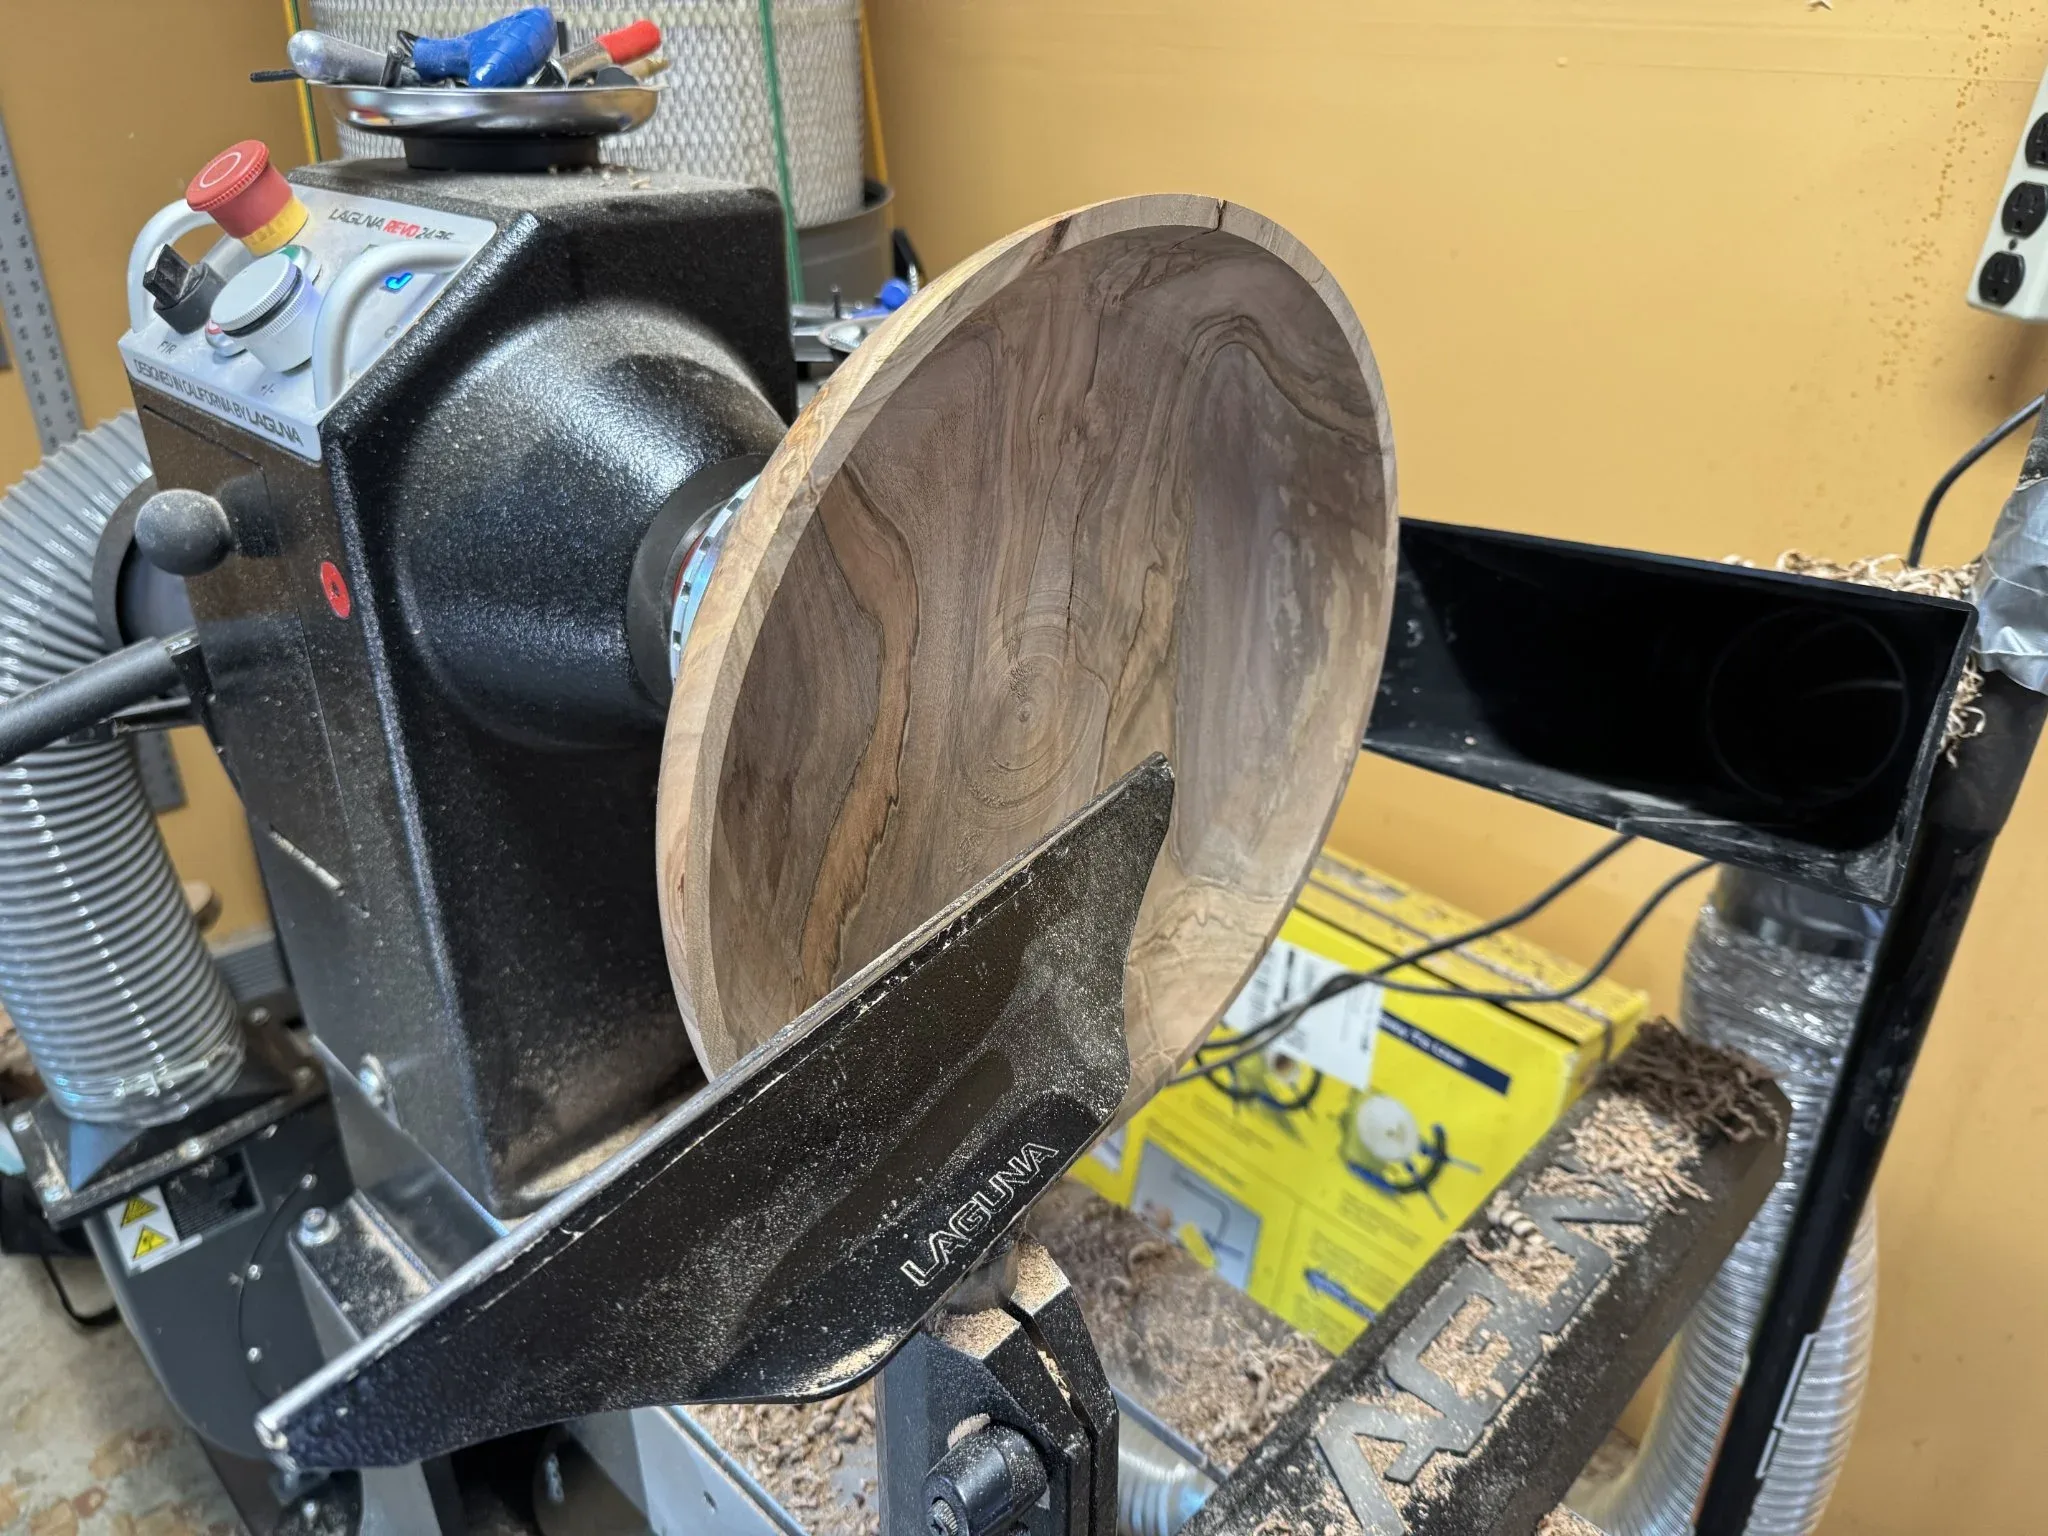
This is the resulting inside of the bowl. The bowl is place on top of the swept shavings from the outside and inside. I’m unhappy with the many toolmarks visible on the inside of the bowl.
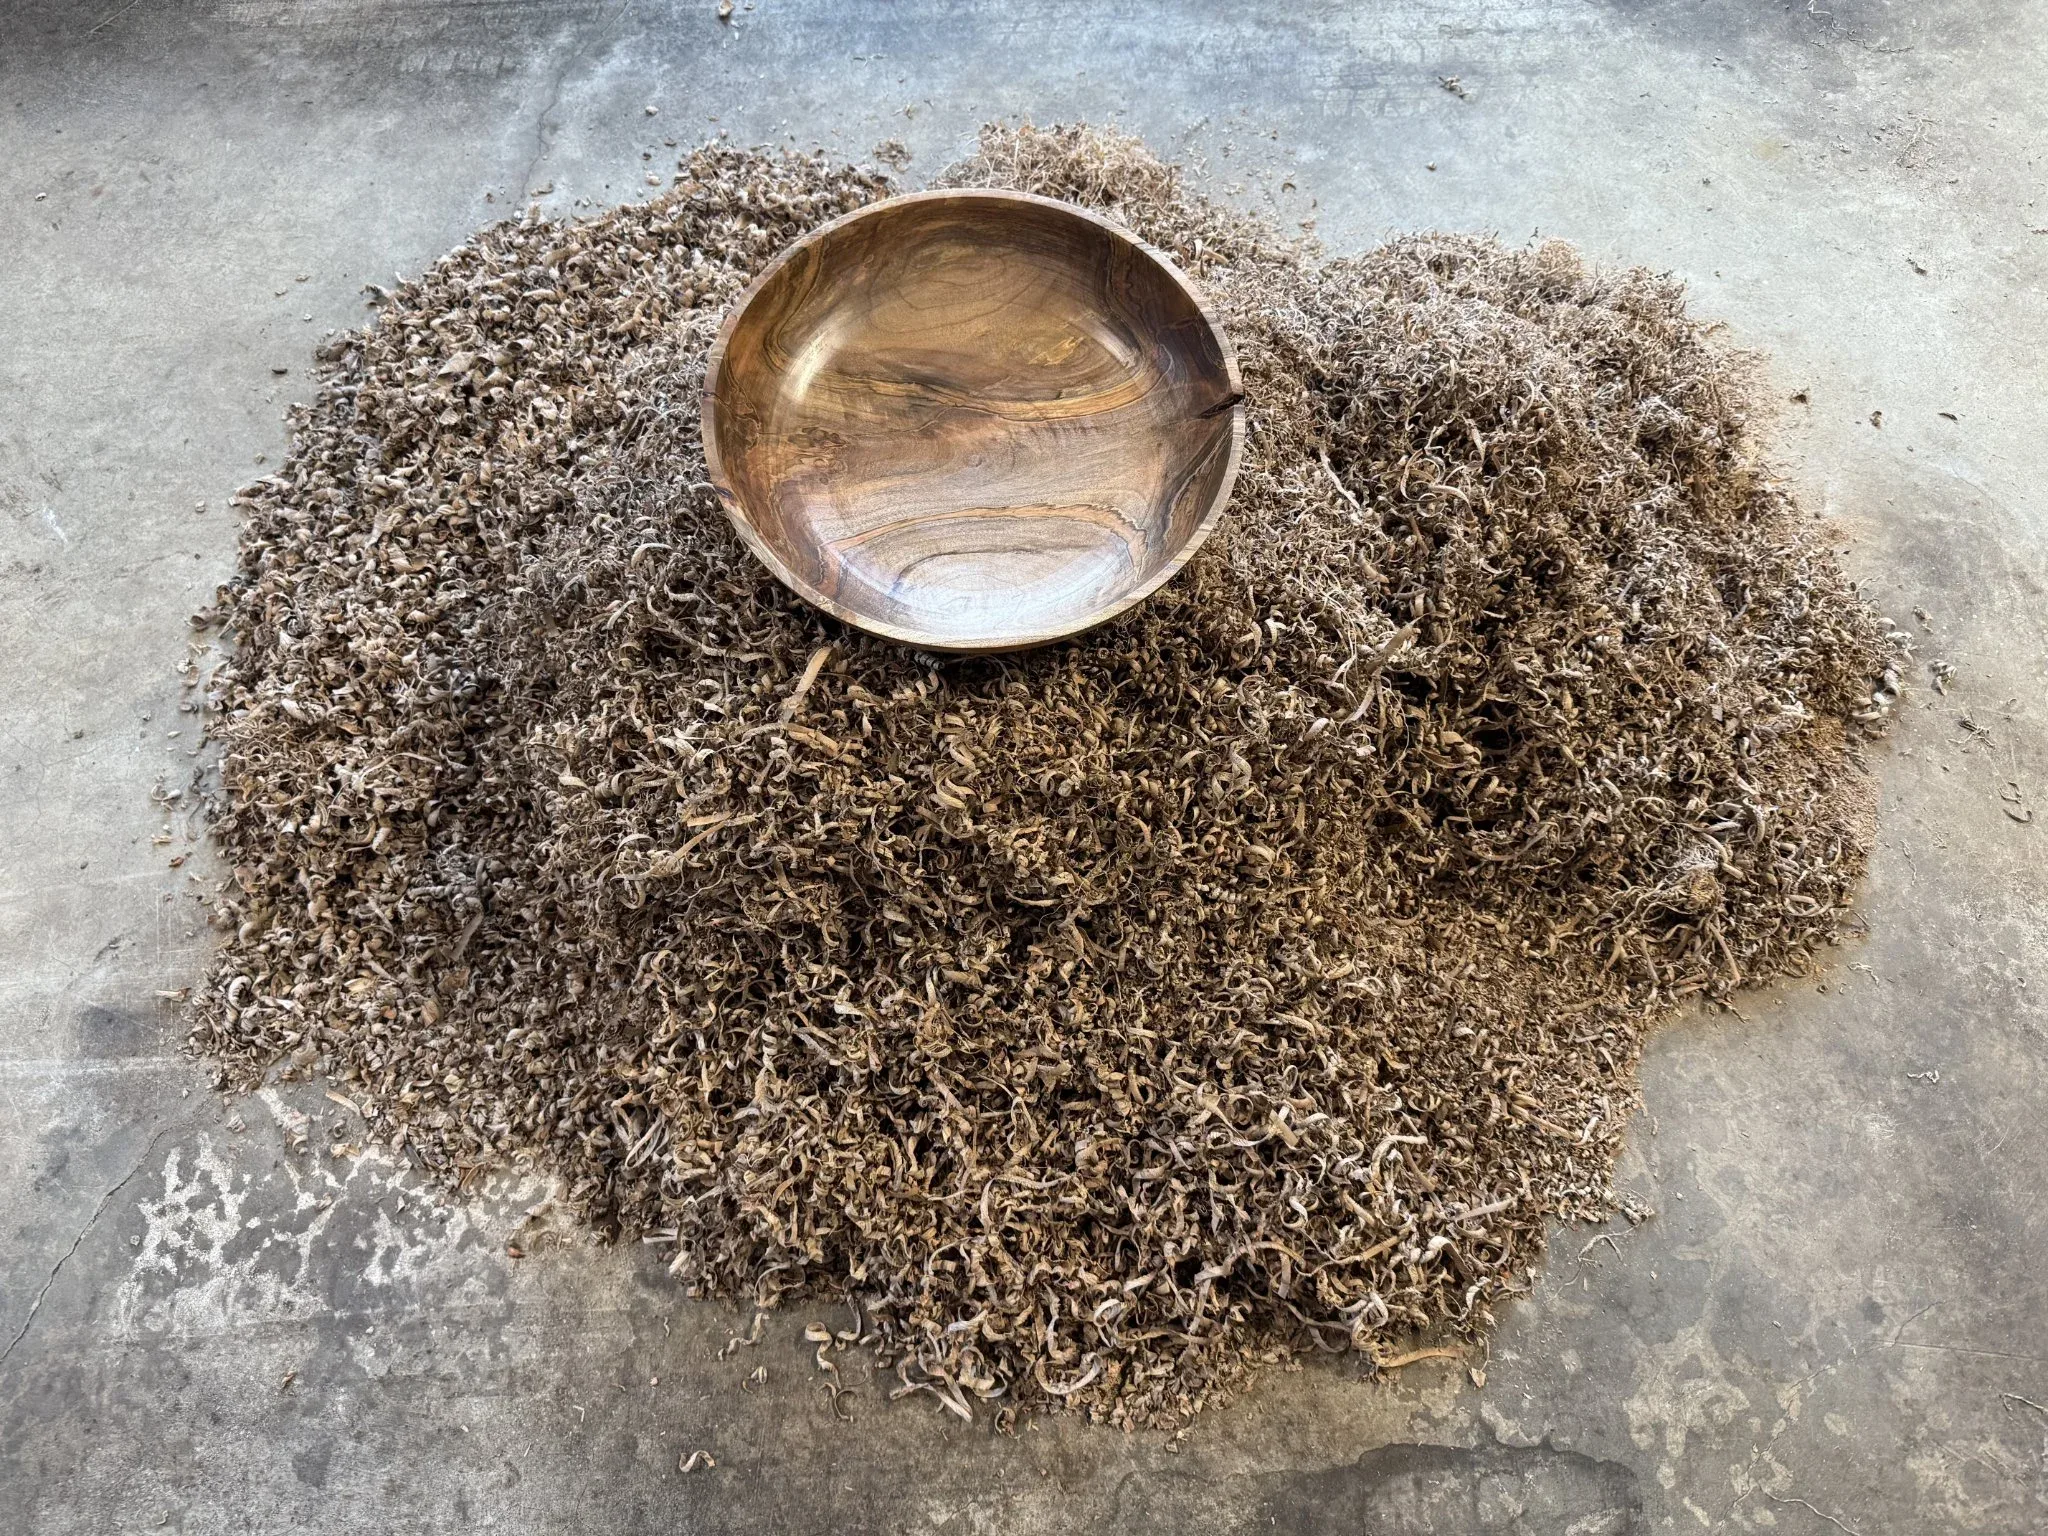
On the next day, I put the bowl back on the lathe and turned the inside some more. Using a very sharp scraper and with a light touch, I was able to clean up the inside of the bowl. I’m much happier with the result now.
The crack on the side is a decoration as far as I’m concerned as its part of nature. The grain in the wood is amazing. According to my brother, this chunk of wood is Red Maple.
I hope the recipient enjoys her bowl. It looks like it could be used as a fruit bowl for a nice display.