Laundry Table Disaster and Recovery
July 22, 2026
I usually don’t attempt to build furniture. After multiple tool investments, I got discouraged with wood working projects because the cost of furniture grade wood is expensive and the necessary planning and careful execution is beyond me. Once I discovered wood turning, I recognized this was the kind of wood projects that I can enjoy. In wood turning the wood is often free. It can also be a hobby of one-off projects, where the wood sort of becomes what it wants to be and you “free form” discover it.
However, we needed a laundry room table and I got the idea that I could make the table legs on the lathe and use a pre-built butcher block as the counter top.
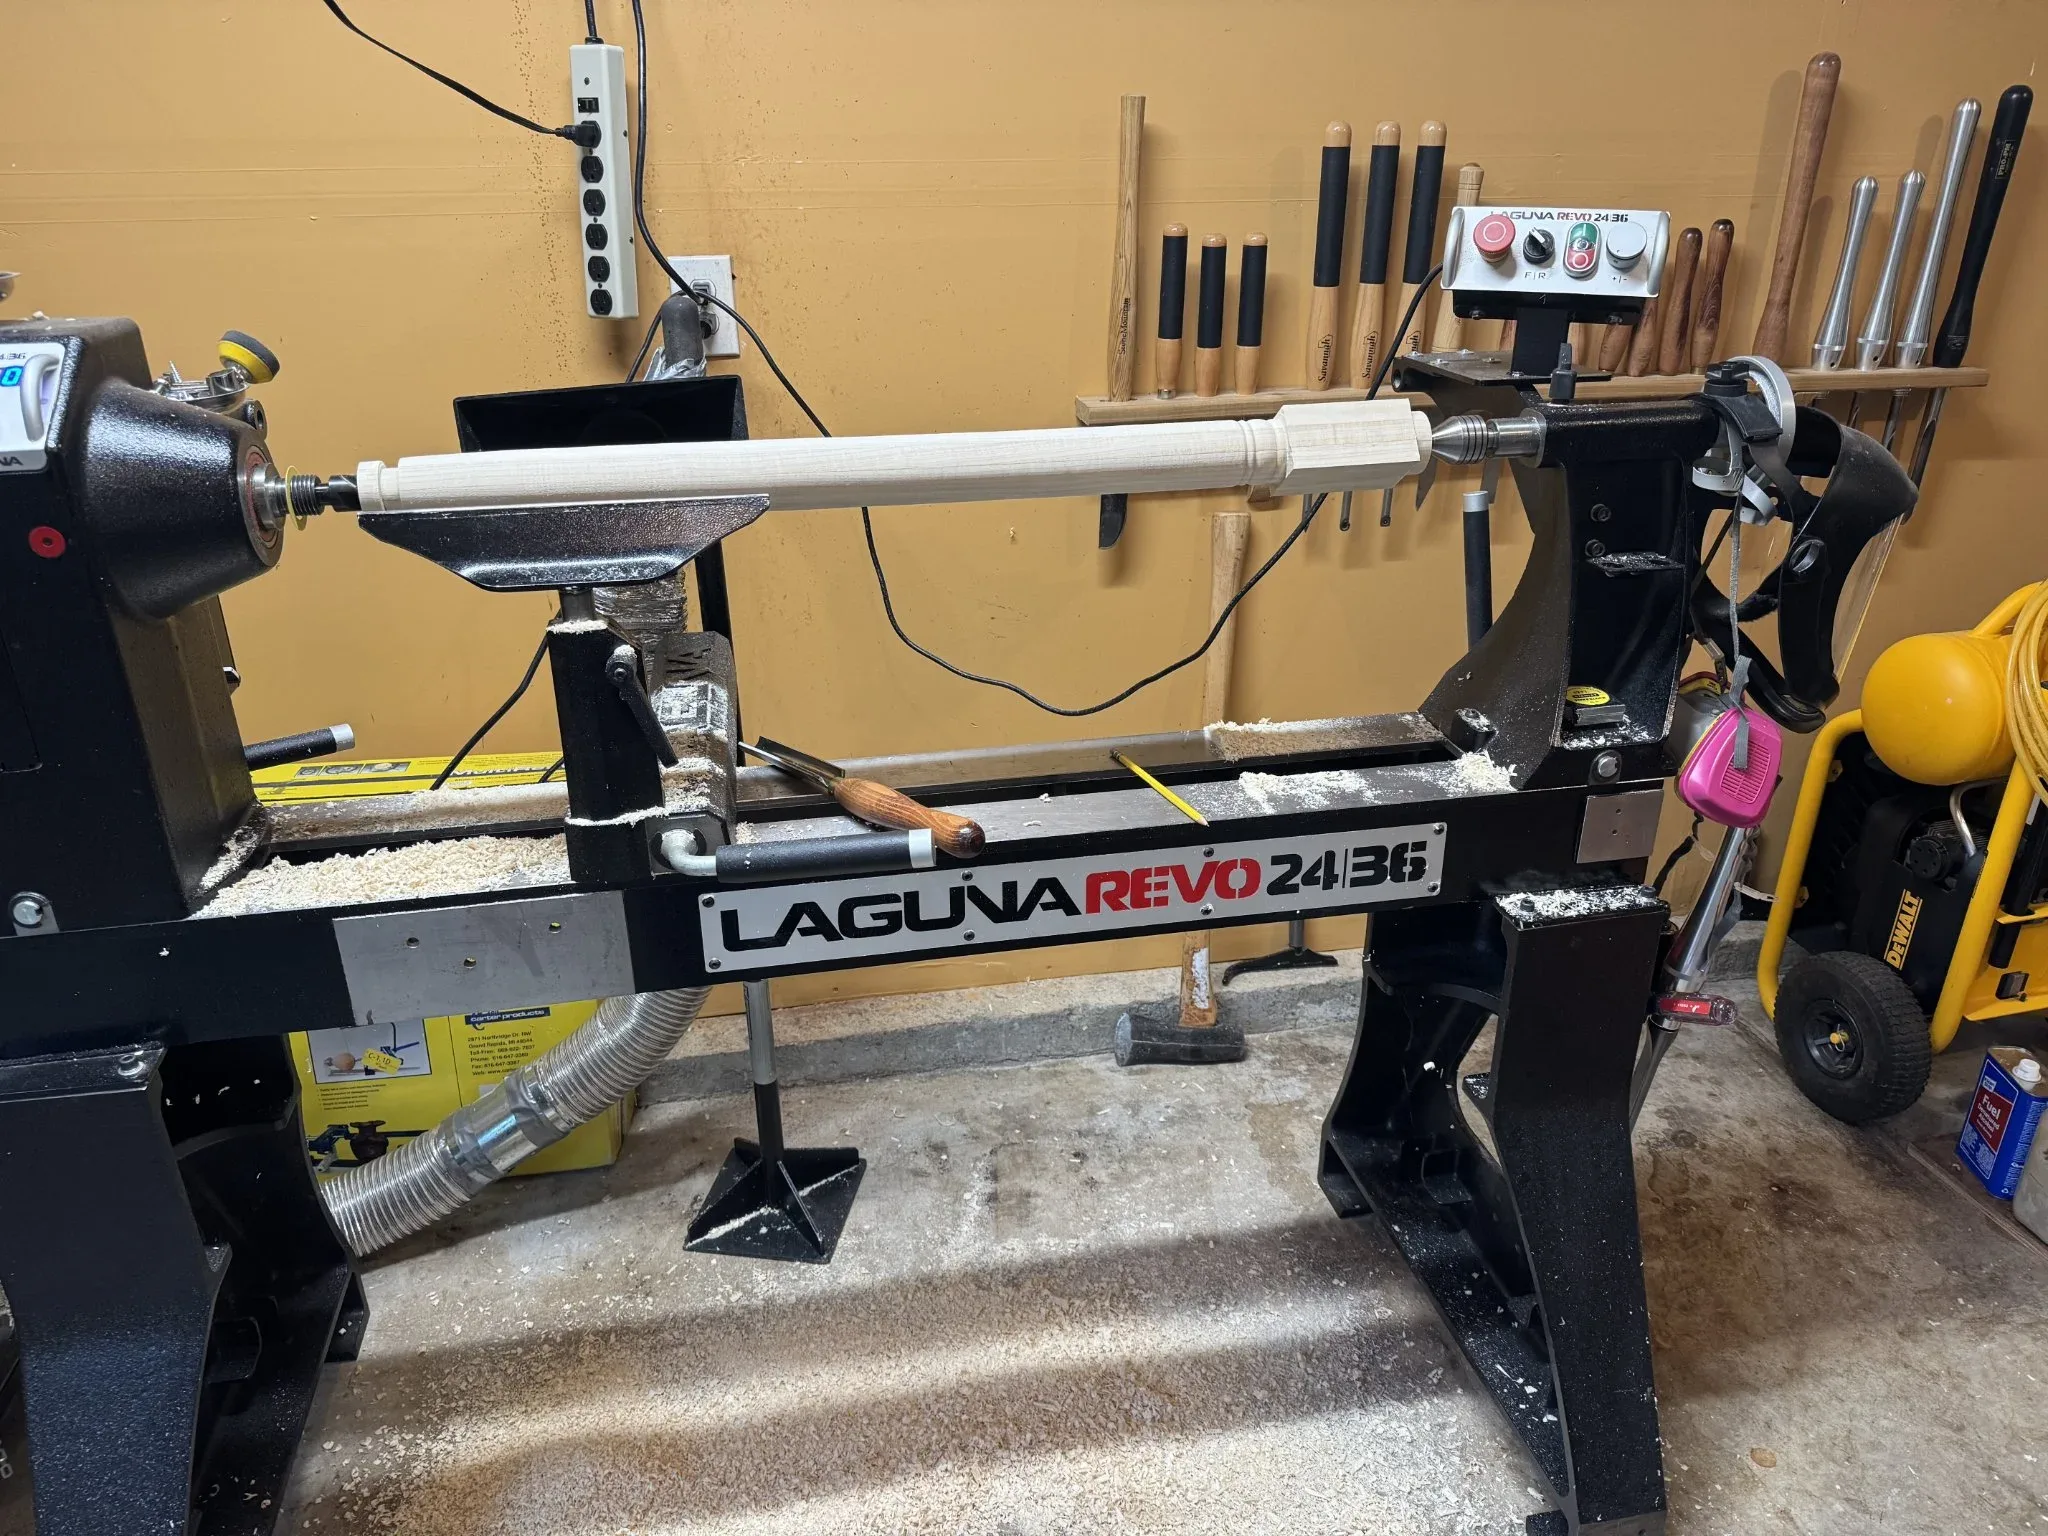
I glued sets of three 1 X 3 boards together to make posts. I turned them on the lathe doing “spindle turning” with a spindle gouge and the wide spindle roughing gouge which was used for most of the shaping. Spindle turning is when the grain of the wood goes from left to right. When you turn bowls you use bowl gouges which work well when turning with a cross-grain orientation. I don’t do a lot of spindle turning but it slowly came back to me as I worked on the table legs.
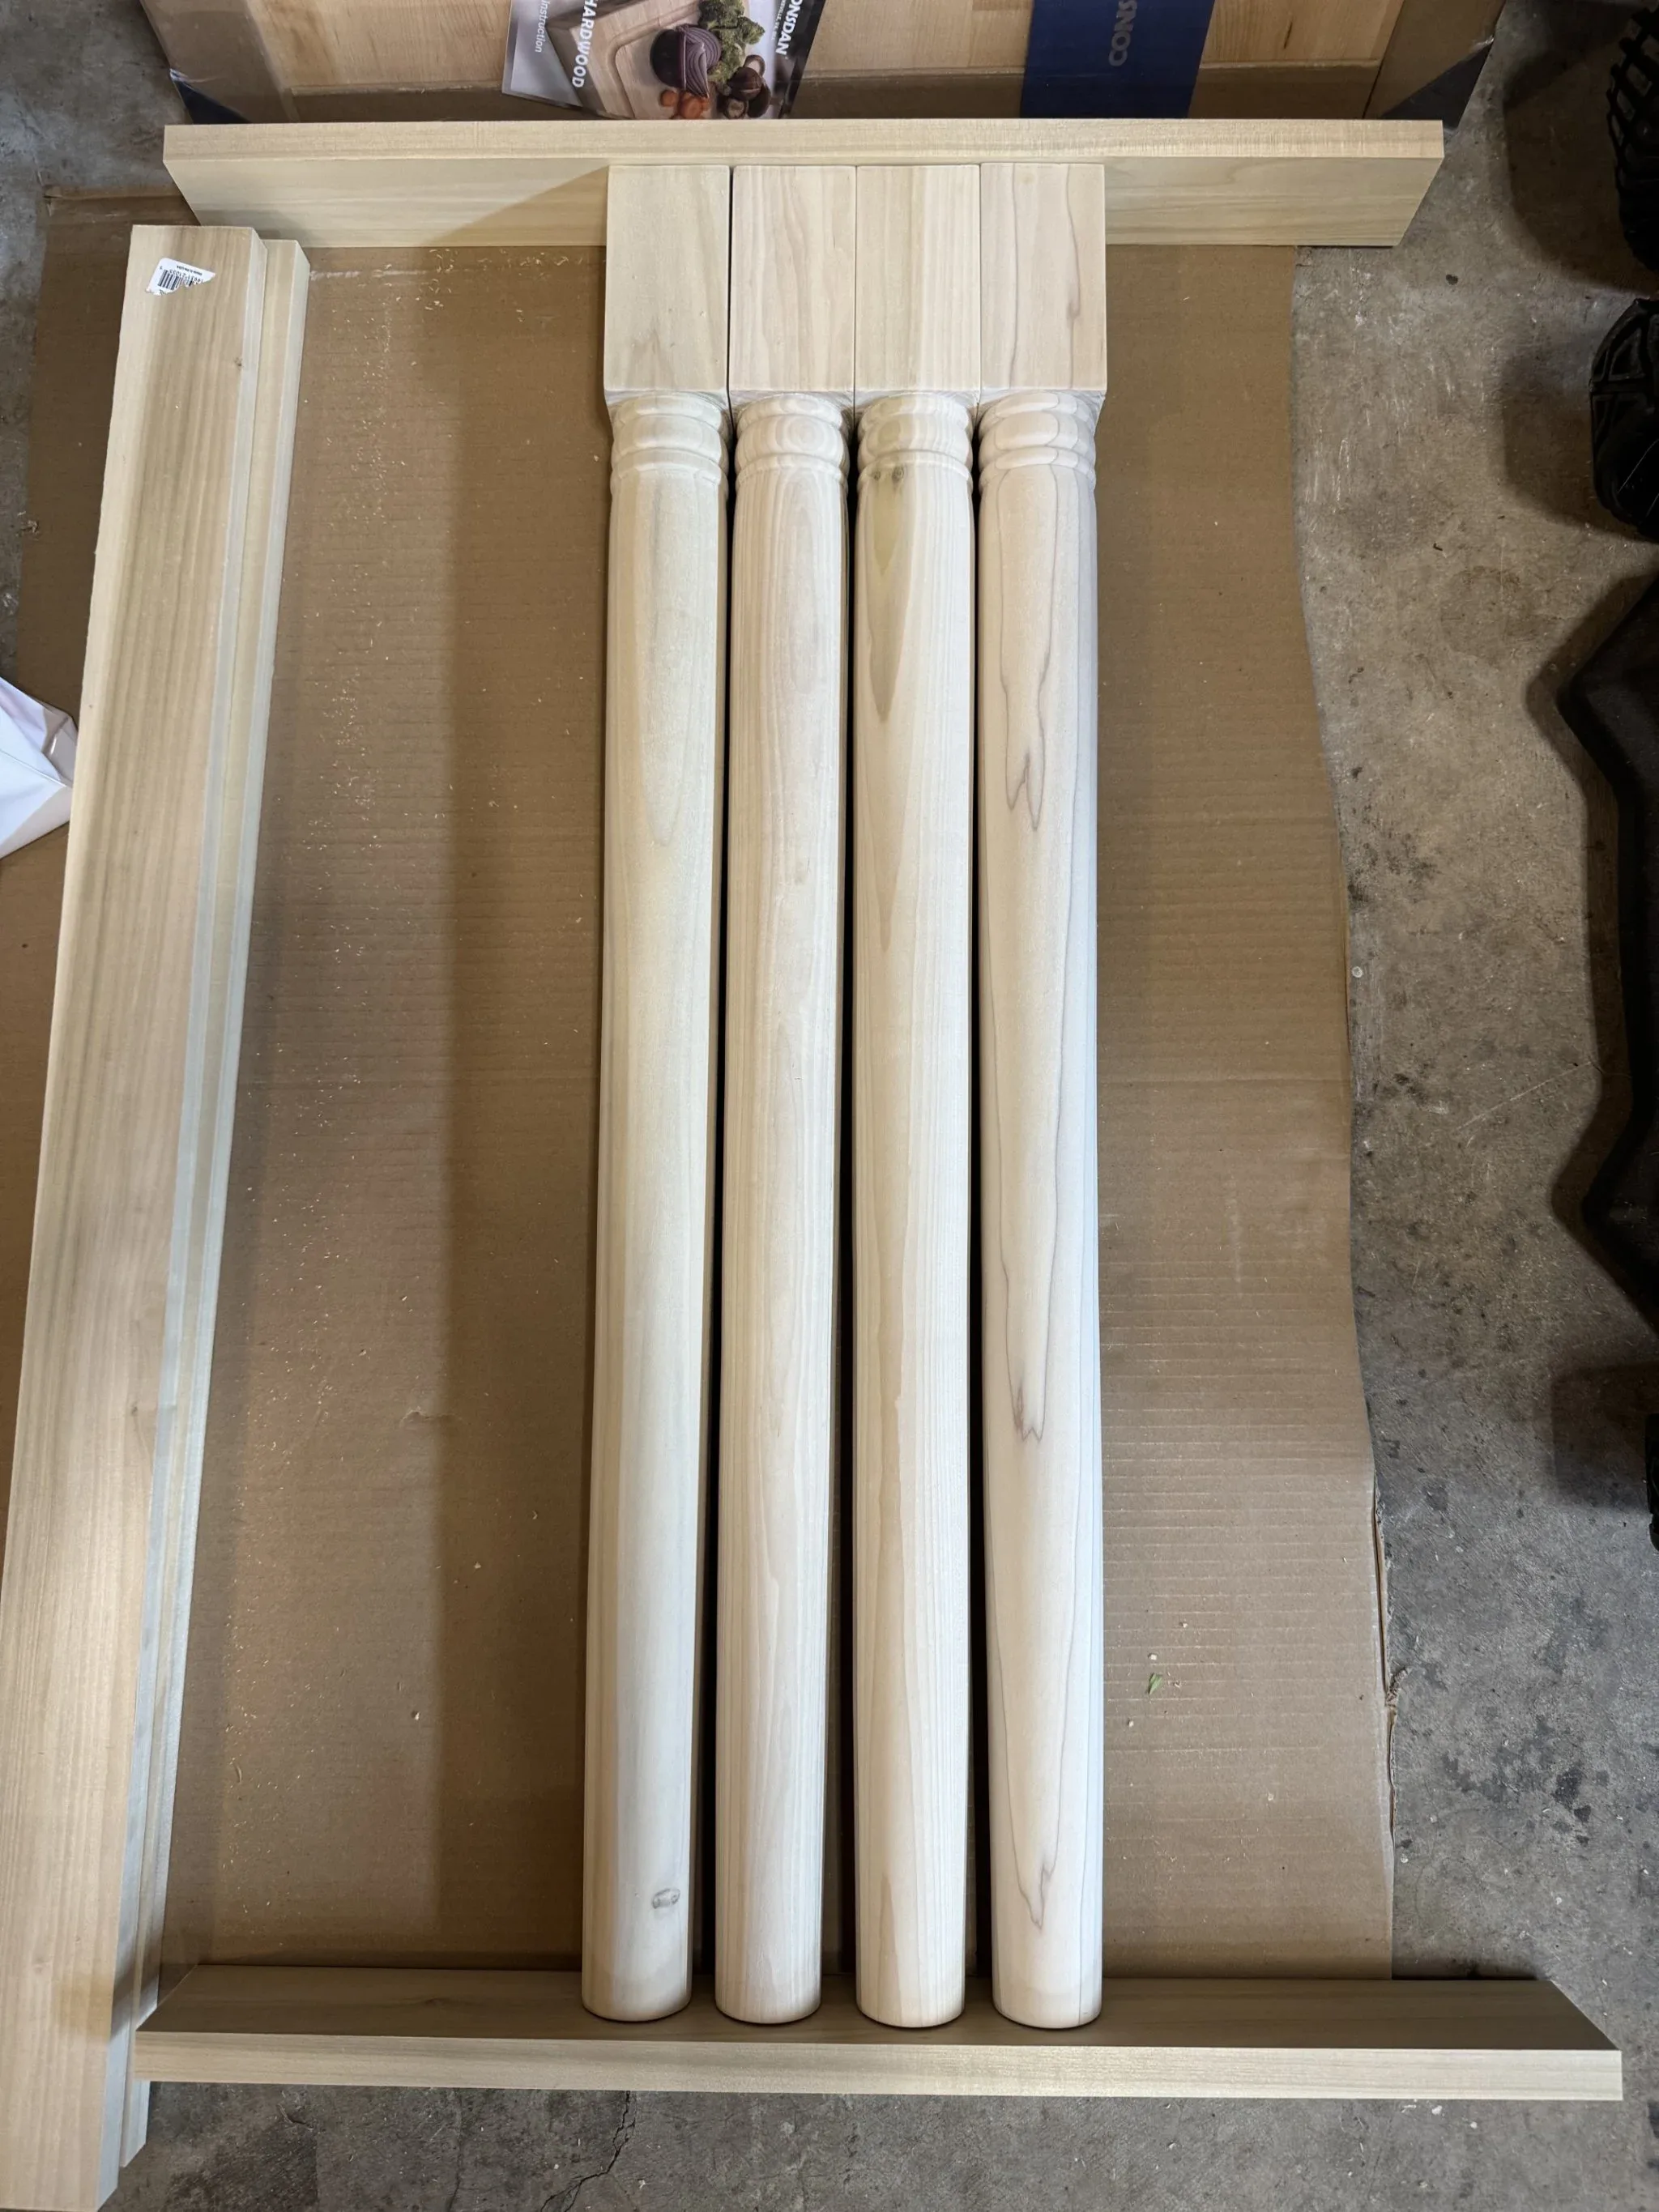
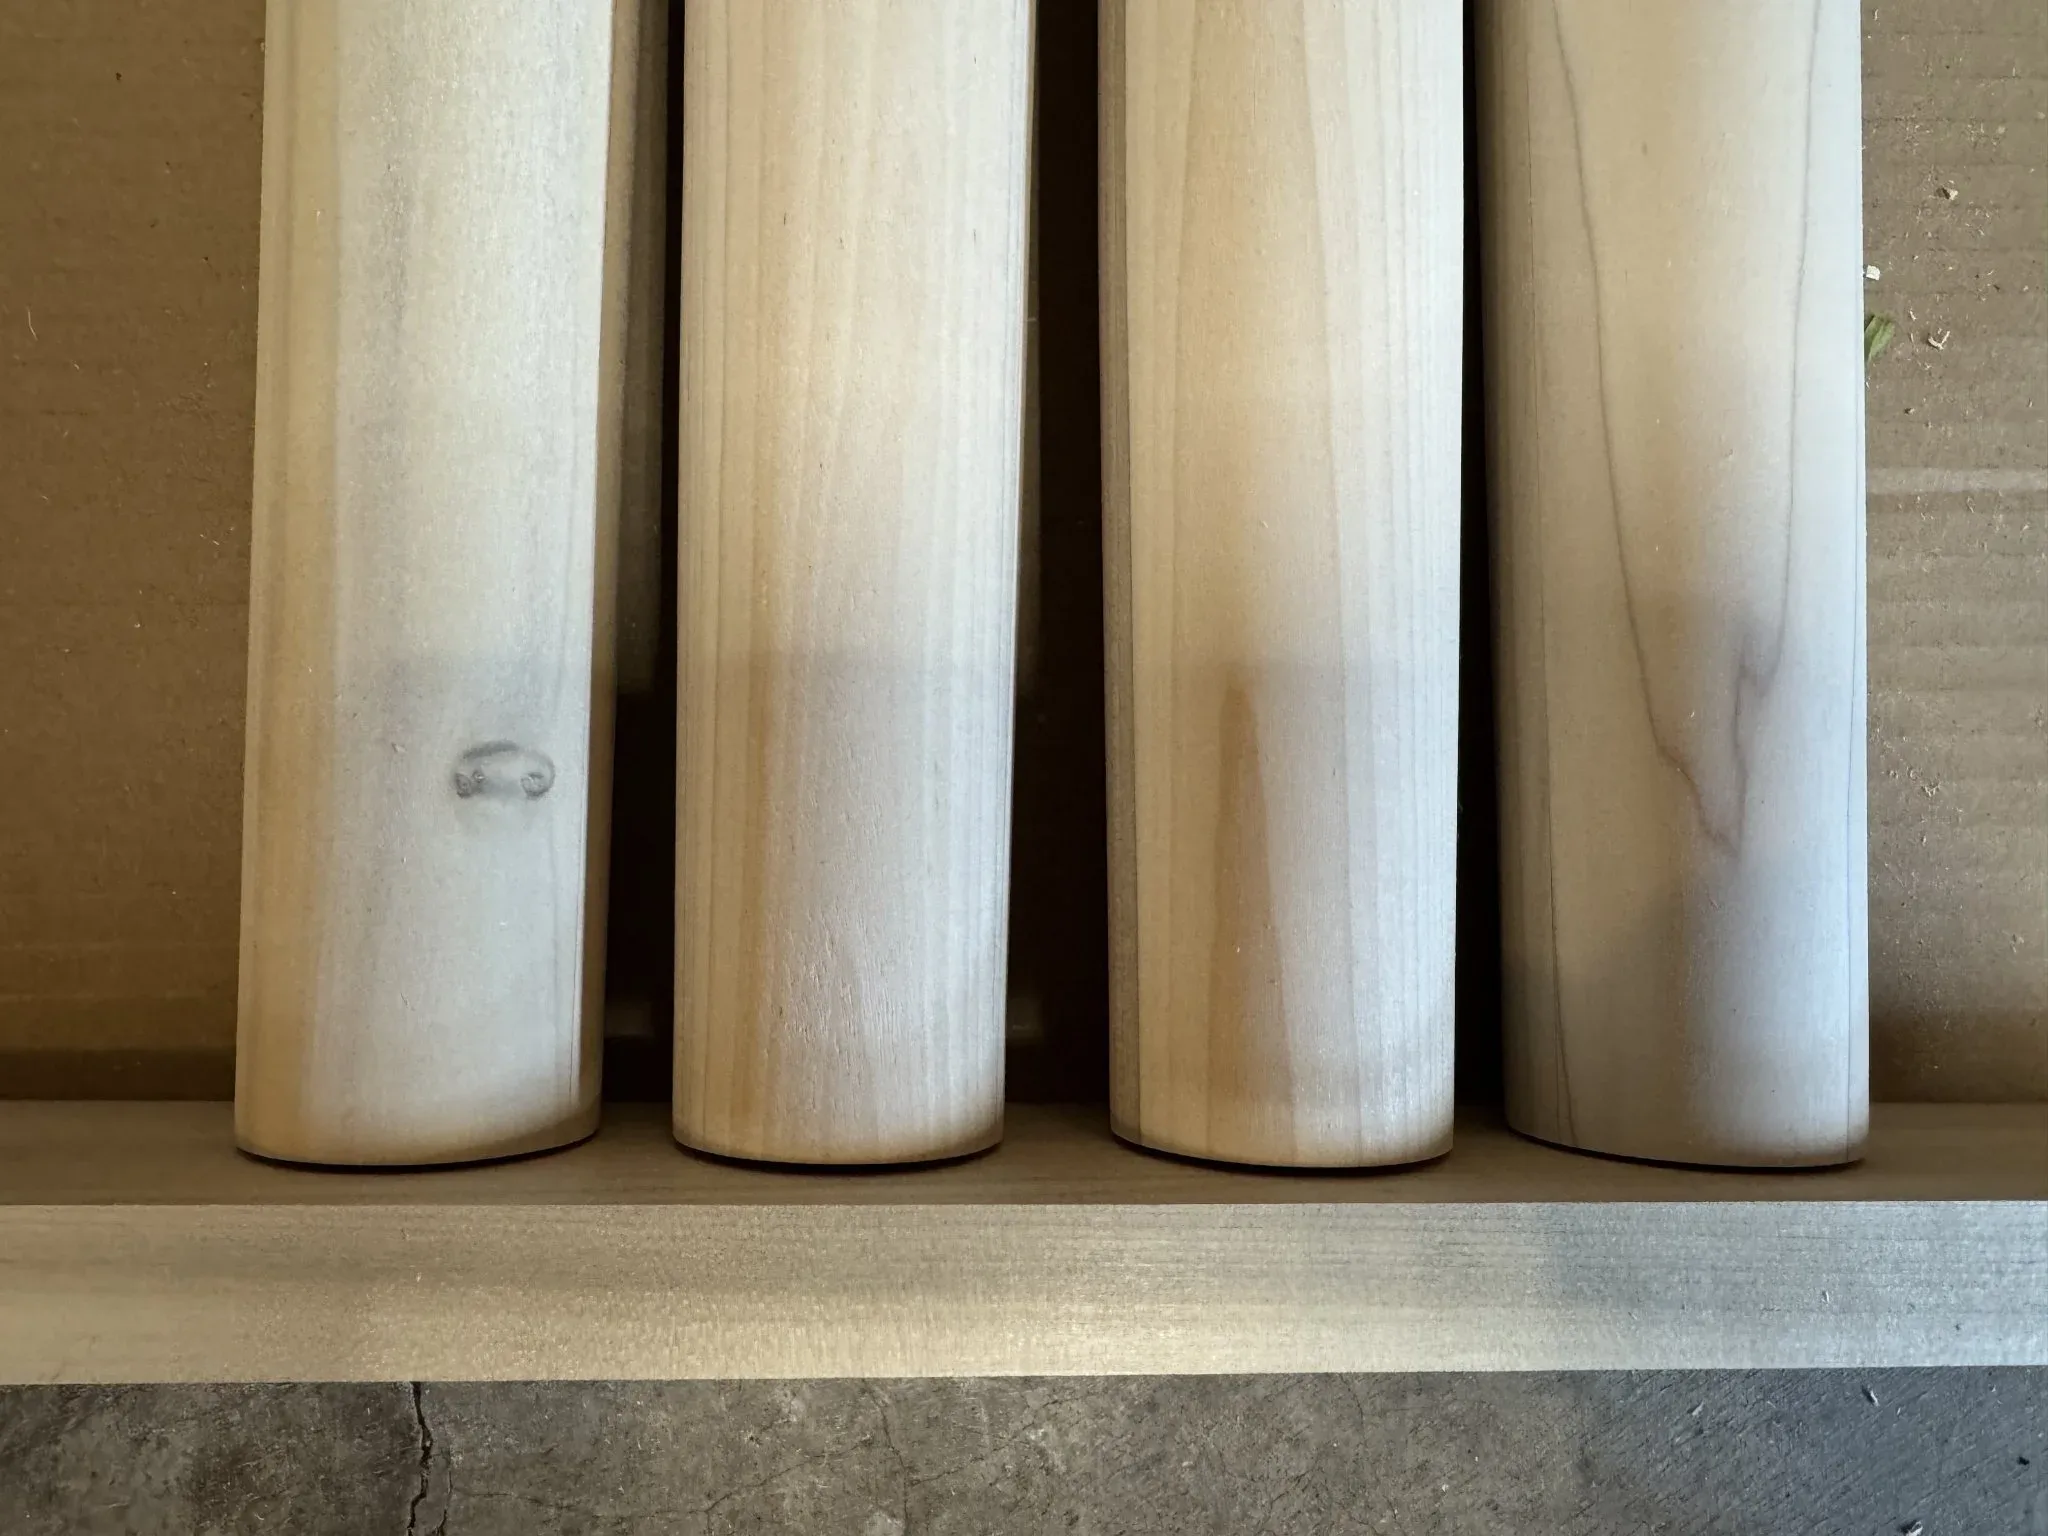
Here are the four legs next to each other as I was inspecting how well they matched.
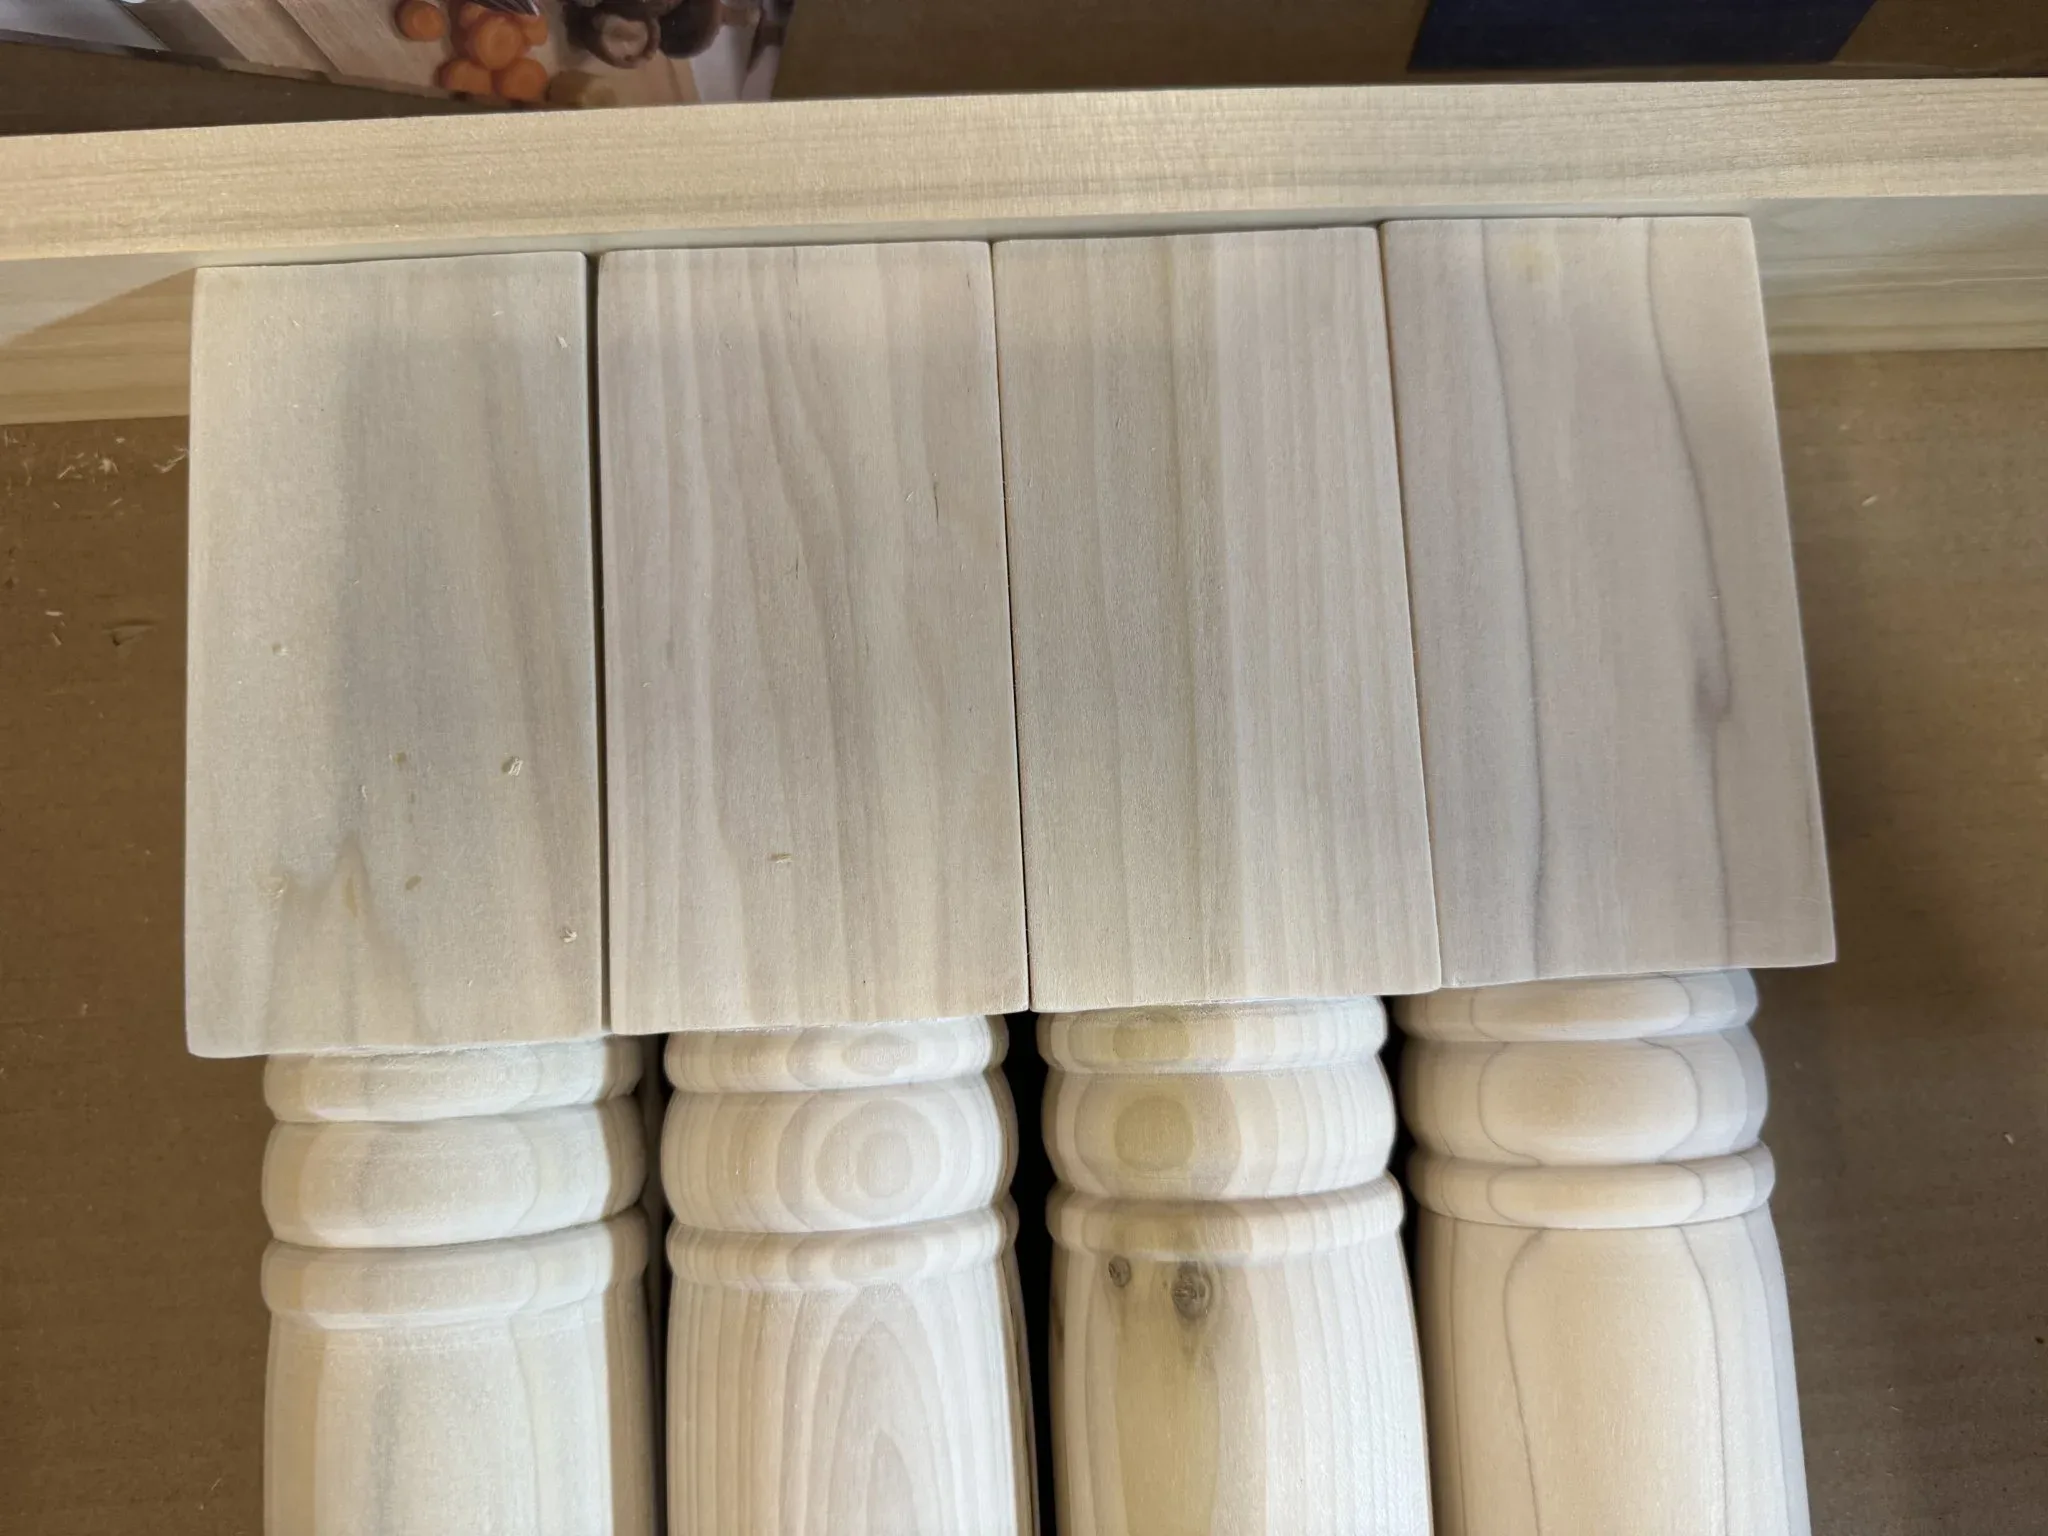
I was way off on the three rings (beads) below the square part, but it was good enough. People won’t notice the differences on the actual table because the legs won’t be right next to each other as they are in this picture.
Checking the length of the table legs, seems pretty close. I’m hoping the table doesn’t wobble from having one leg too short.
OK, this is where things start to go wrong.
I haven’t invested in the tools to properly join the parts together. This table project seemed simple enough that simple brackets and screws would work.
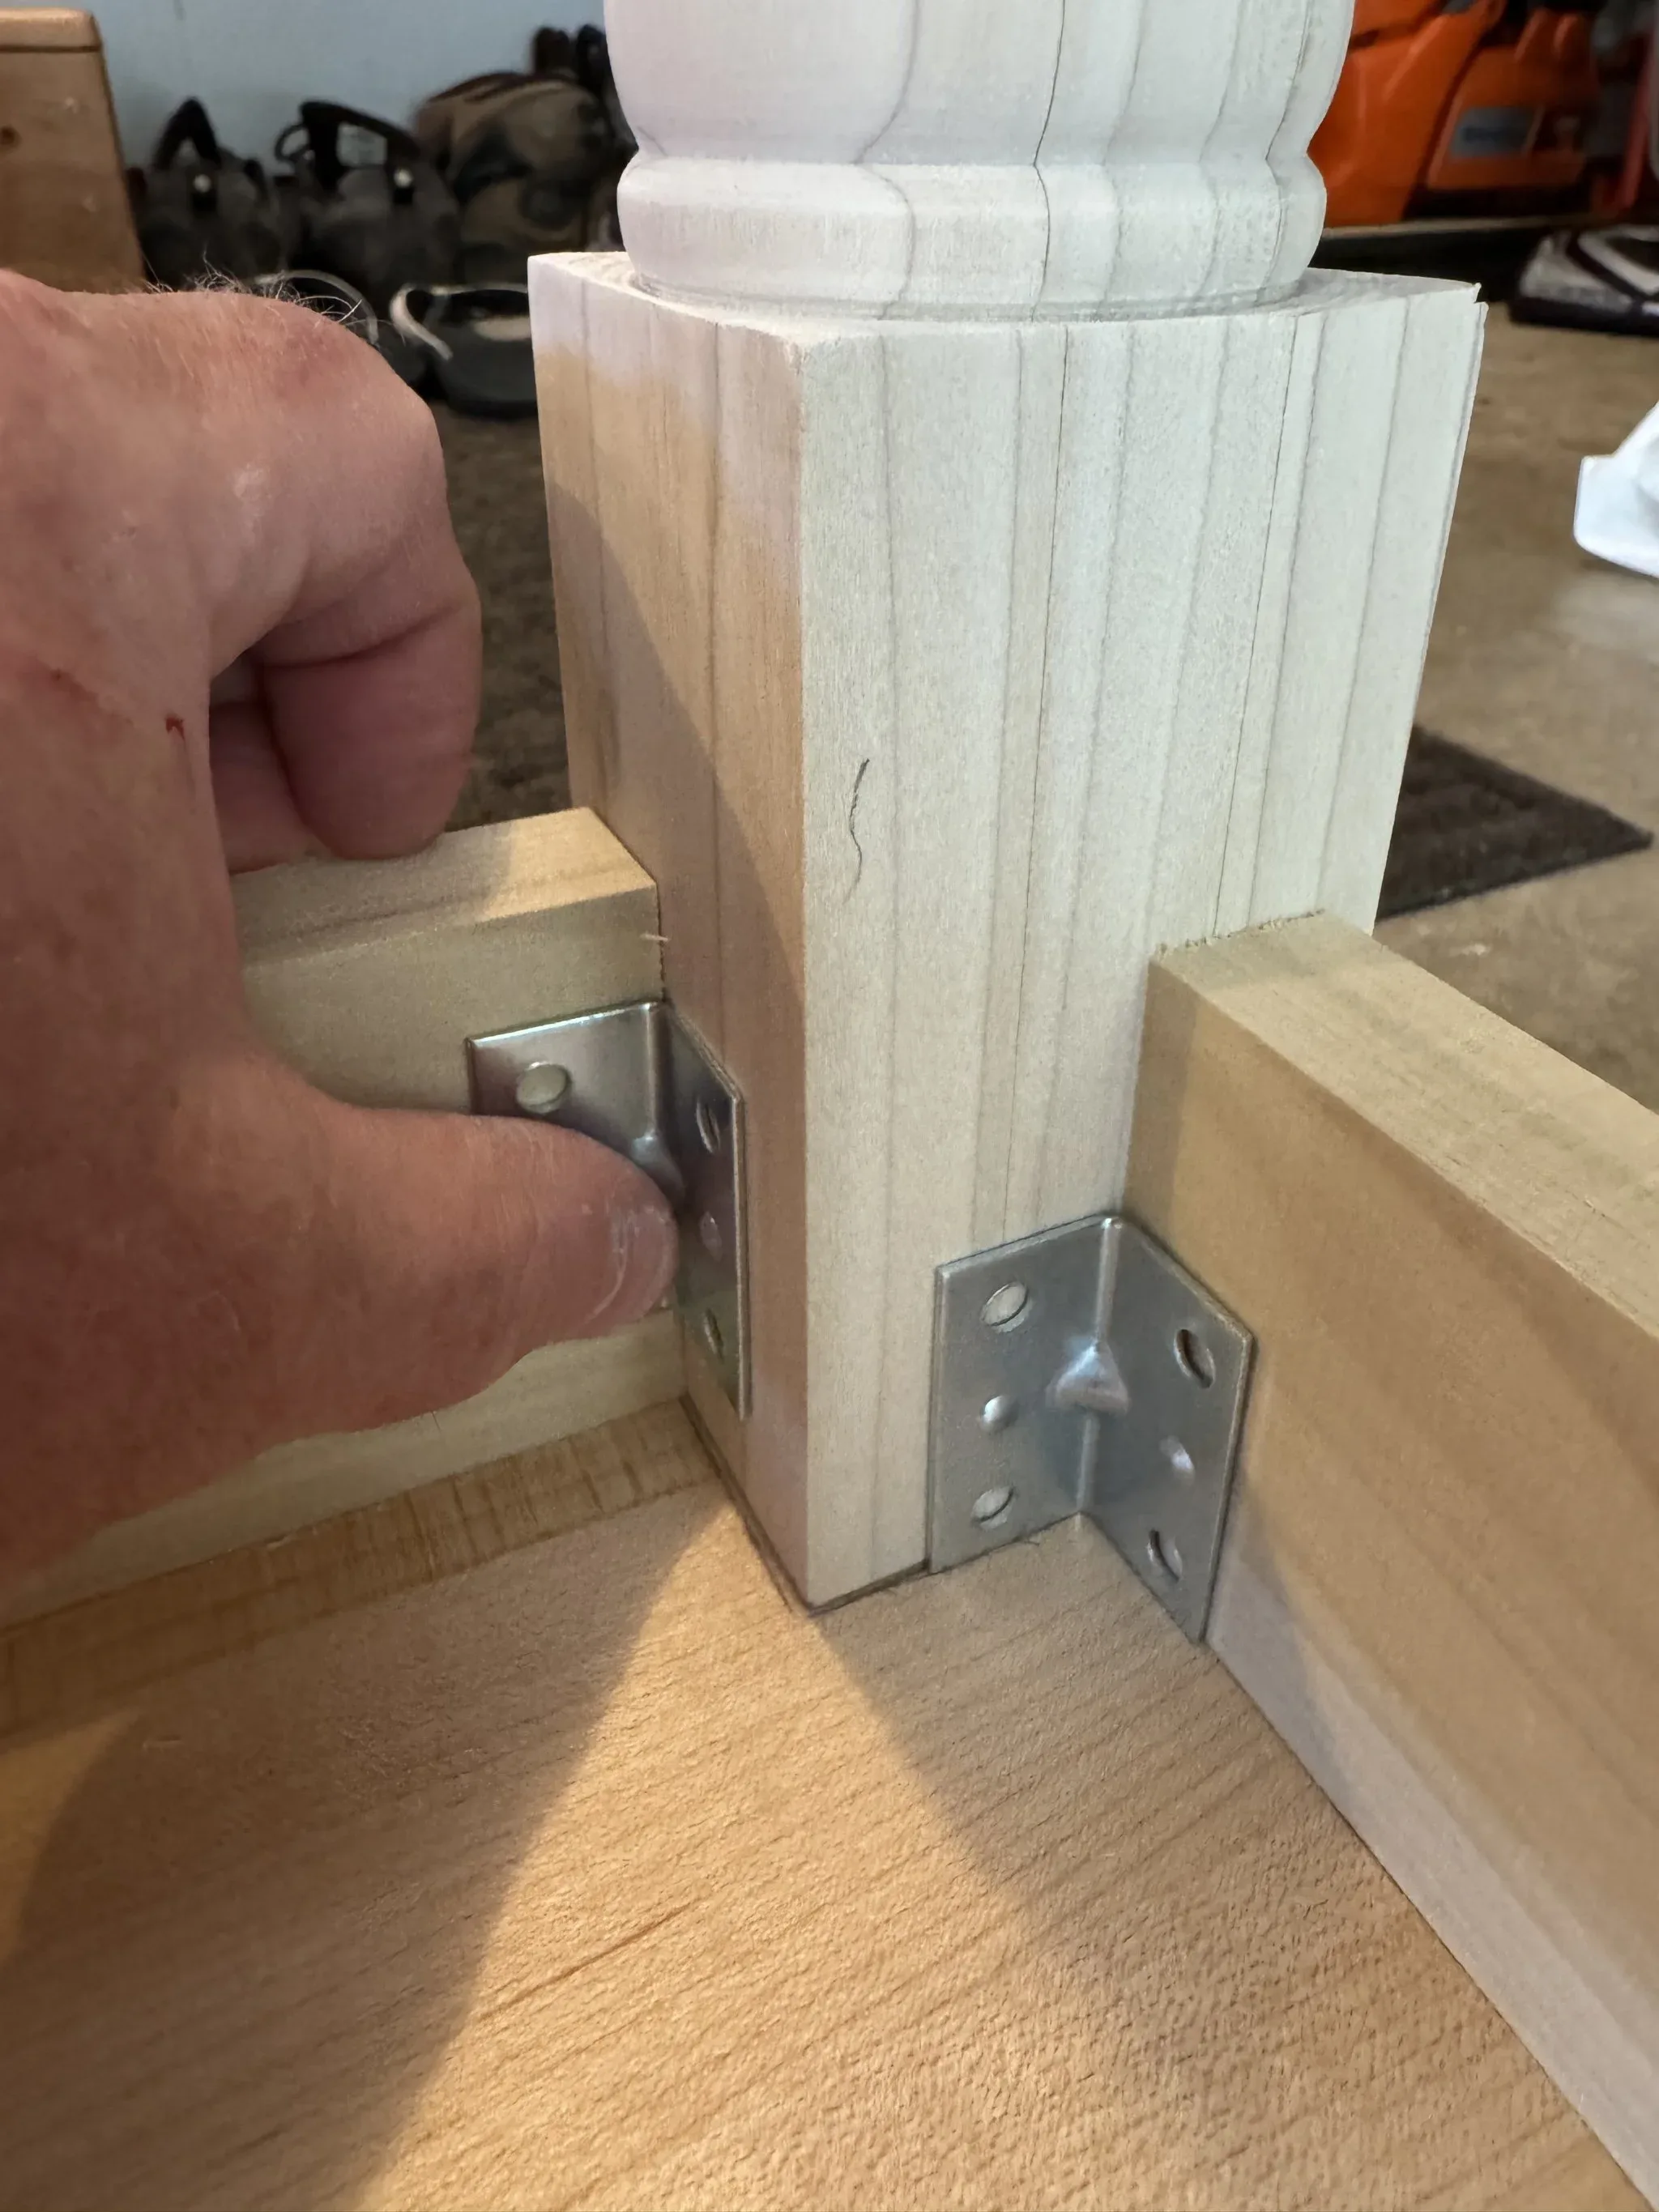
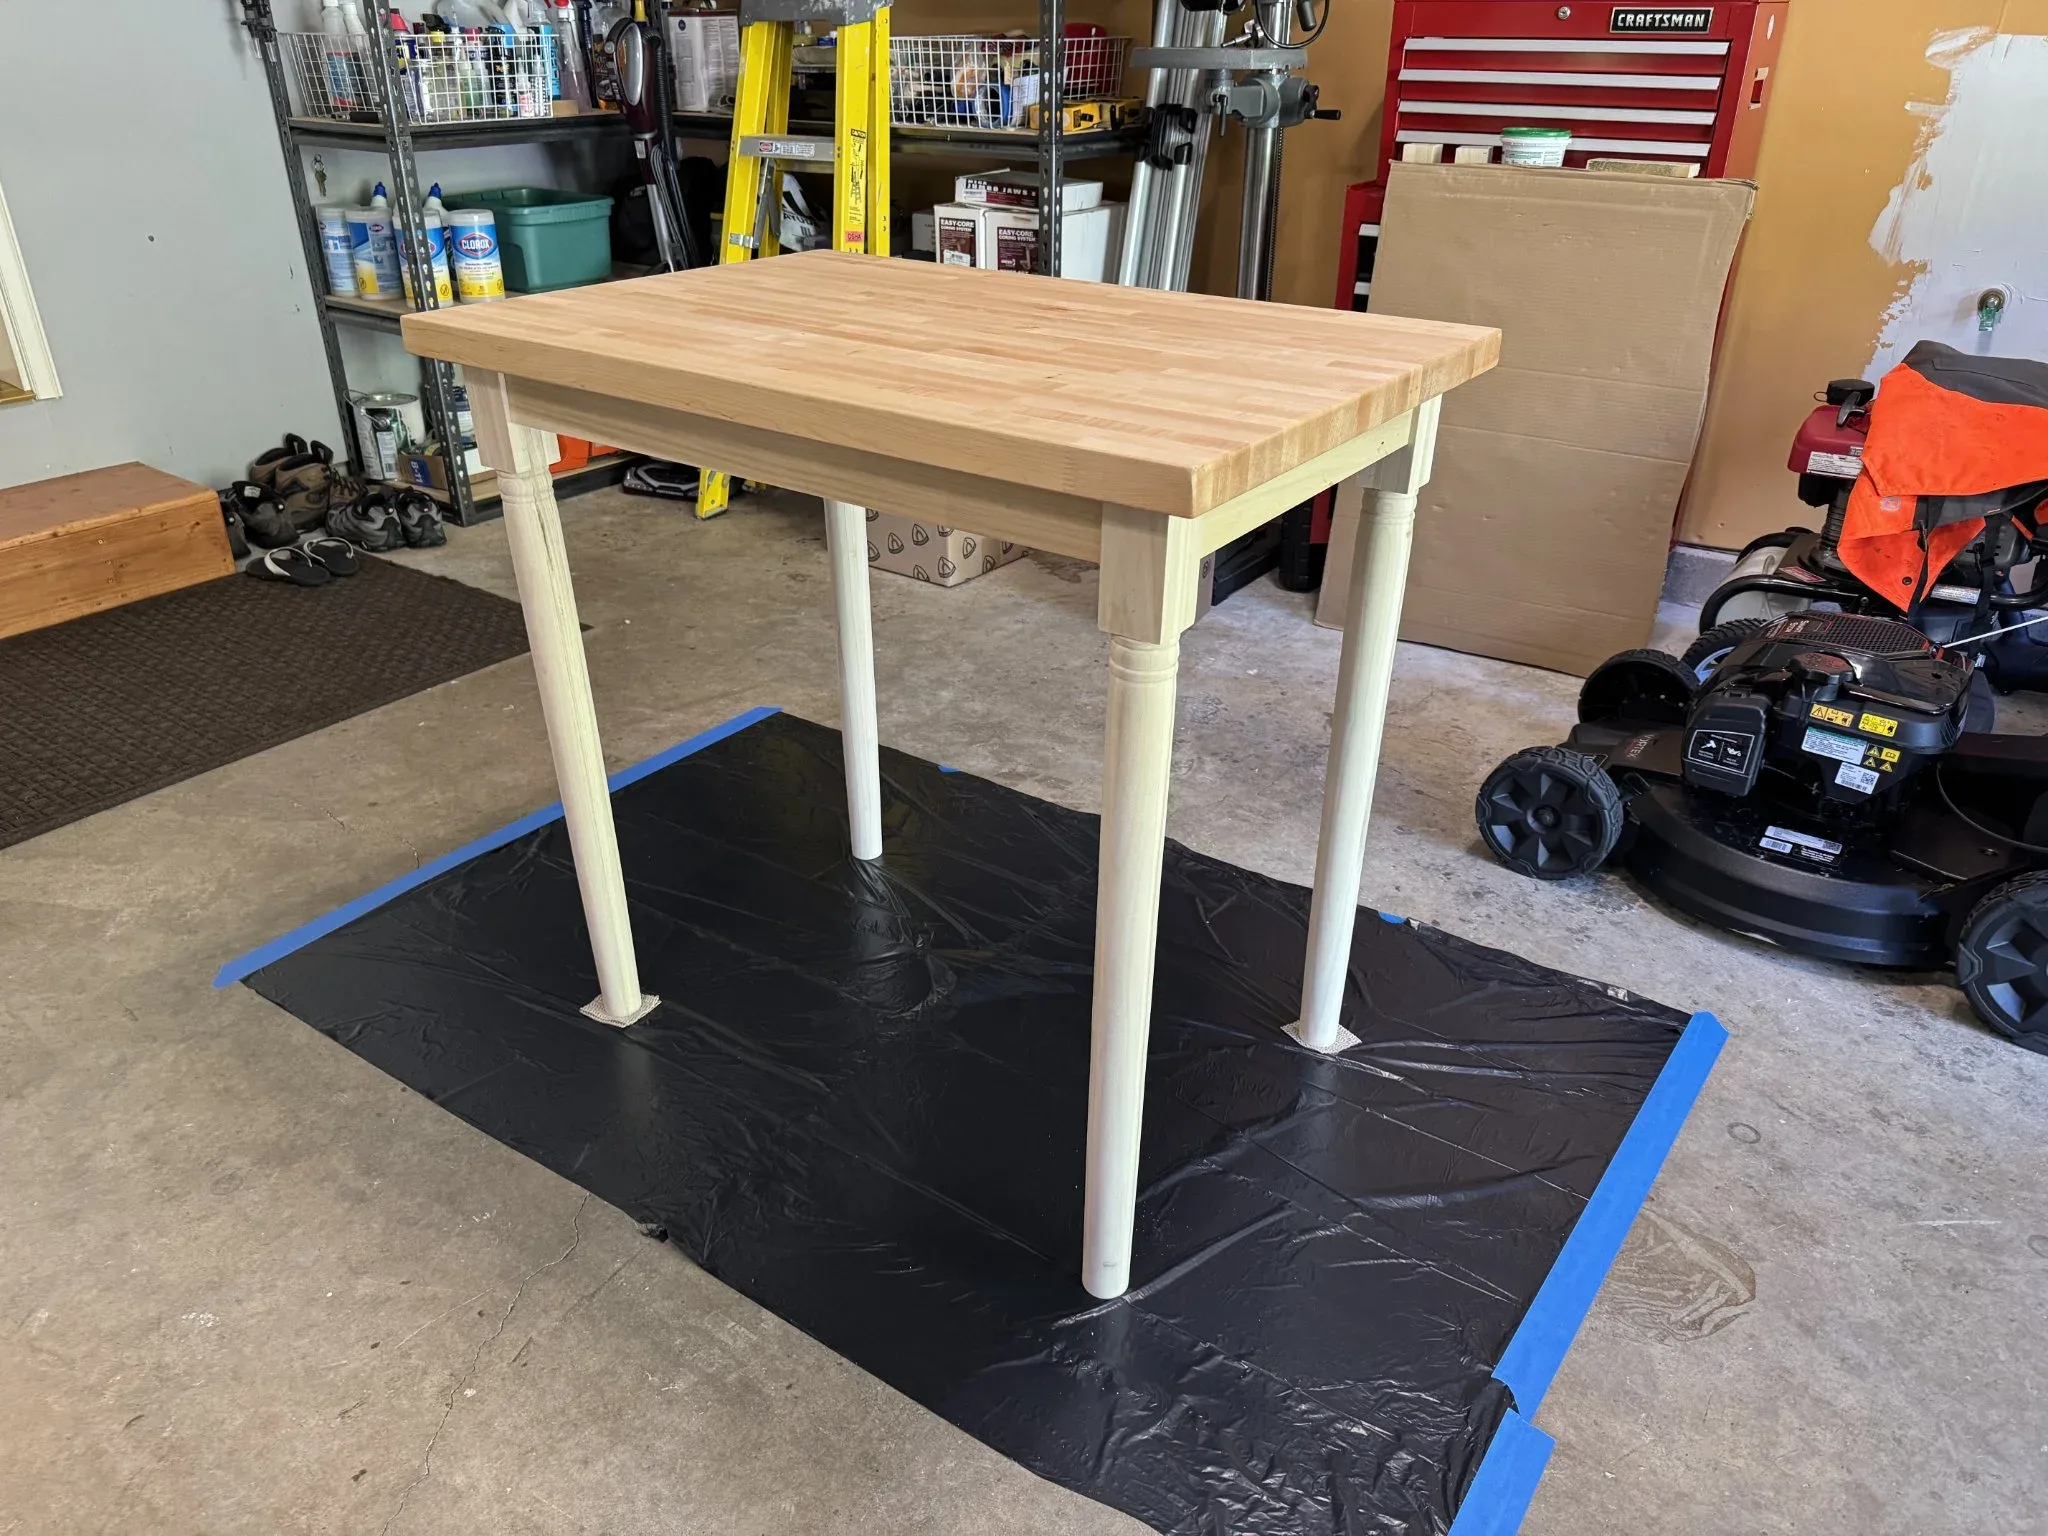
And it looked OK. However, the butcher block table is really heavy and the table was ridiculously wobbly. Not only that, the table legs weren’t of consistent length. It was clear that the table would not be usable and the project seems to be a failure.
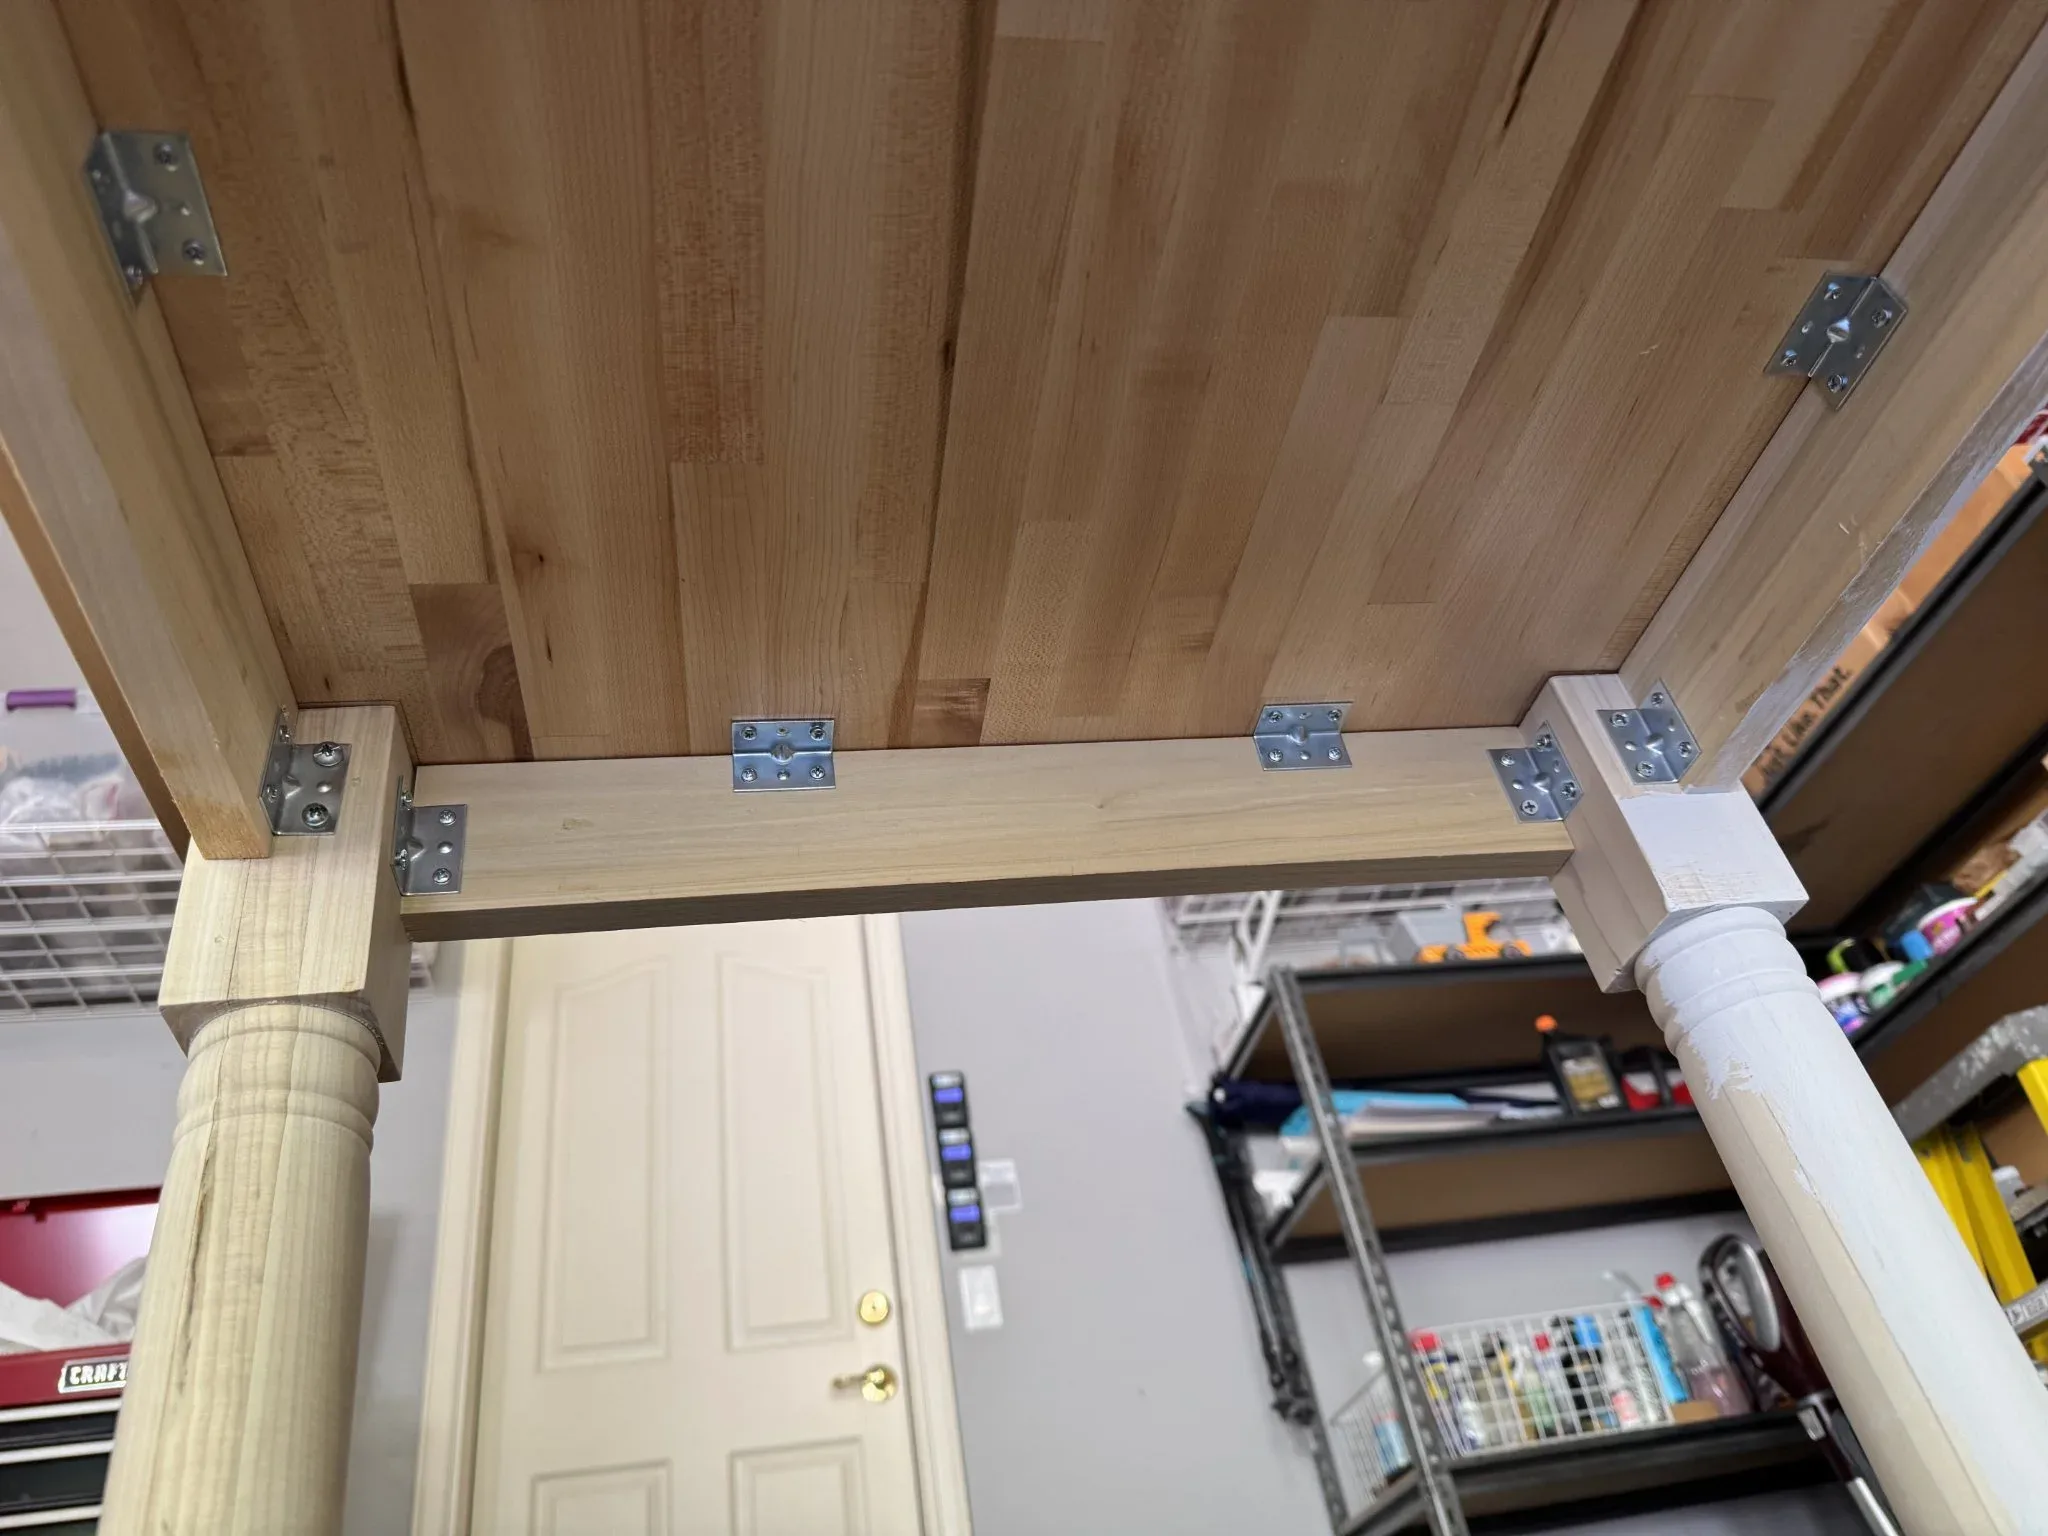
This is what the brackets look like from the underside. The legs are not properly supported and are loose. The brackets had the tendency to push the wood out of alignment as I attempted to attach them.
I called my brother, Dan, who has authentic wood working skills and common sense. He offered to come over and help me make it right.
Dan told me to disassemble the table and we would build it properly when he came over. Here it is disassembled again.
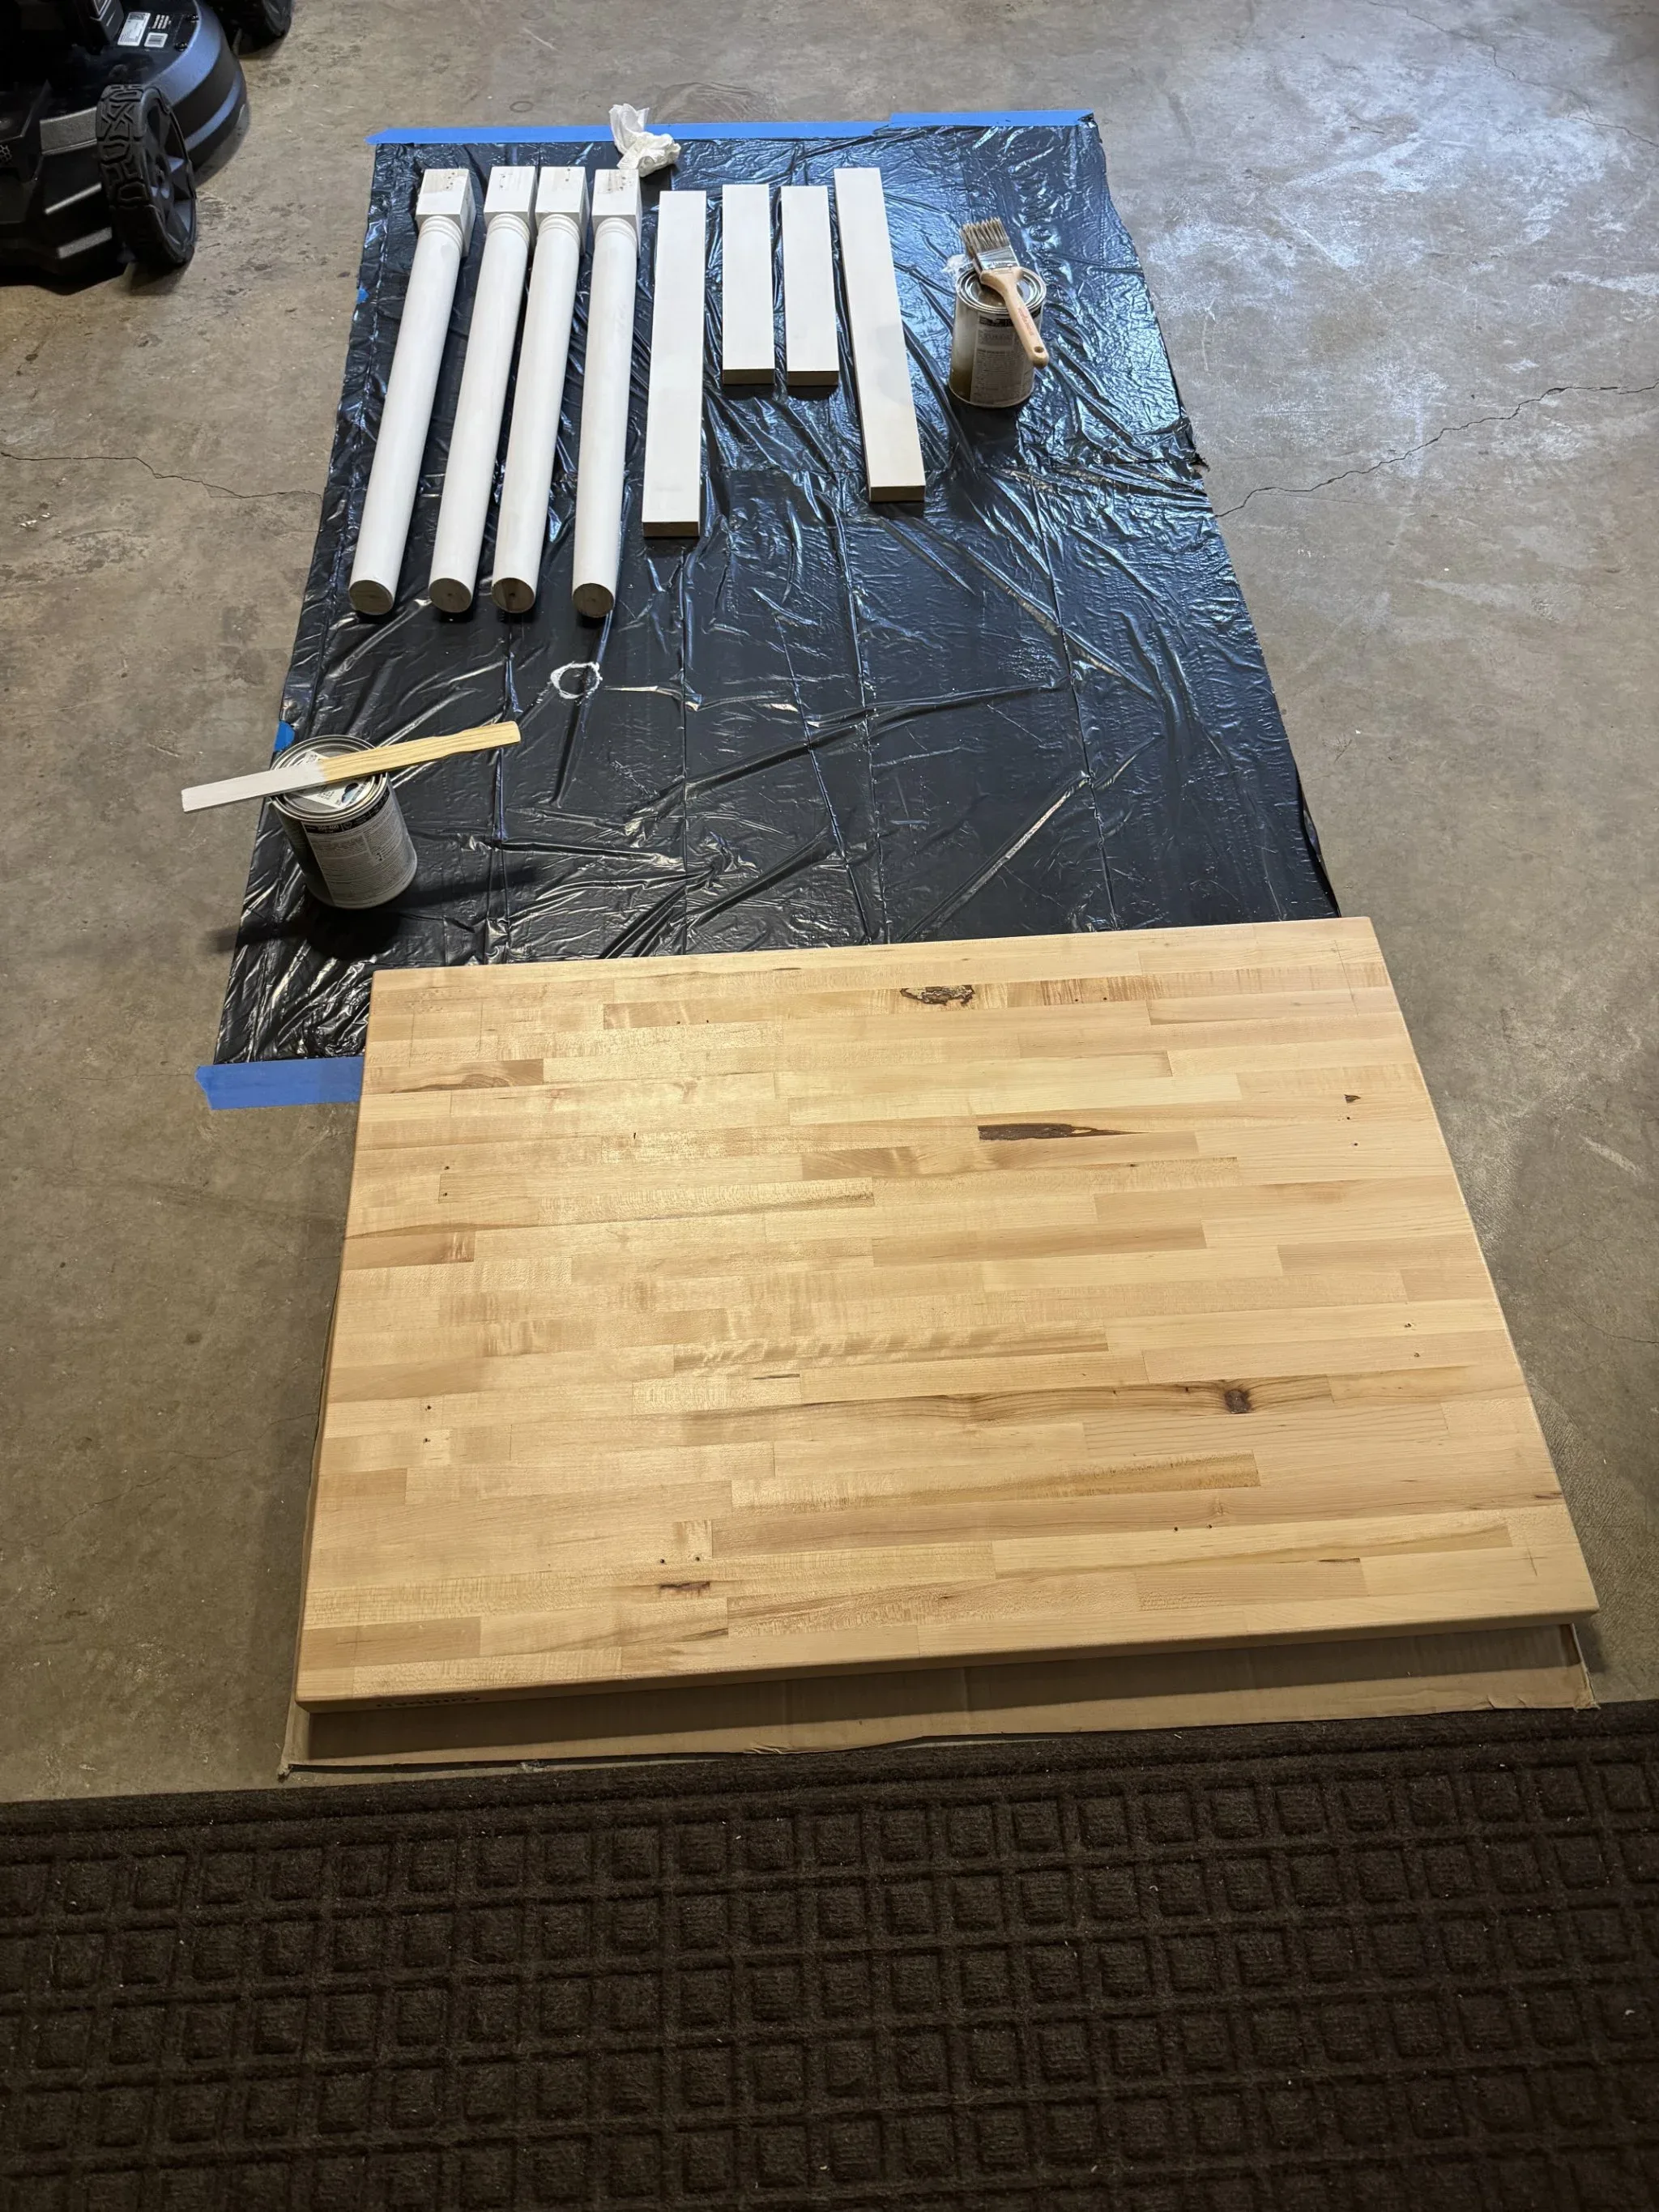
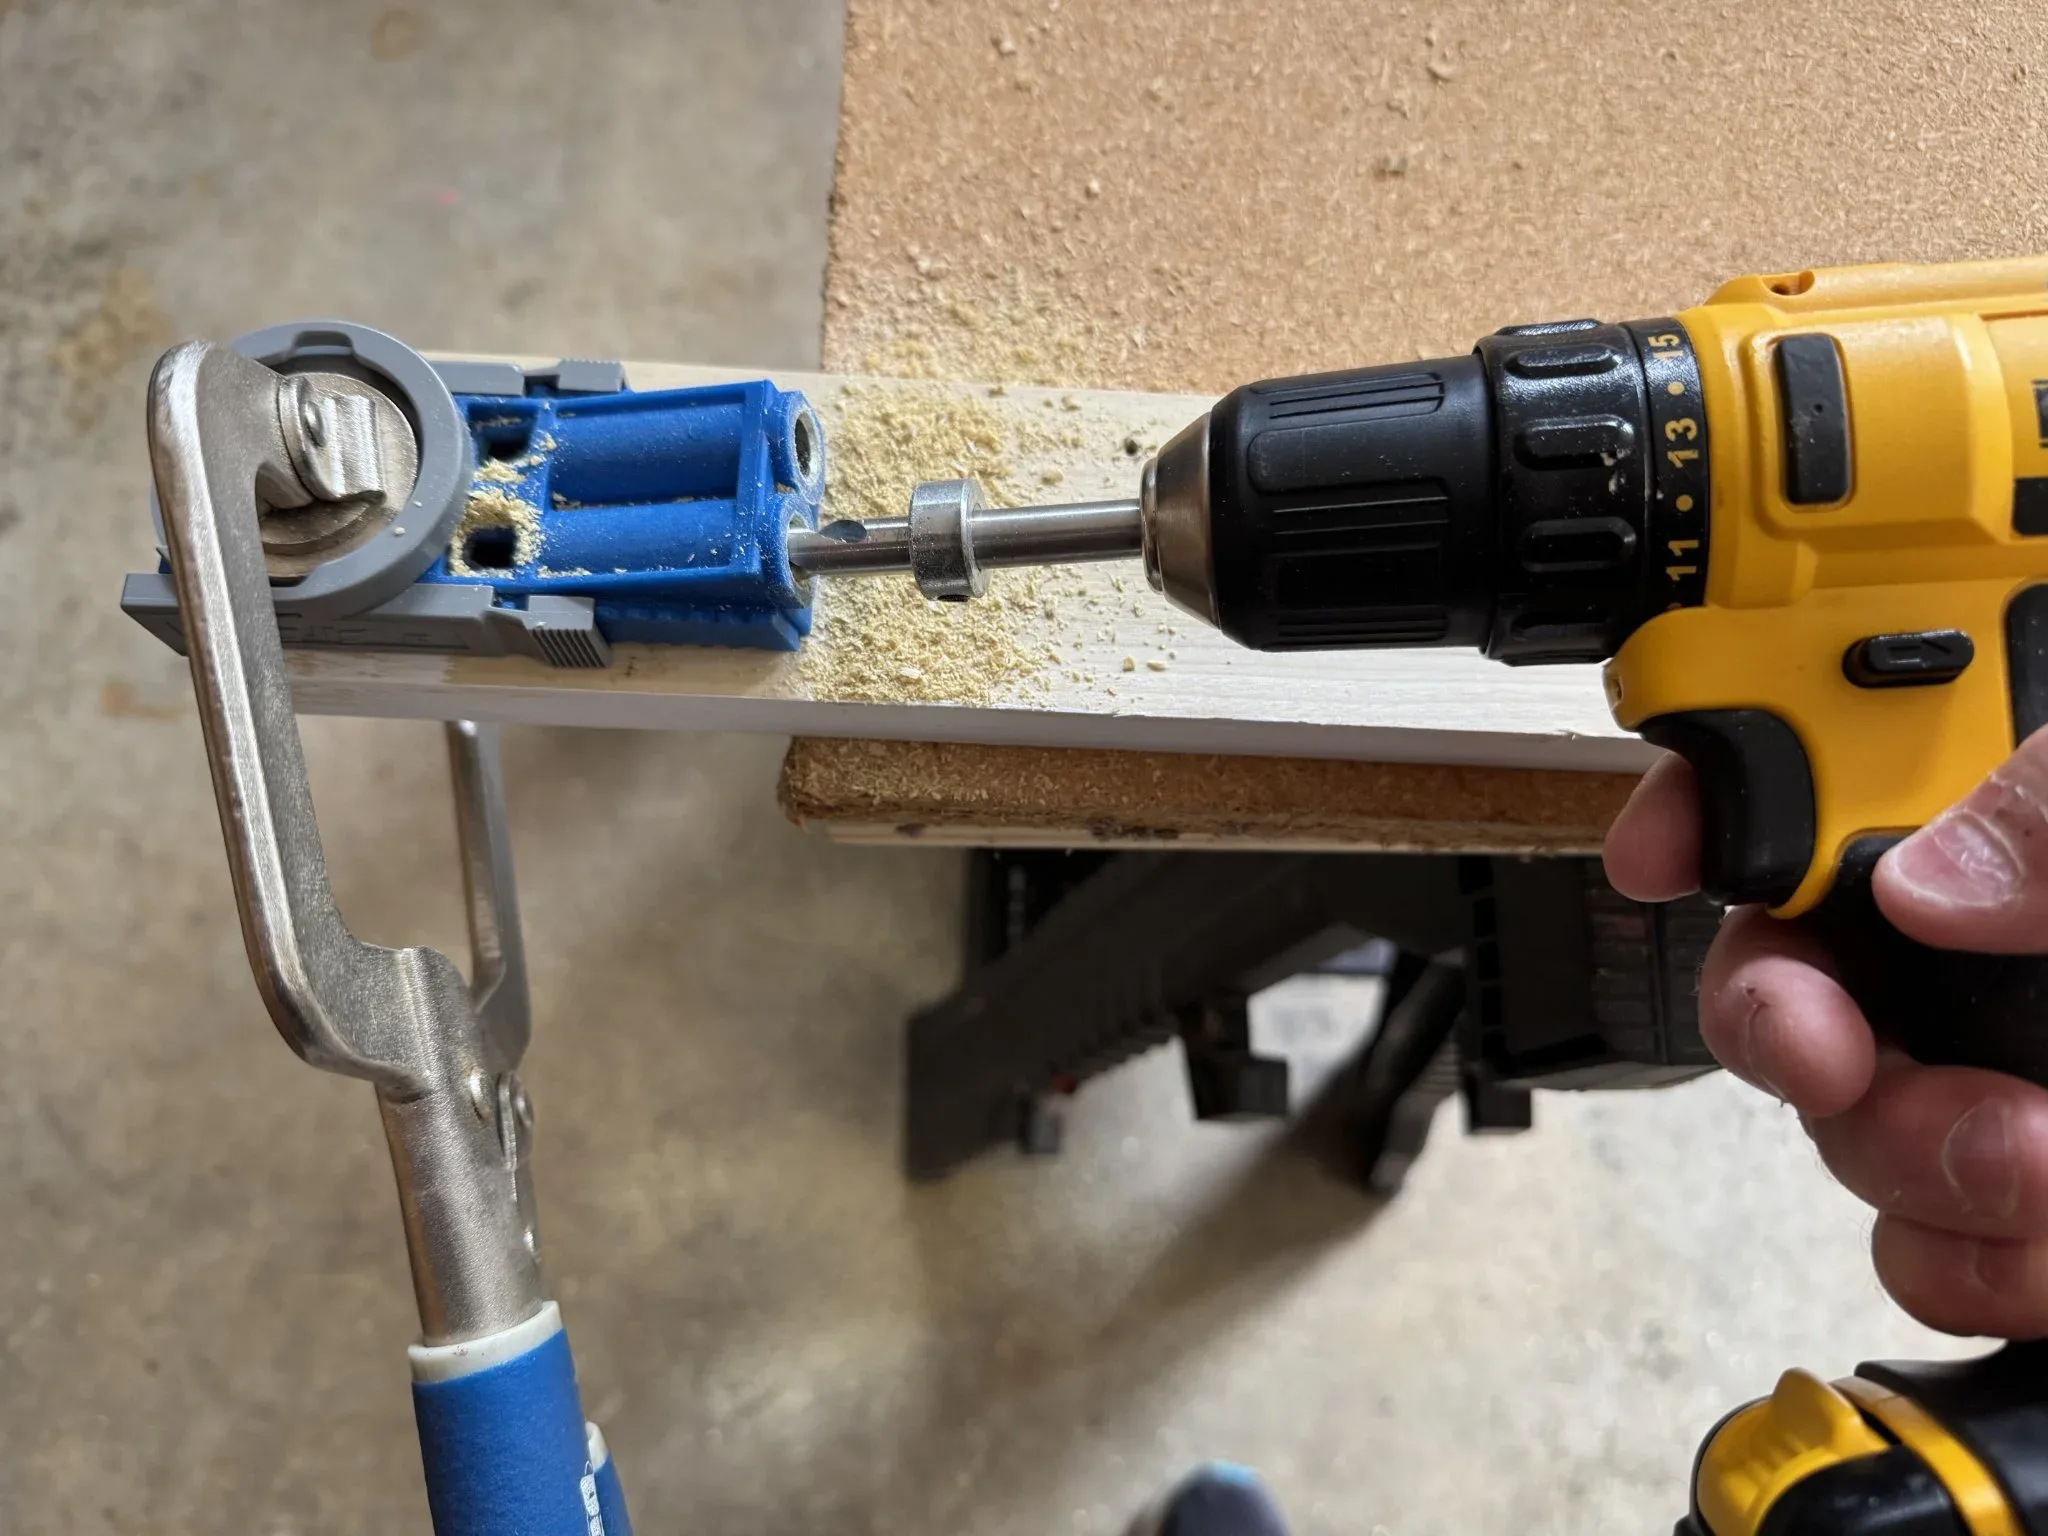
Dan brought a $40 Kreg system. I probably spent that much on the brackets. He also brought a couple plastic saw horses and a board to use as a temporary table; and he brought some clamps and his drill.
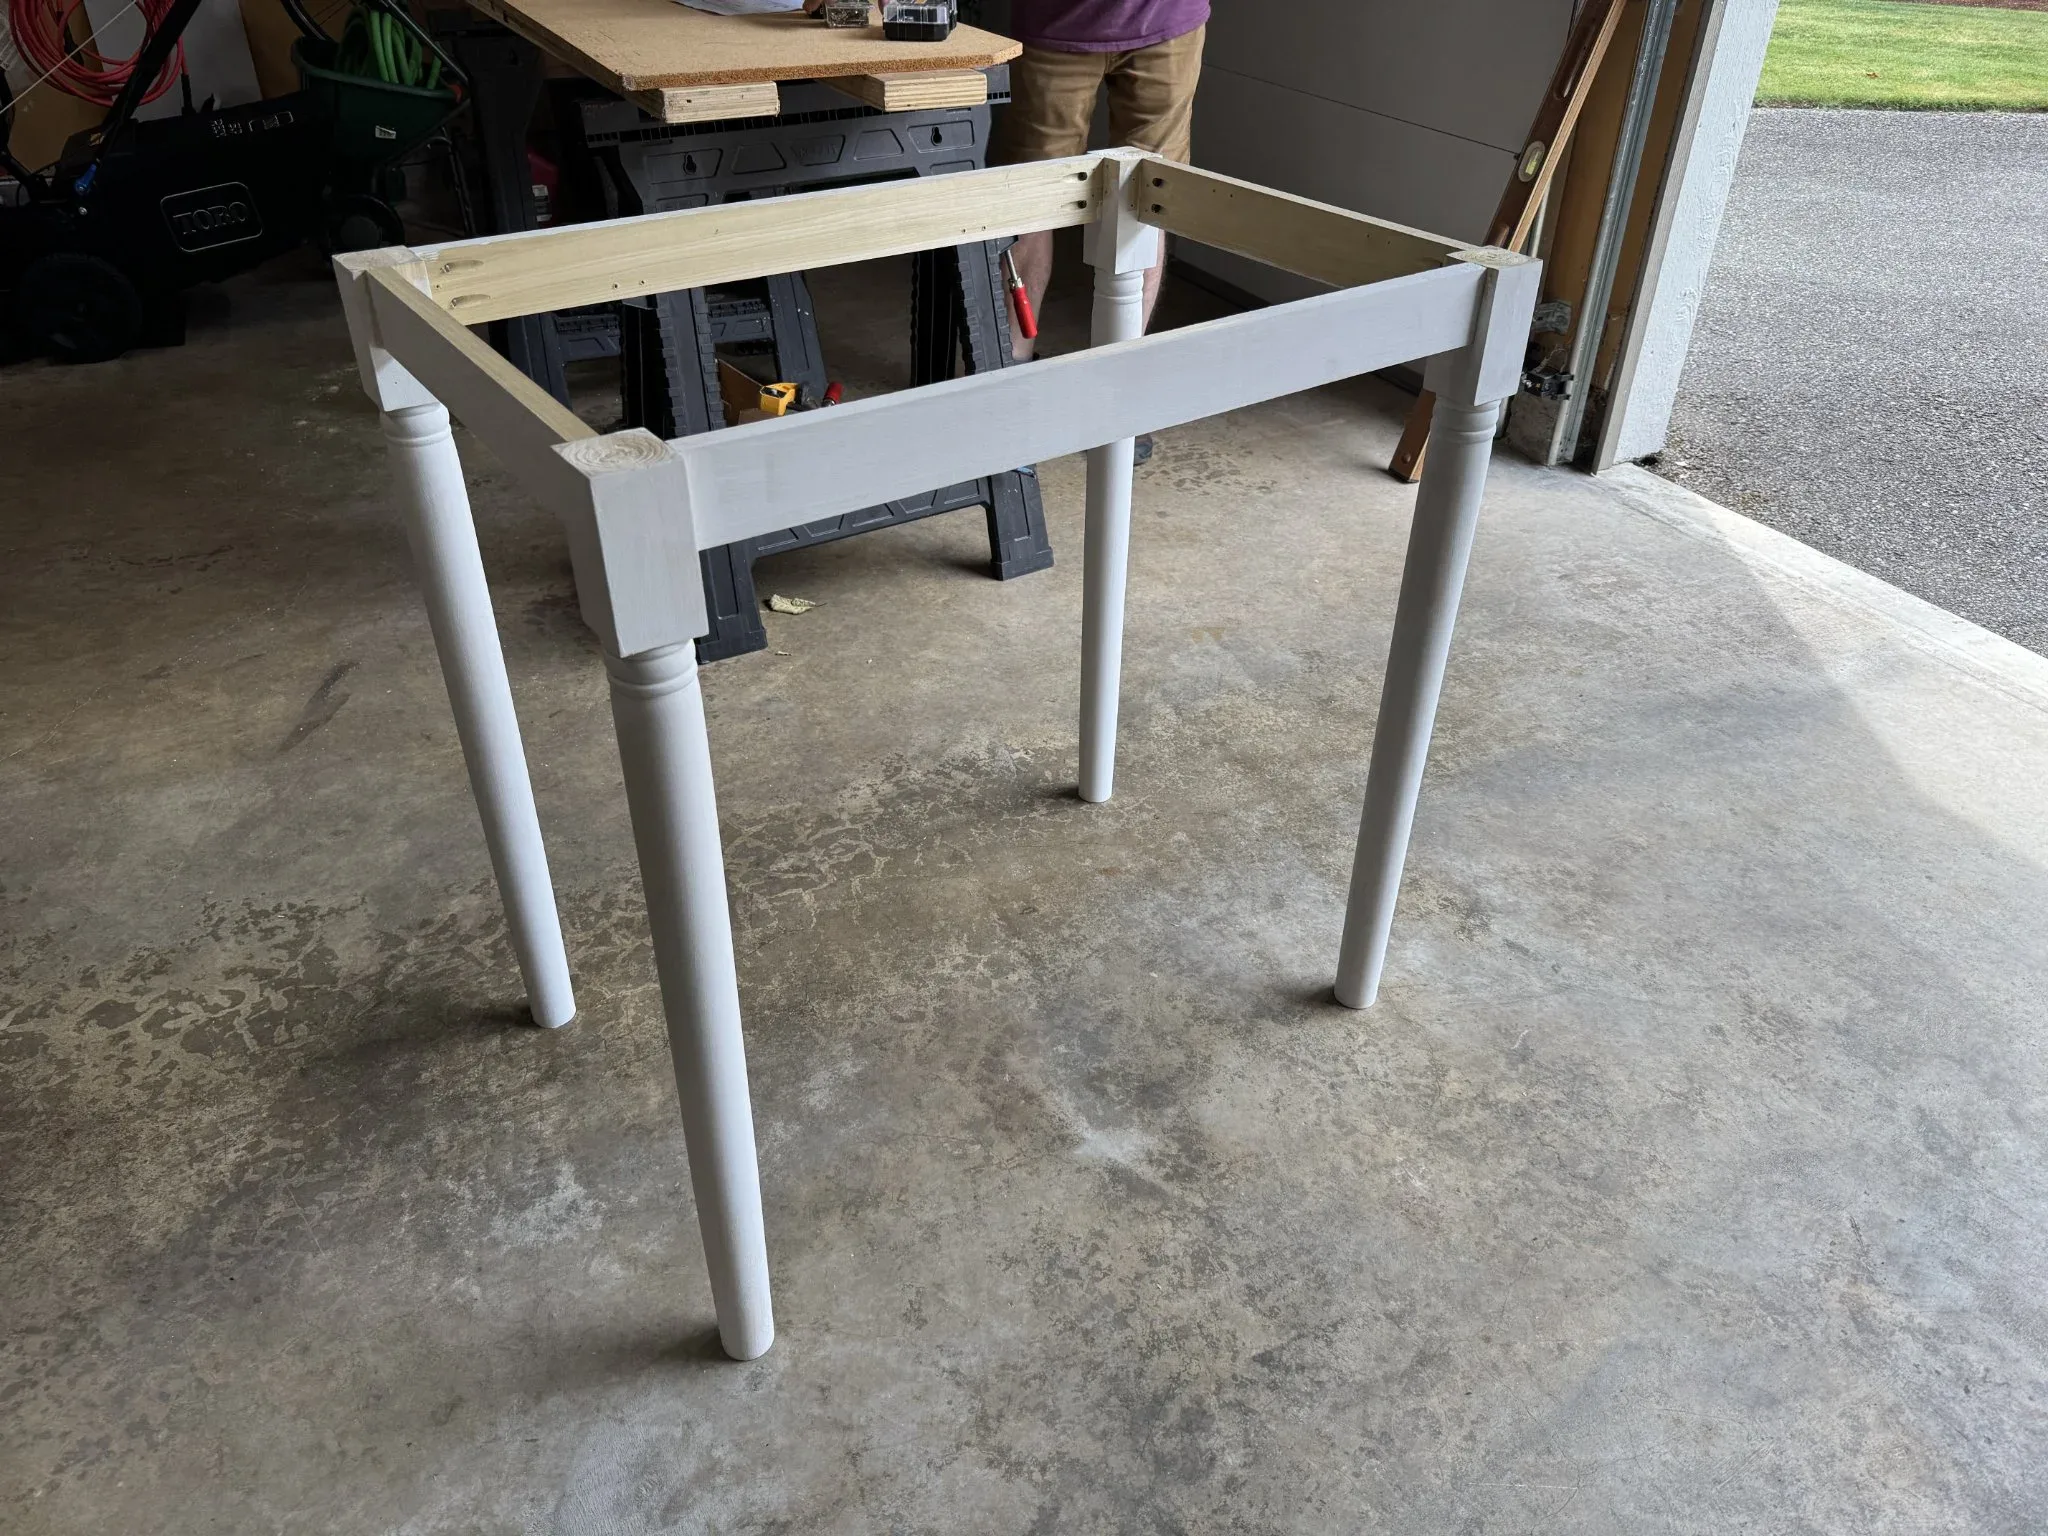
First we made holes in the apron pieces so we could secure them against the legs.
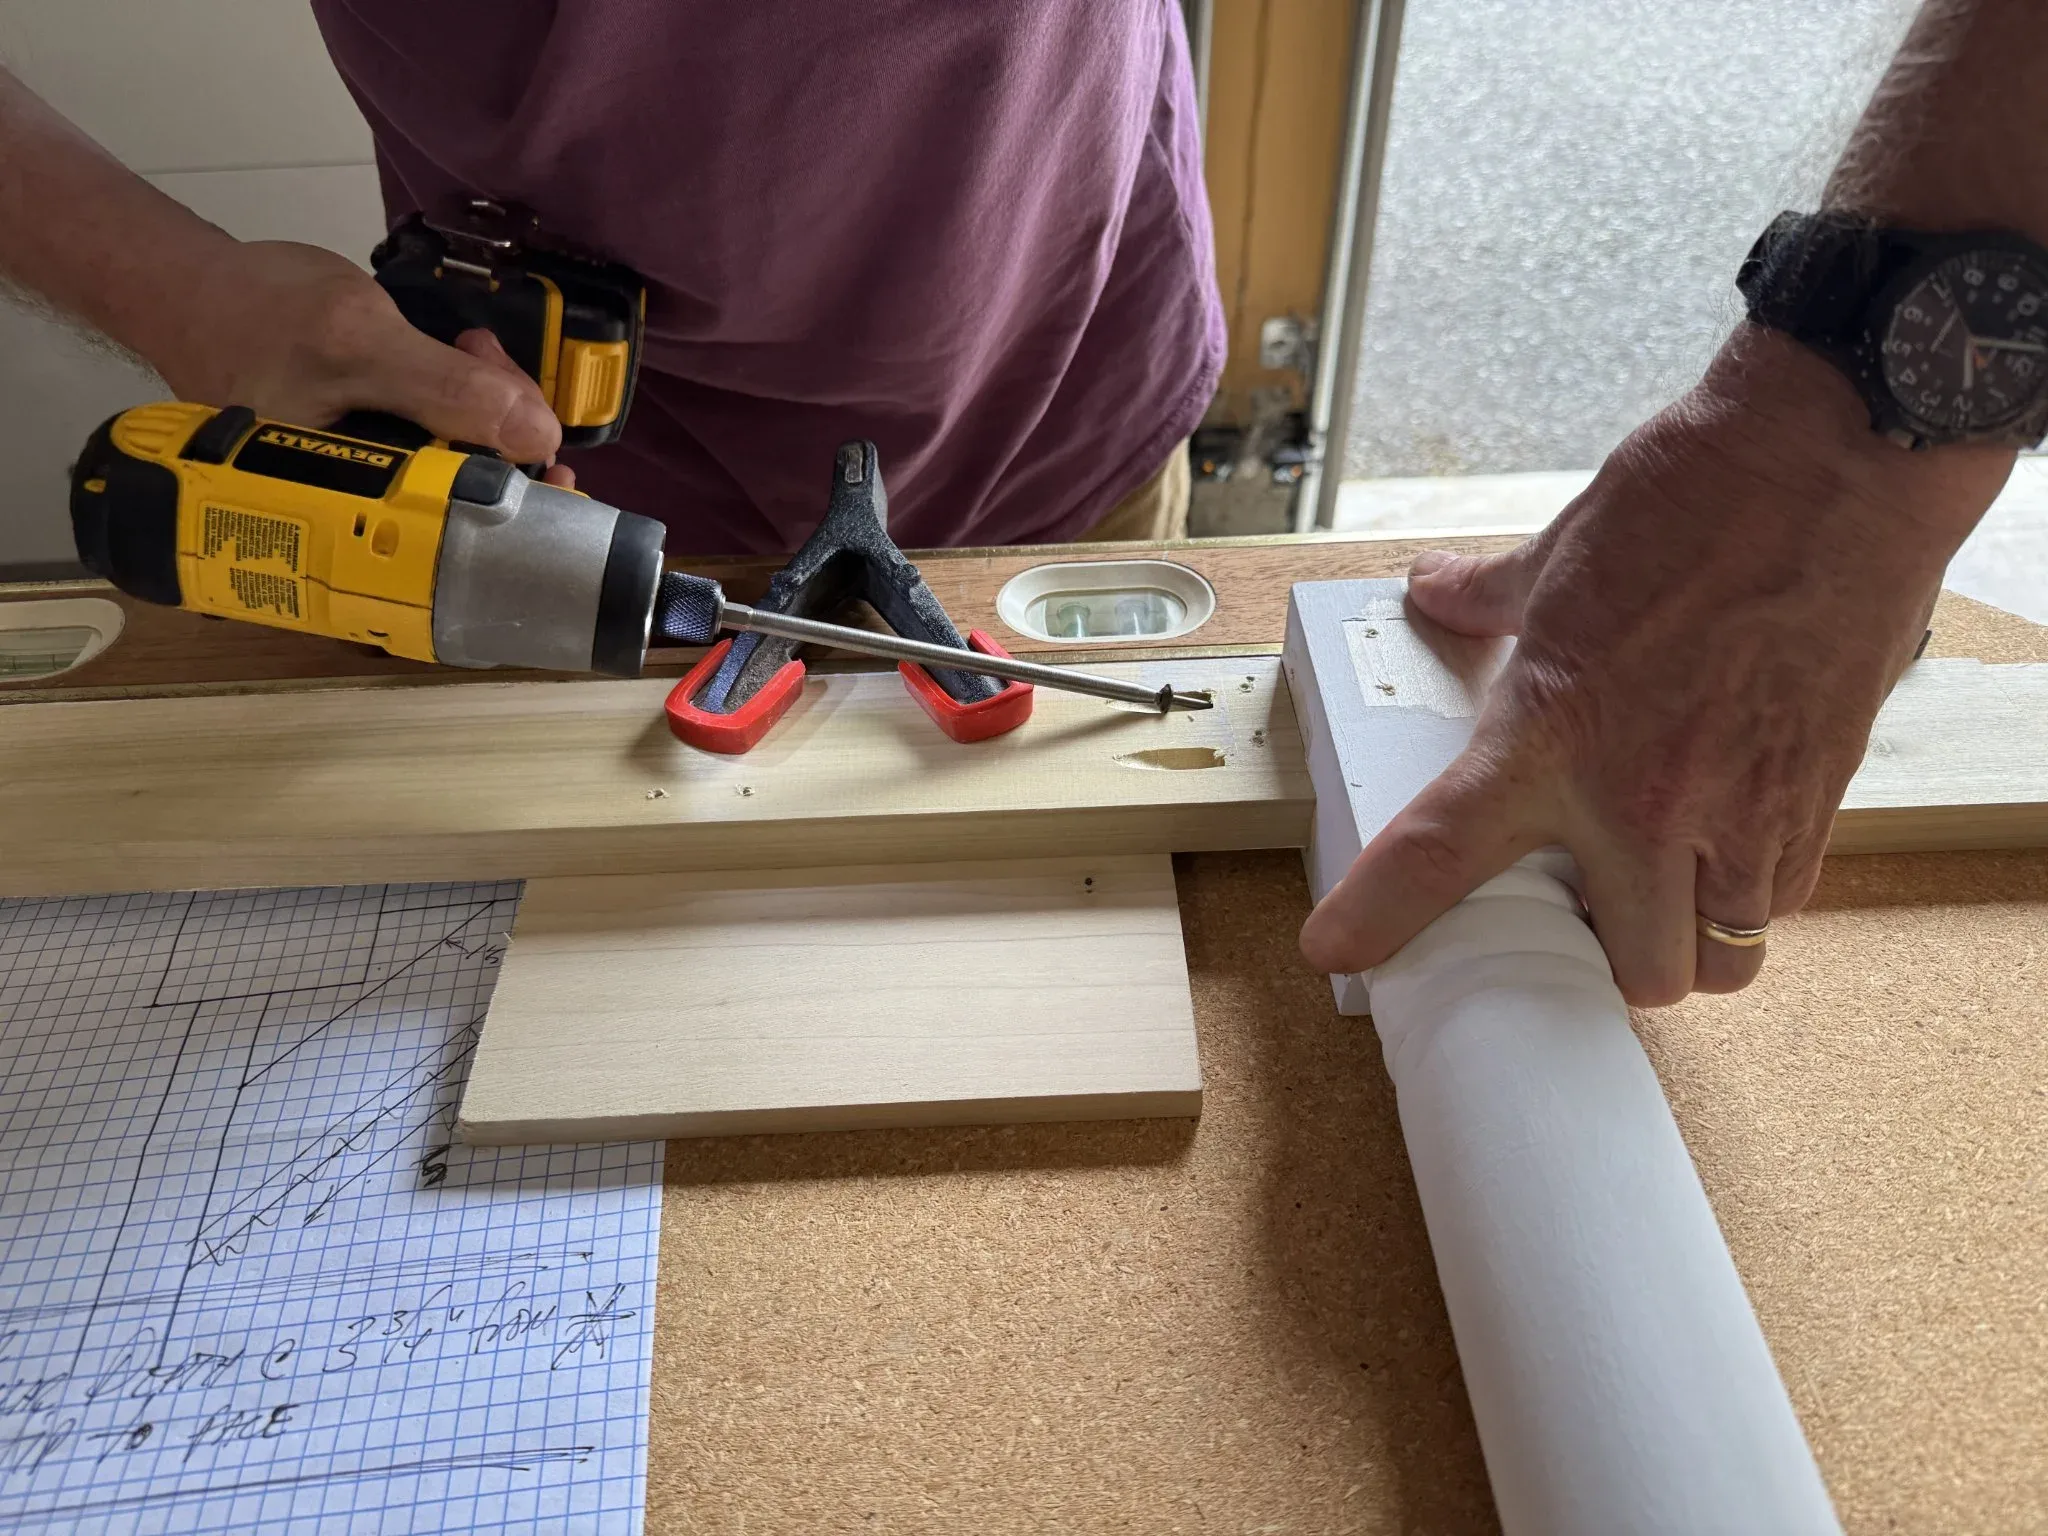
We attached the apron pieces to the legs. Each time, we clamped down our pieces to ensure accurate positioning.
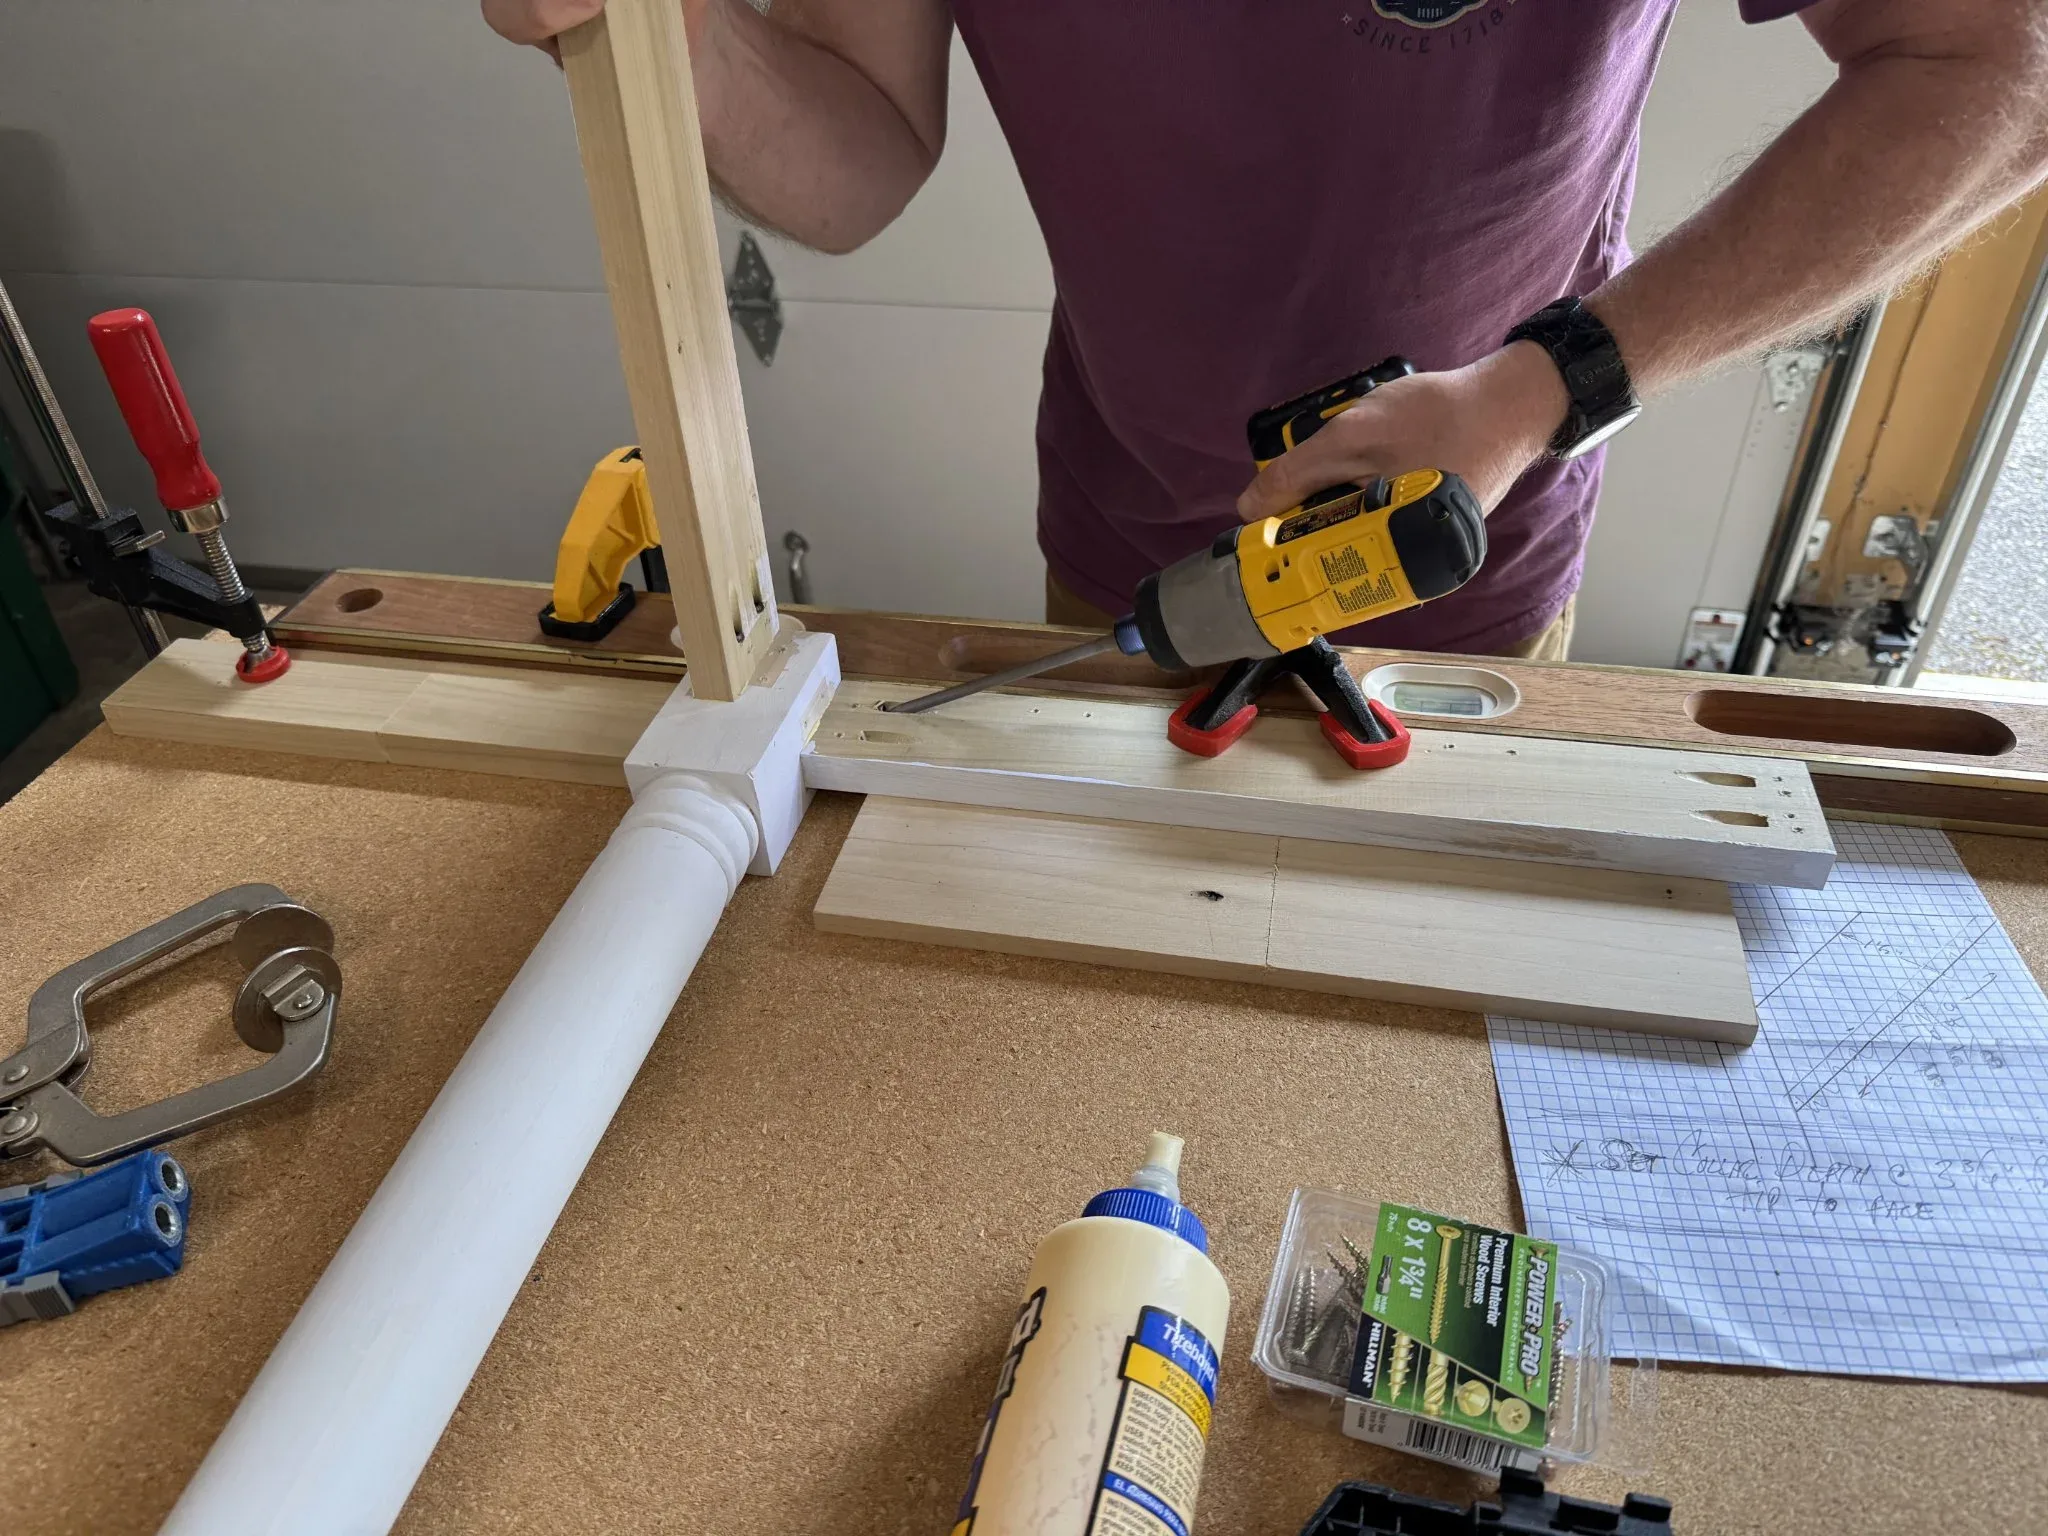
We gradually did this to all of the apron pieces and legs. We put a small amount of glue at the end of each apron piece for additional strength.
We set the table up on its legs and amazingly there was no wobble at all. Not only that, but it turned out that my table legs were all of consistent length after all. The poor joinery of the metal brackets caused them to be out of alignment.
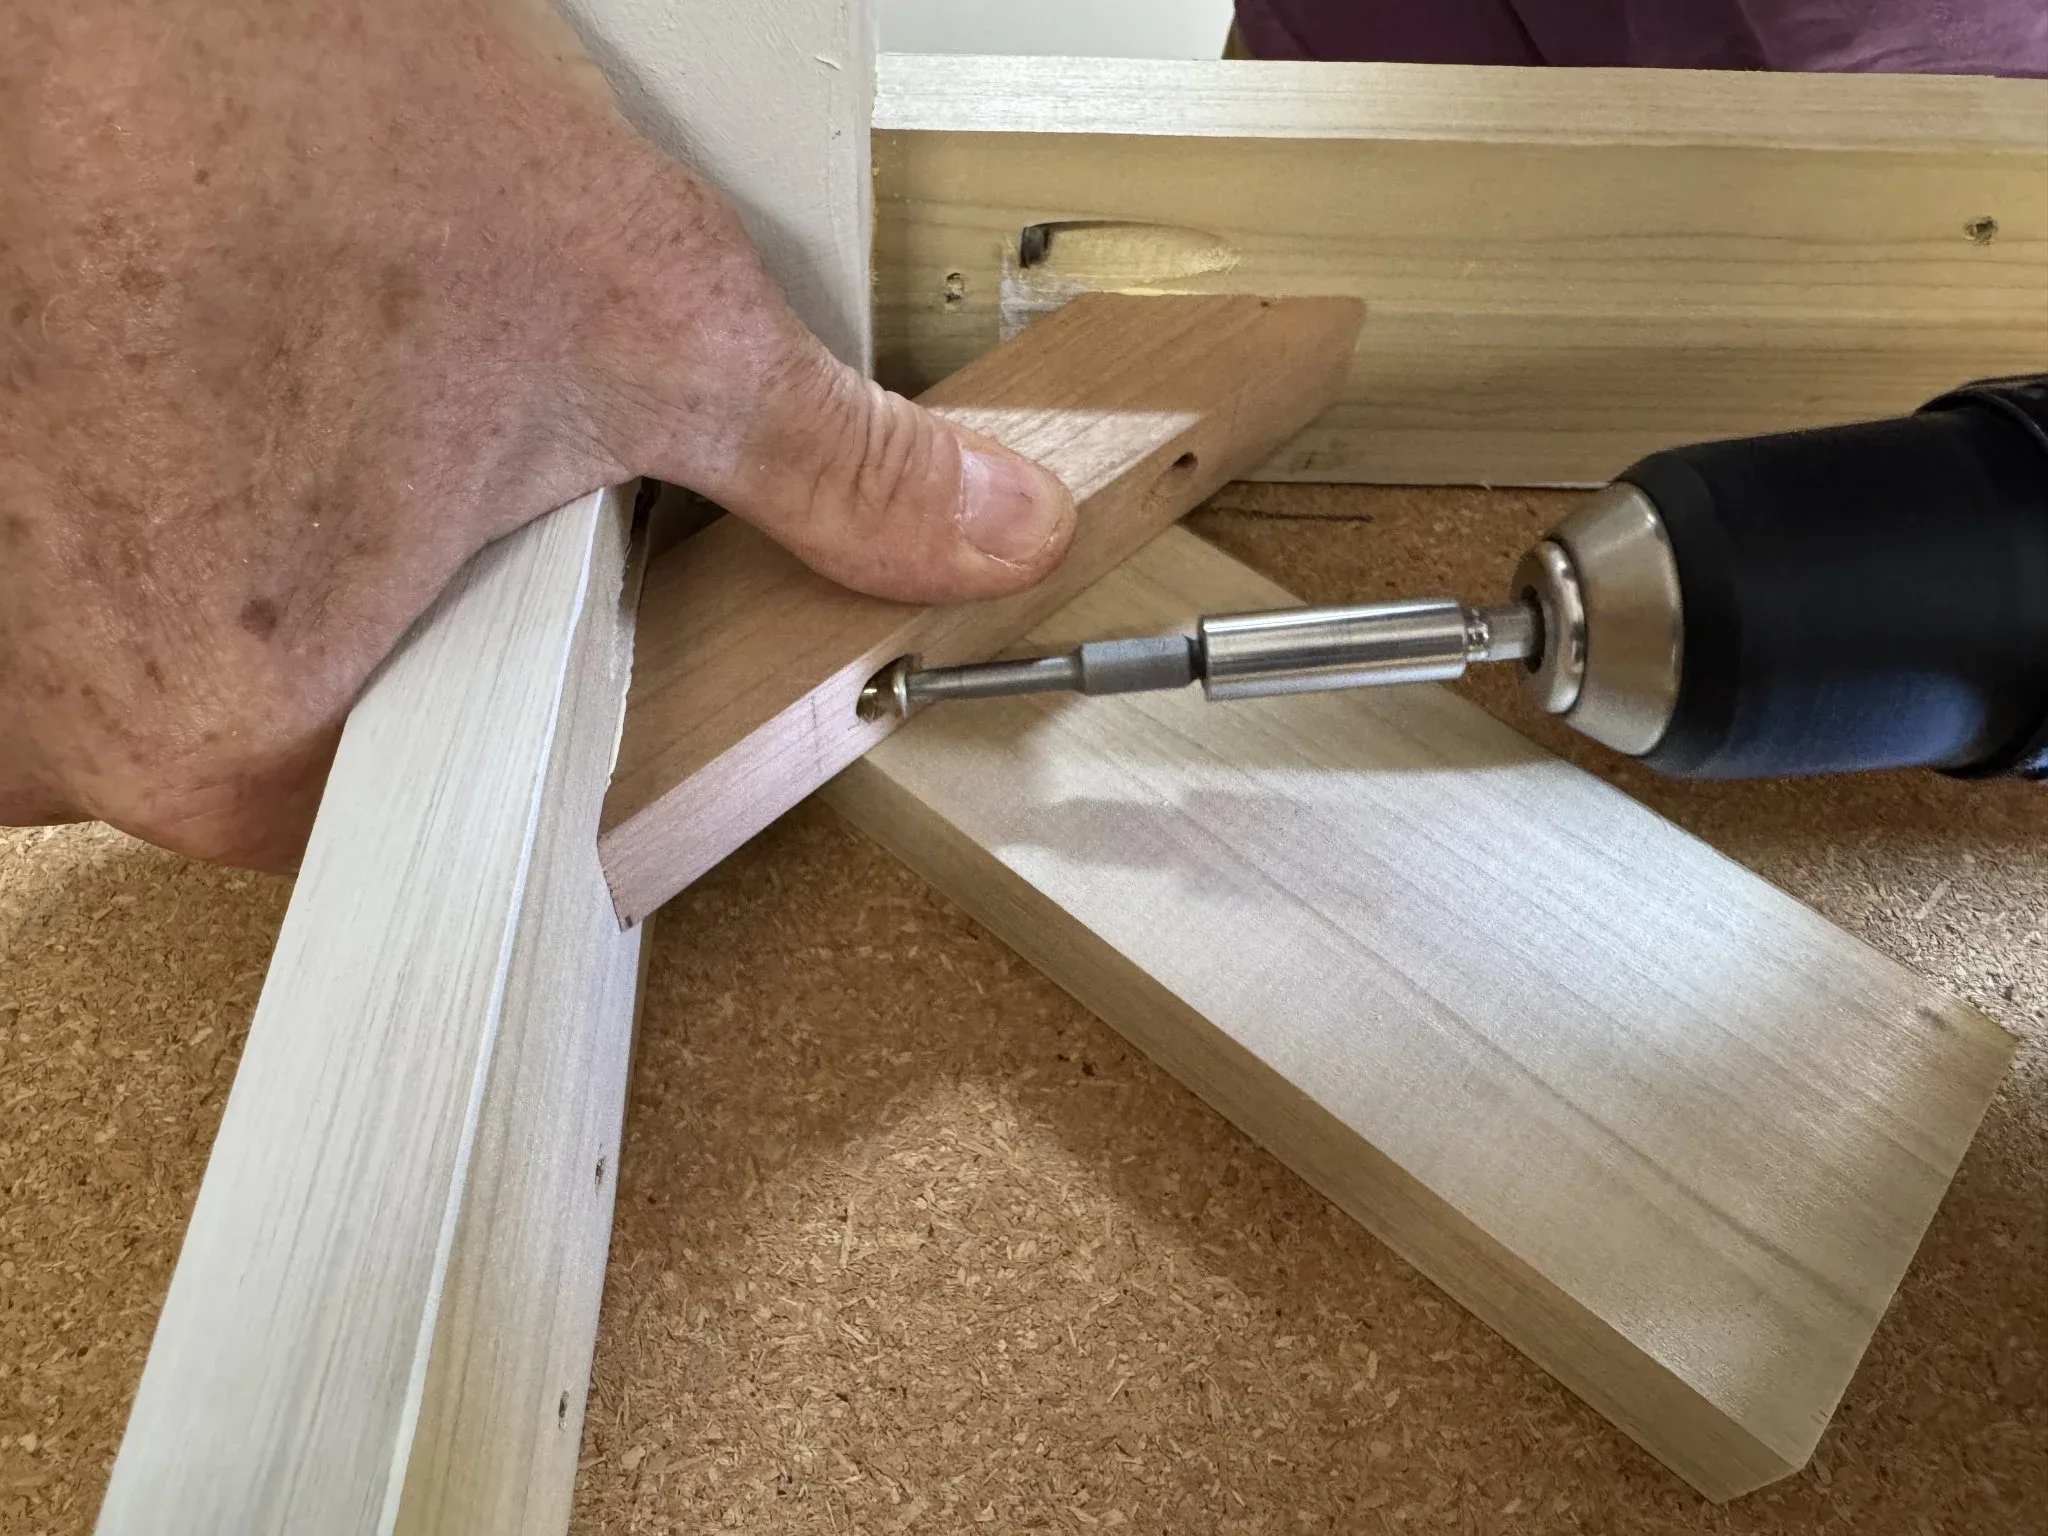
Dan also brought over these additional brace pieces which he had made before coming over. They add additional strength and also become the method of attaching the table top. Dan had me drill holes through them so I can use a screw and washer combination to attach the table top securely from the underside. The holes are drilled larger than required, allowing for the wood to move as the climate warms and cools in different seasons.
I painted the primer over the full table frame while the table top is off of it. This way I don’t have to struggle with avoiding getting the paint on the table top.
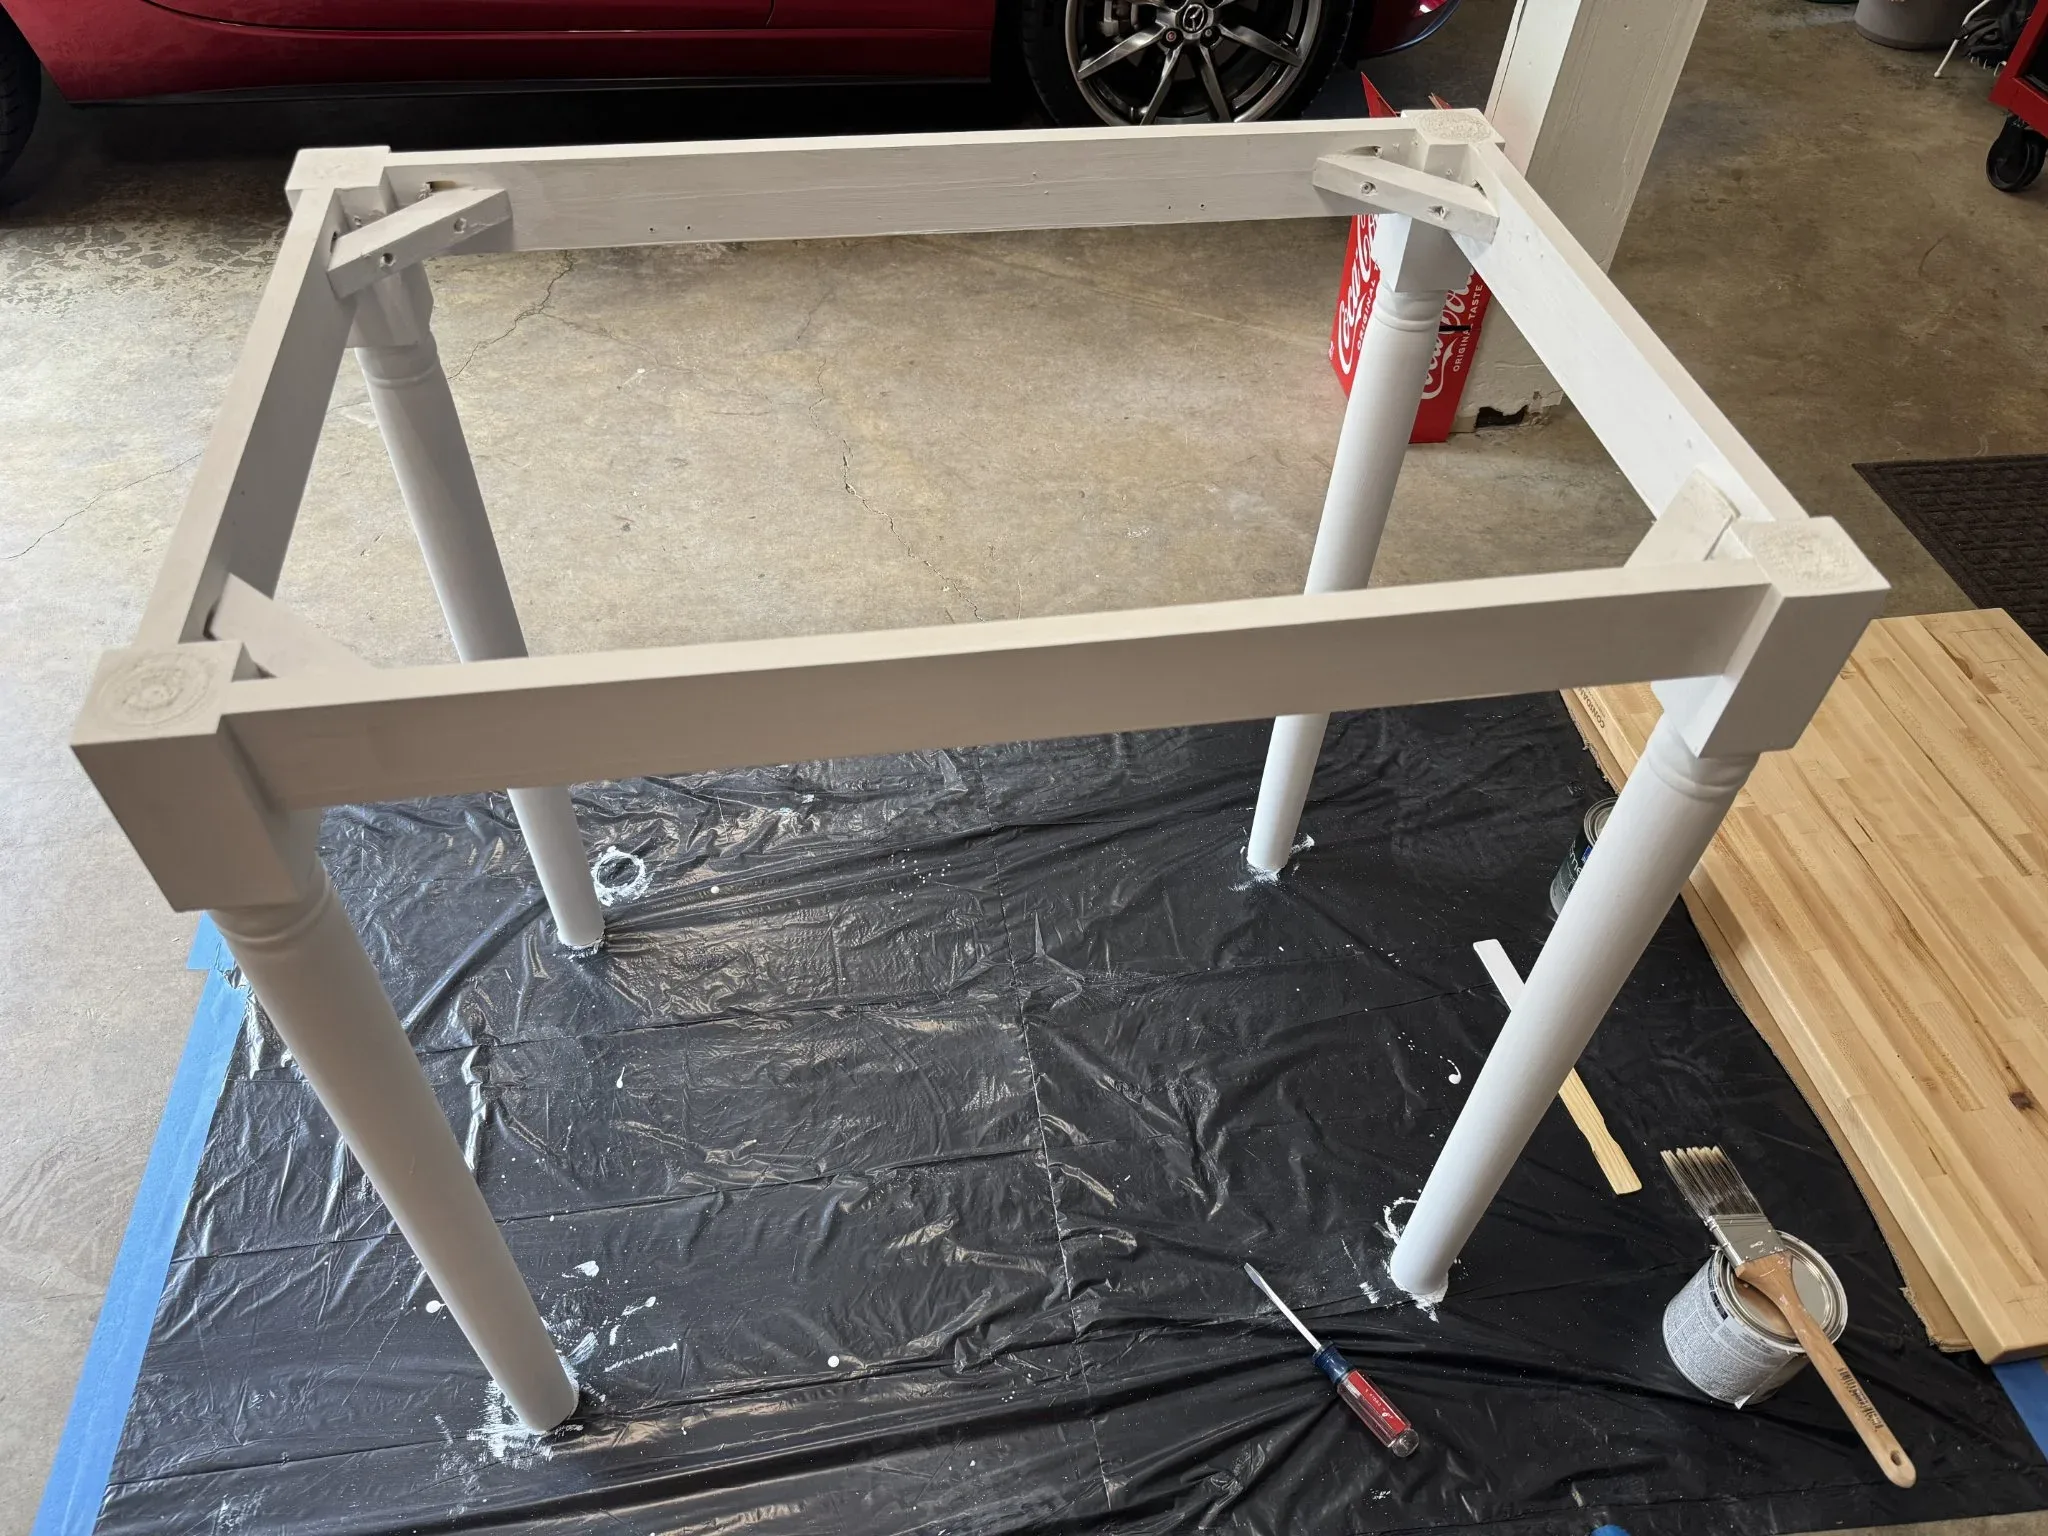
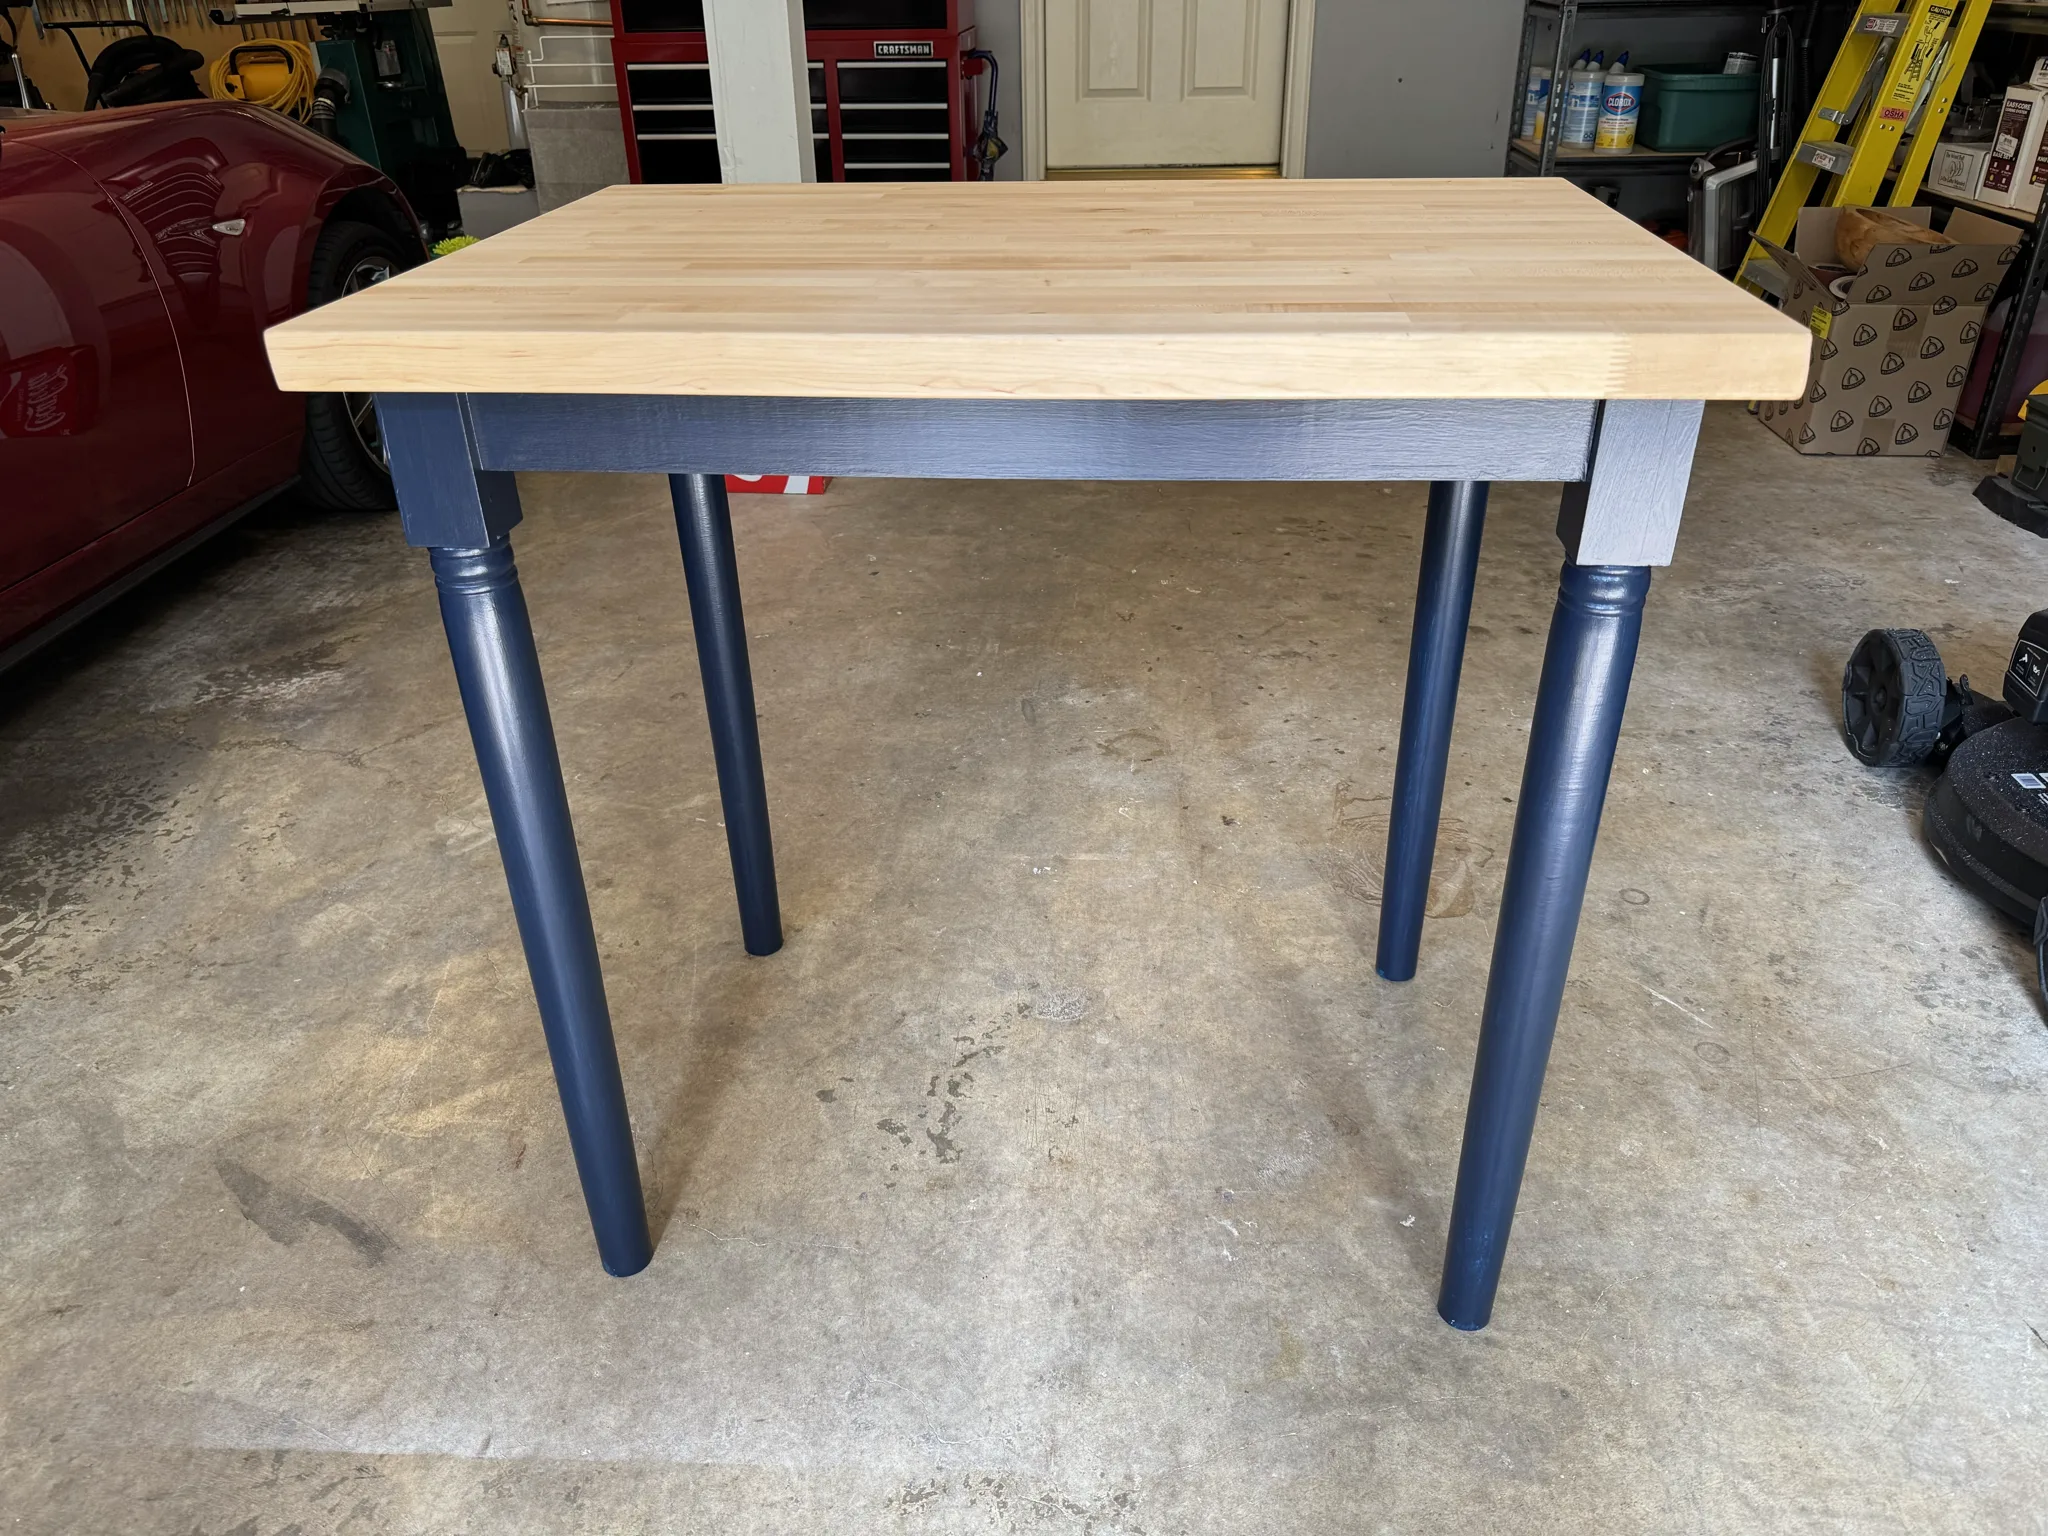
Here is the table with a couple coats of paint. The paint required four coats before having a good solid color.
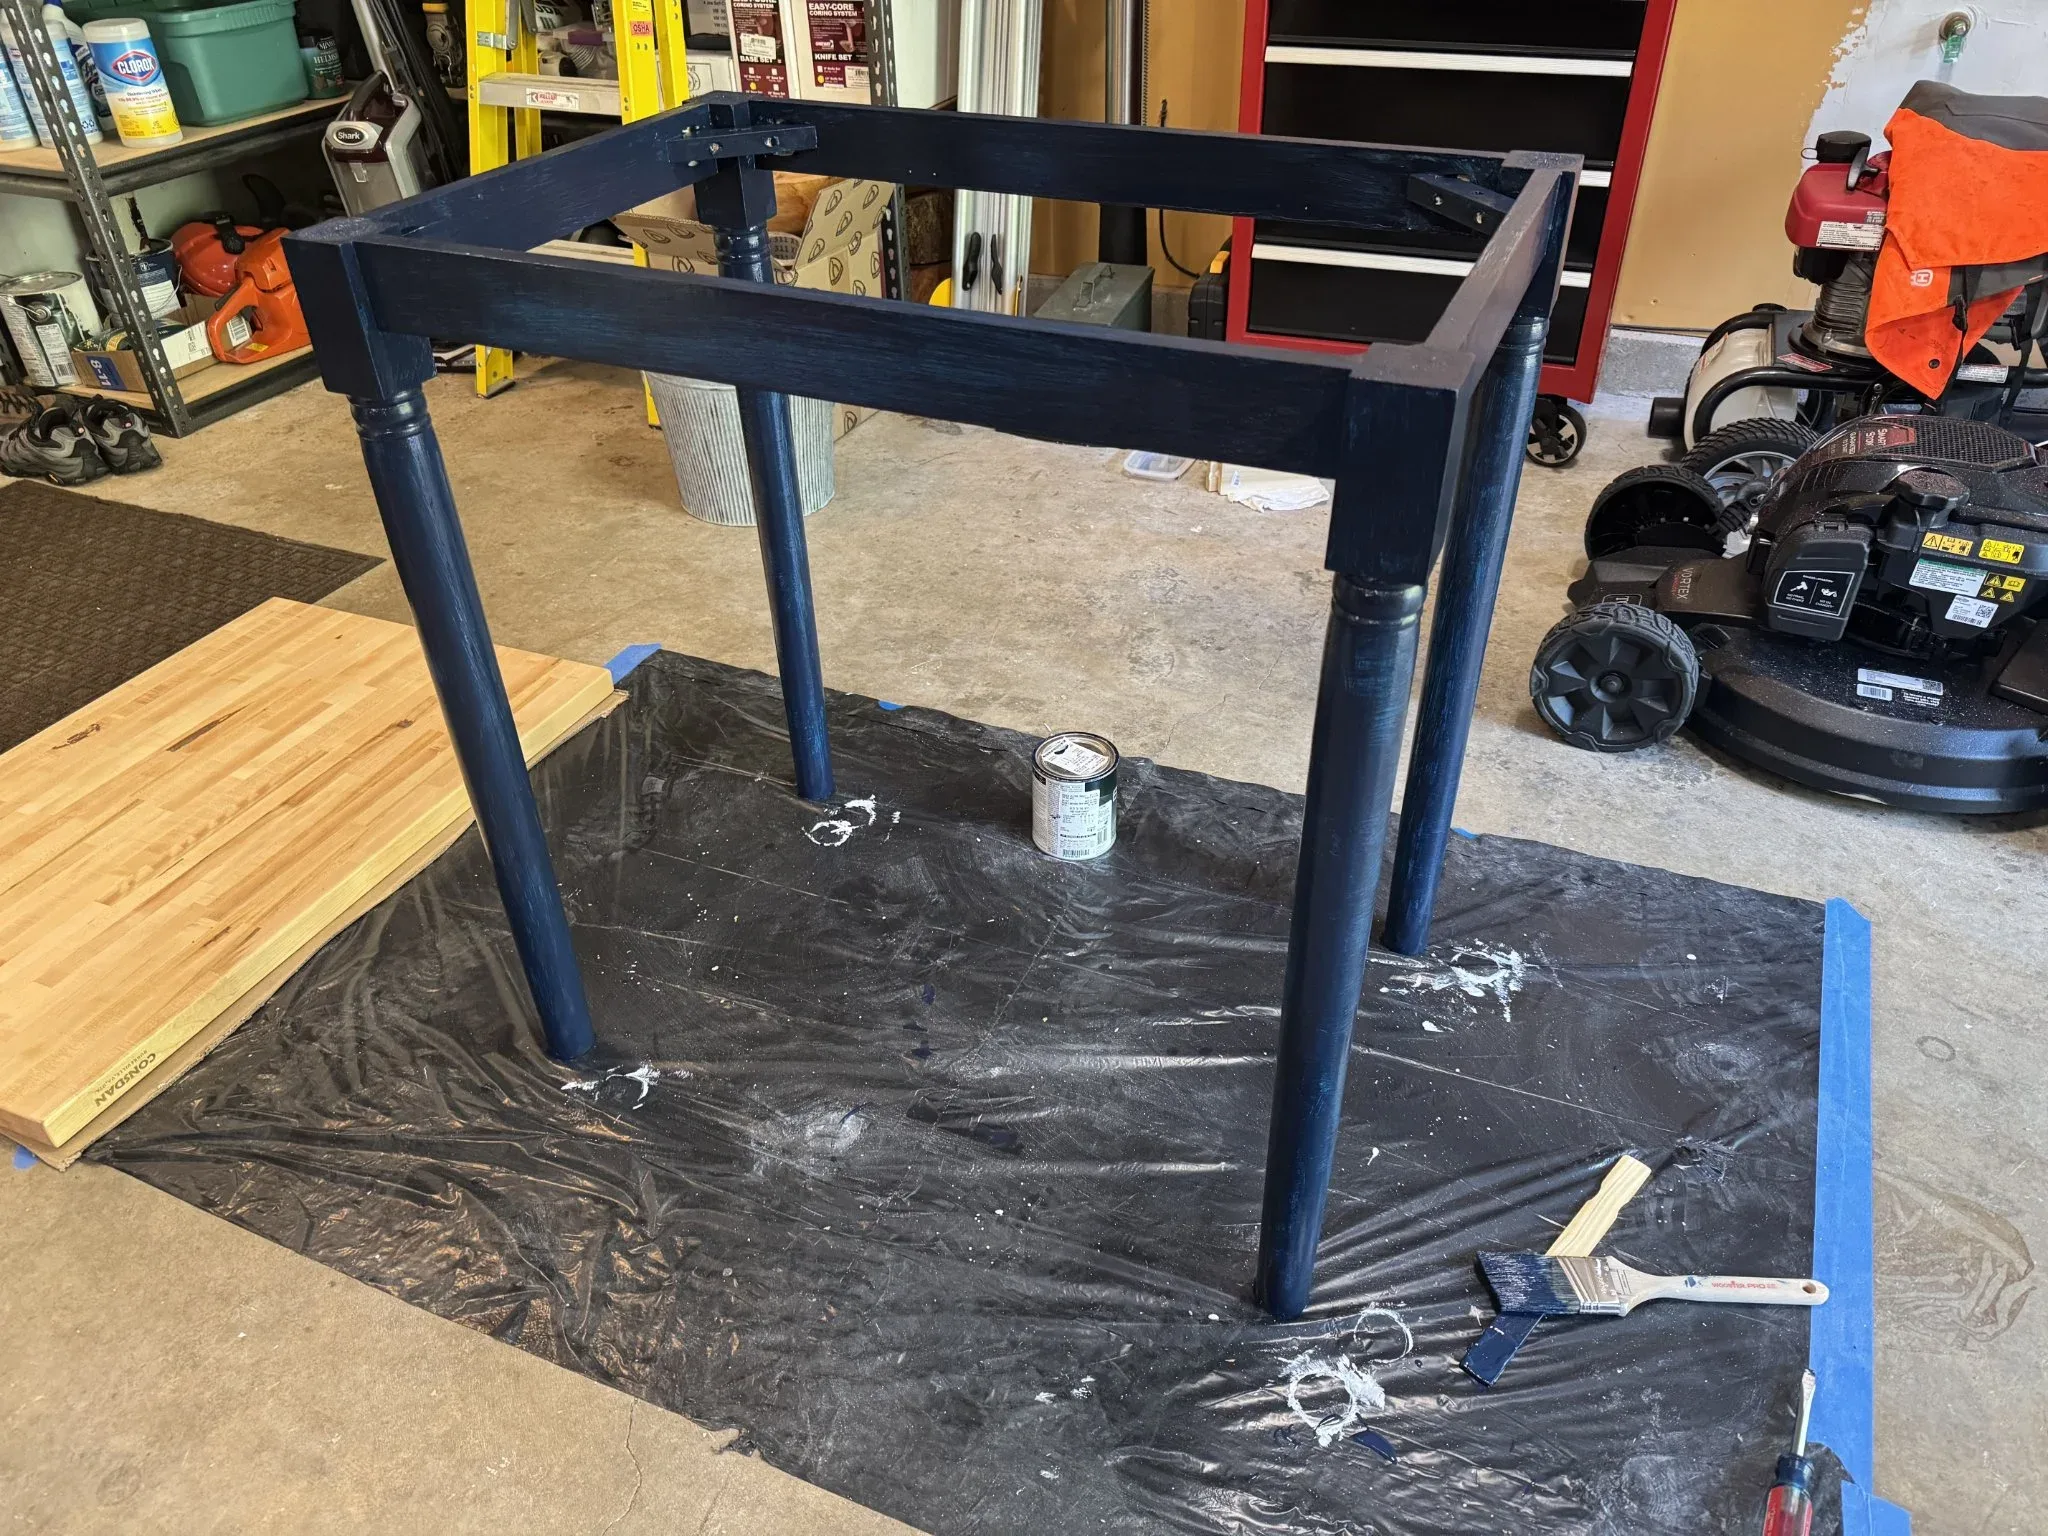
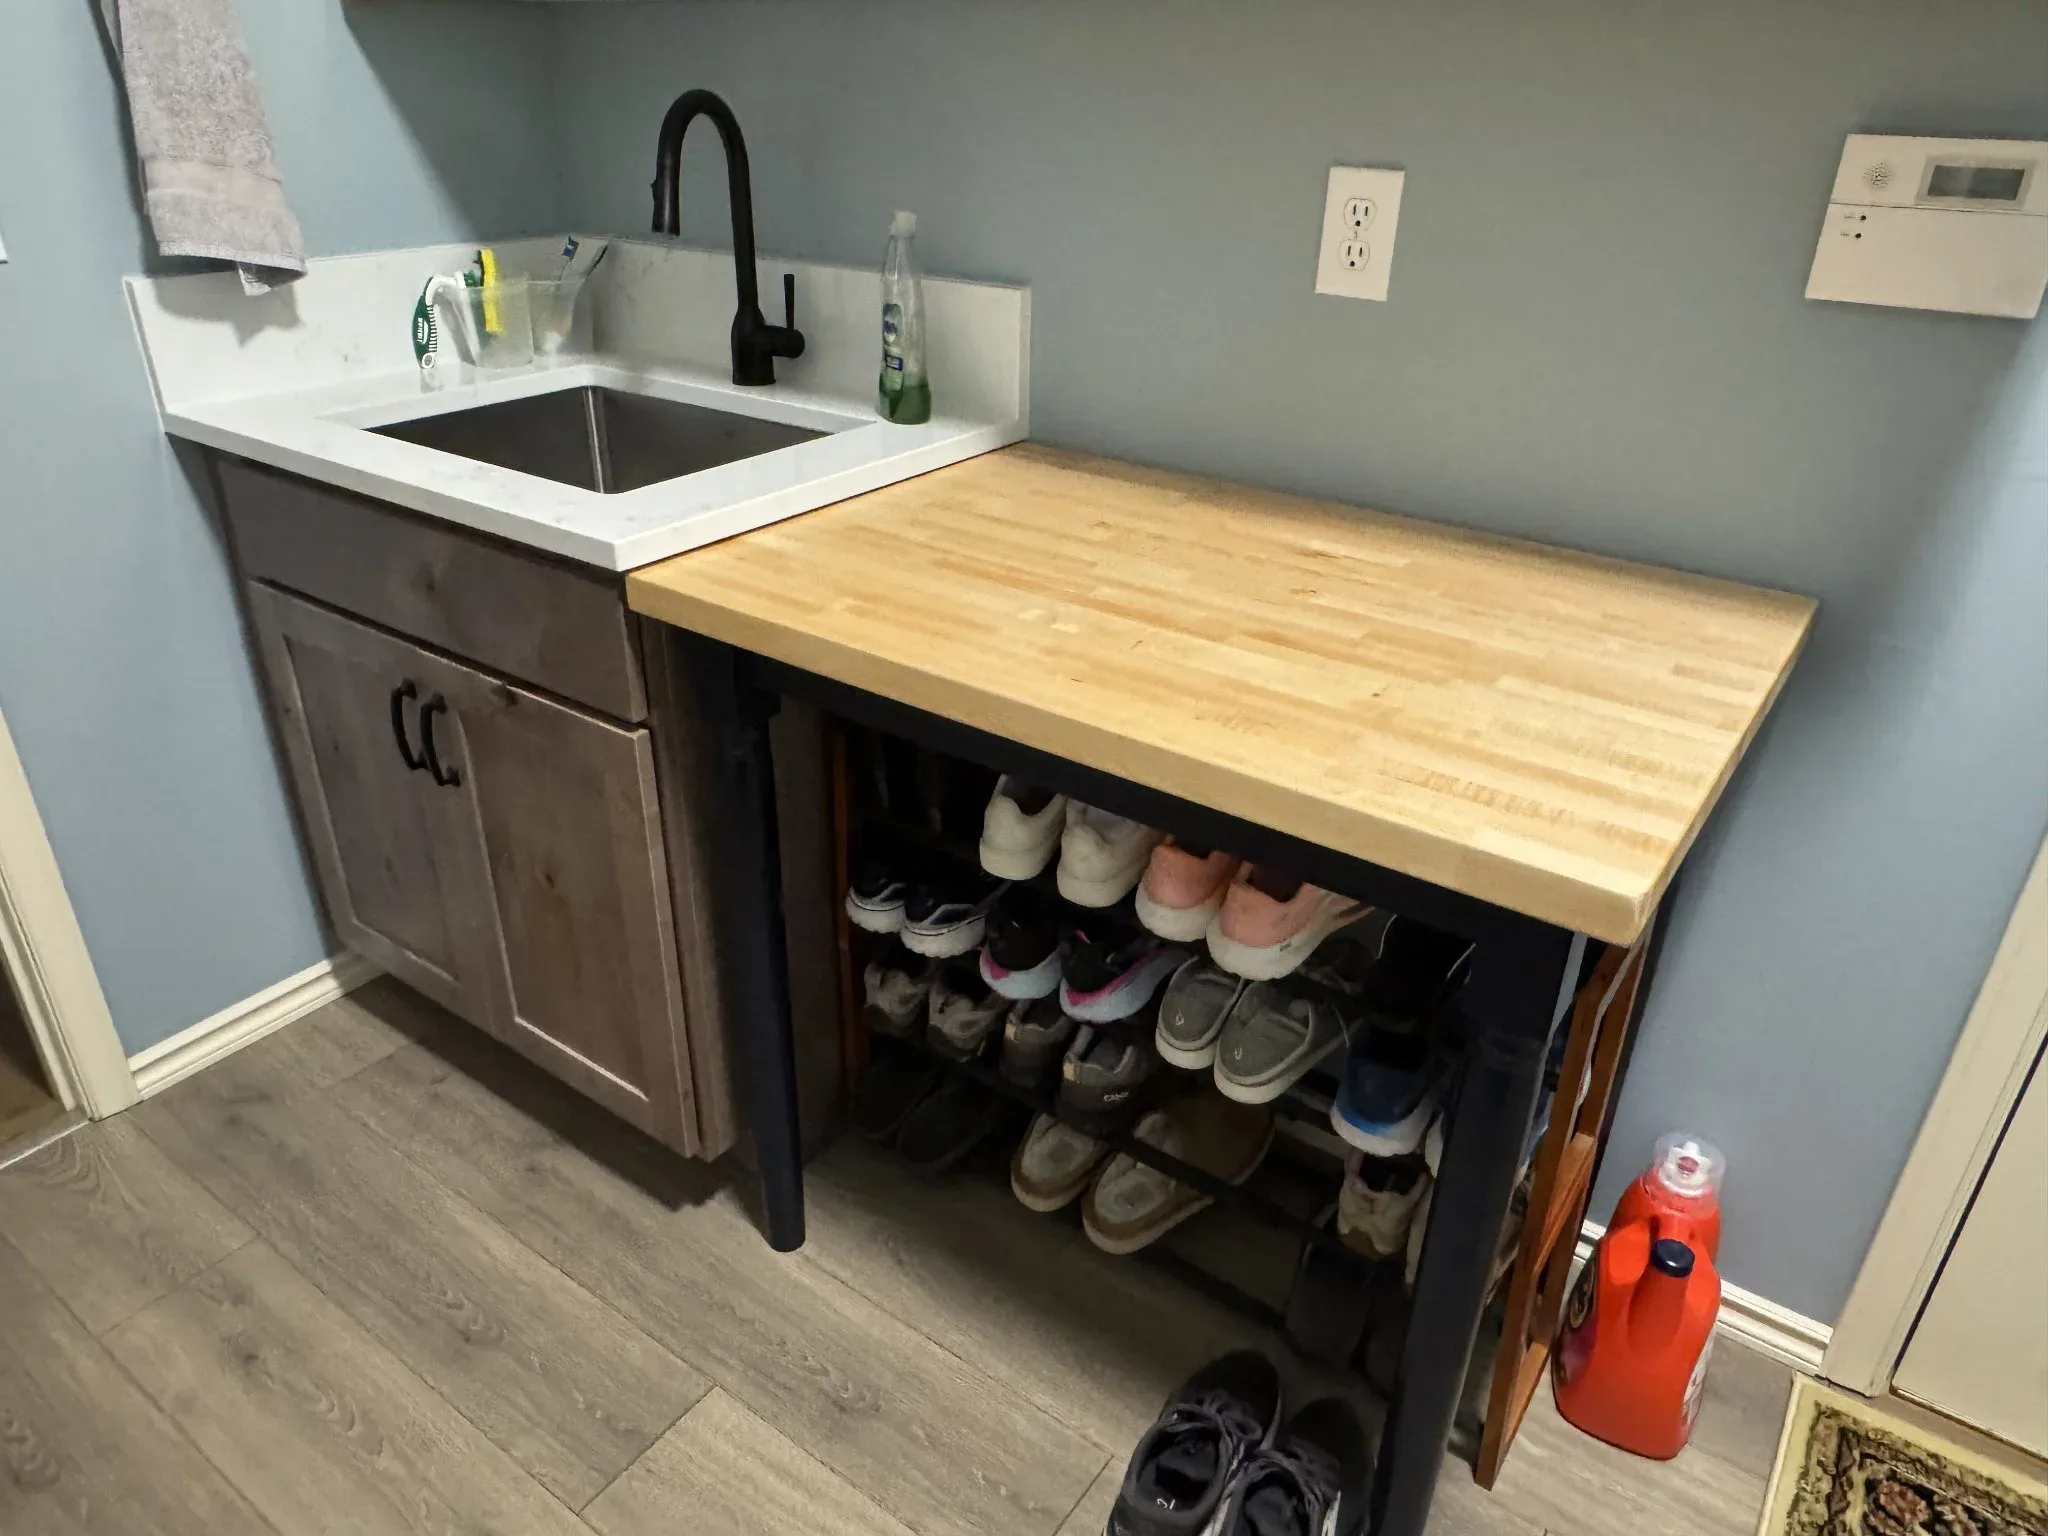
And here is the resulting laundry room table.
The table in our laundry room where it is useful for folding clothes and other things. We store a shoe rack below it.